views
Getting Ready to Write
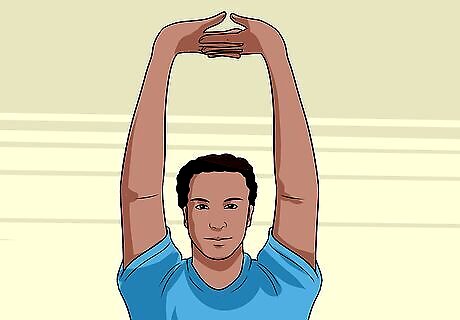
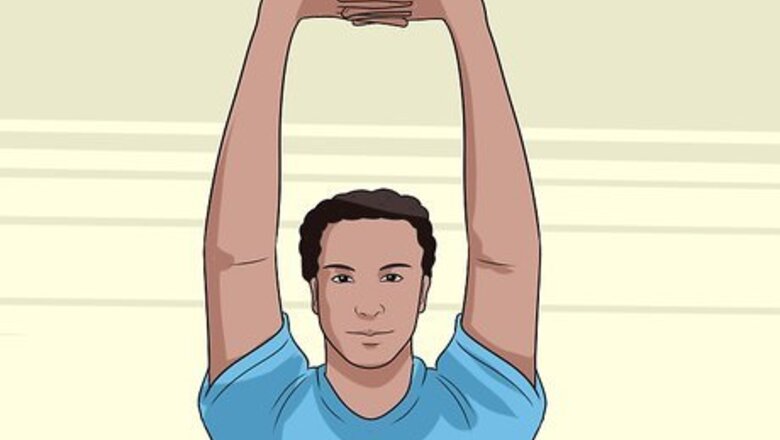
Stretch your fingers, hand, arm, and shoulders. Spending a few minutes stretching will help your muscles used for writing become stronger and more flexible. This will help prevent your hand from cramping or tiring out quickly. You will want to focus these stretching exercises on the hand you write with, but your non-writing hand can help out too. Here are some possible stretches: Wiggle and stretch your fingers using both hands. Match your hands up (like you're giving yourself a high five), and push your fingers against each other. Interlace your fingers and push your hands out in front of your body. Alternate between making a tight fist, and then opening your hand wide to stretch your muscles. Flex and reach to touch each of your fingers to your thumb. Try to coordinate each touch with the beat of a song. Roll your wrist around in circular motions. You can also flex your wrist back and forth. Roll your shoulders in forward circular movements and backward circular movements.
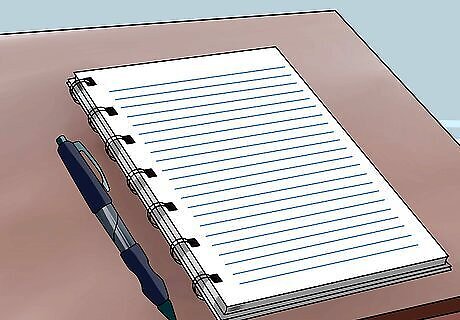
Gather your materials. Before you start practicing your handwriting, you will want materials that will help with your practice. Some helpful materials include: A table or a hard surface to write on. Having a smooth, hard surface to write on will immediately increase the readability and clarity of your handwriting. A lined notebook or lined paper. This will help keep track of the size of your letters. A writing utensil. Some people debate over which is better to use for handwriting: a pen or a pencil. A pen can sometimes write smoother because of the free flowing ink, but a pencil but might better for someone looking to work on technique and correct mistakes. Either way, pick a writing utensil that is comfortable to hold in your hand.
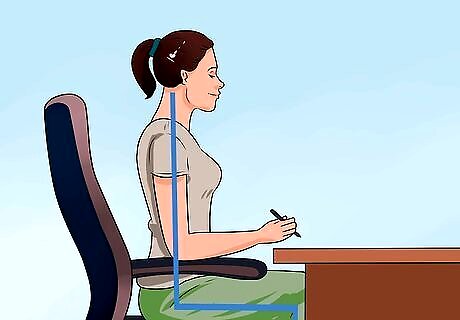
Find a comfortable writing position. Many teachers would say that having proper posture is a must for having legible handwriting. Having proper posture constitutes as sitting up straight with your shoulders pushed back, and sitting with your legs uncrossed, and feet on the floor. Usually, a chair with a high, flat back is suggested for added back support. While practicing proper posture might be helpful in terms of writing in a balanced seated position, and relieving some tension on your back, it is not something you should get hung-up on. Sit in a comfortable position that gives your arm and hand enough room to move freely as you write.
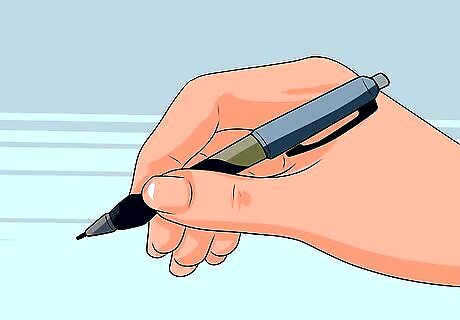
Assess and adjust your grip. Everyone holds their writing utensil differently, but a common way of holding a pen or pencil is gripping it between your thumb, index finger, and middle finger, while resting the middle part of the pen on either the index finger knuckle, or in the webbed part of your hand between the thumb and index finger. You want to grip the pen with enough pressure that it won't slip from your hand while writing, but gentle enough that your hand isn't shaking and cramping within minutes. For people who write with their left hand, it may help to write with your hand hooked, creating a mountain shape between the forearm and thumb of your hand. It may also help to hold the pen a little bit higher up, so you can see what you are writing.

Try learning a different writing technique. Most people write using their fingers to create the shape of their letters. This is called finger-writing. Using only your fingers to draw out the letters can put a lot of strain on your finger muscles, causing your hand to tire and cramp more quickly. An alternate and less strenuous way to write, is relying on your shoulder and arm muscles to do the work instead of your finger muscles. You will know if you're using these muscles correctly if your forearm and shoulder move as you write. Some people who write or draw for their profession (calligraphers, architectural drafters, etc.) have found it easier and more precise to write and draw using their shoulder muscles. Using your forearm and shoulder muscles to write are beneficial because surprisingly, these muscles are capable of fine, intricate motor movements, and also tire out a lot less easily than your finger muscles. Here's how to teach yourself to write using your shoulder and forearm muscles: Write big air letters. Writing in the air simulates the same movements you would use to write on paper using your shoulder and forearm muscles. It's just like writing on a blackboard. Remember that your forearm should guide the shaping of the letters, while your shoulder should provide the power. Once you get comfortable with the shoulder and forearm movements, make the size of the letters you are drawing out smaller and smaller. Then, once you feel you are ready, practice with pen and paper. Concentrate on keeping your fingers, hand, and wrist steady while your forearm and shoulder provide the movements.
Practicing Your Handwriting
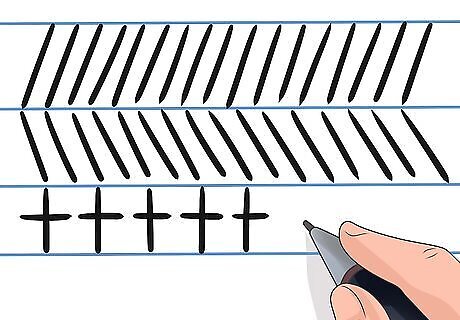
Doodle. Doodling is a simple way to practice making writing movements with your shoulder and forearm muscles without having to construct precise letters. You can doodle some shapes and symbols used in the alphabet to get move comfortable with curves and angles. Common alphabet shapes you can practice are /////s, \\\\\s, +++++s, and OOOOOs. You can also practice waves and zig-zags for other letters of the alphabet.
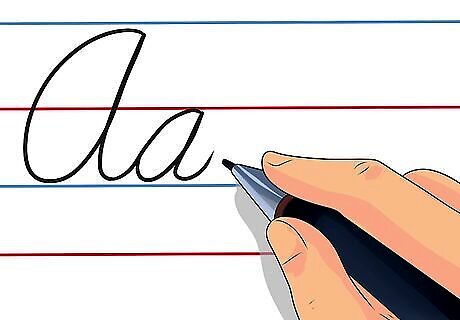
Practice writing all the letters of the alphabet. It is easiest to begin with the individual letters of the alphabet before moving on to more complicated words and sentences. Begin by writing the alphabet in all uppercase letters and all lowercase letters. Then, you can start writing the individual letters both uppercase and lowercase, together (for example, Aa, Bb, Cc, Dd, Ee, Ff, etc).
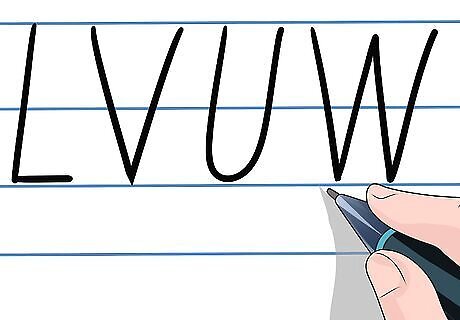
Focus on writing just the uppercase alphabet letters. Practicing writing the alphabet letters in small groups can help you conquer writing out similar letters in smaller portions. By focusing on groups of letters that have similar shape, stroke count, and structure, you can solidify the the movements necessary to write out those letters. All uppercase letters should be the same height. The uppercase letters of the alphabet can be divided into these smaller groups: Uppercase letters made using one stroke of the pen. L,V,U,W,Z,C,O,S Uppercase letters made using two strokes of the pen. B,D,J,K,M,N,PQ,R,X,T,Y,Z Uppercase letters made using three strokes of the pen. A,E,F,H,I
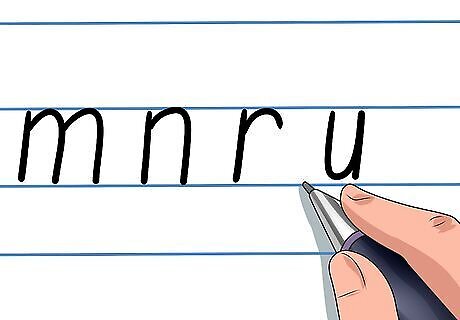
Focus on writing just the lowercase alphabet letters. While uppercase letters should all be the same height, lowercase letters should vary in height. For example the letters in group 1 should be smaller than the letters in group 4, since the letters in group 1 are all rounded letter whereas the letters in group 4 they have longer tails and stems. Lowercase letters - group 1. m,n,r,u Lowercase letters - group 2. a,c,e,s,o Lowercase letters - group 3. b,d,h,j,g,p,q,f,y Lowercase letters - group 4. v,w,x,z
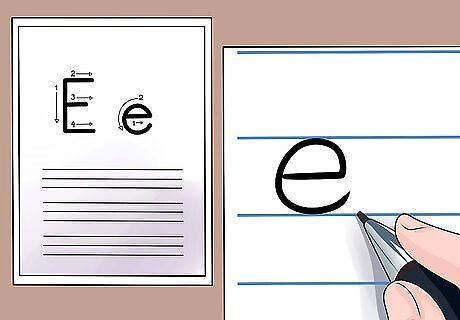
Practice with directional charts and handwriting workbooks. Everybody has their own style of handwriting, but there are certain sequences when writing out the letters that make it easier to move on to the next letter. For example, rather than starting a lowercase 'e' with the bottom tail and bringing your pen up and around, begin with the short line in the middle of the letter, and bring the pen out, up, around, and down, so you can move to the next letter naturally. Handwriting notebooks usually consist of writing spaces that are lined in different ways to help with letter sizing and proportion. Repetitive practice writing out letters and sentences can make your handwriting neater and easier to read.
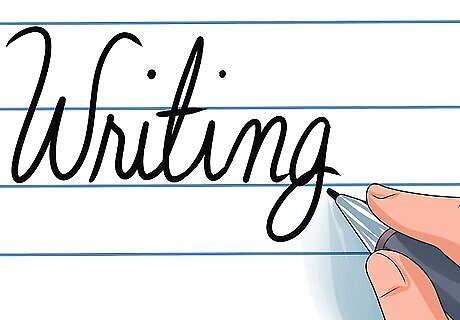
Experiment with different writing styles. Maybe you noticed your handwriting looks a lot better when your letters are more curvy and loopy. Maybe it's easier for you to write comfortably when your letters are bigger than your usual handwriting. Whatever it may be, practice writing with different styles like loopy, bubbly letters, angled, sharp letters, or narrow, tall letters to see what is easiest for you to write and for others to read. There are a million ways to write your letters, experiment to find what works best for you.
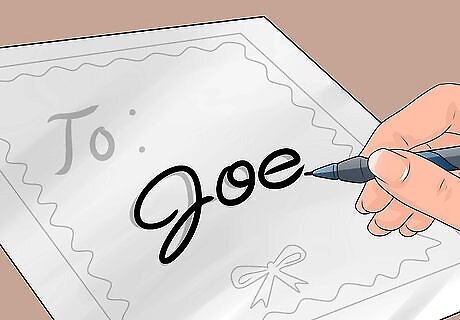
Copy handwriting that you like. If you just received a birthday card from your uncle, and you really like the way he writes his J's and c's, get some tracing paper, place it on top of his writing, and trace away. This will help with recognizing and imitating different elements that you want to incorporate into your own writing.
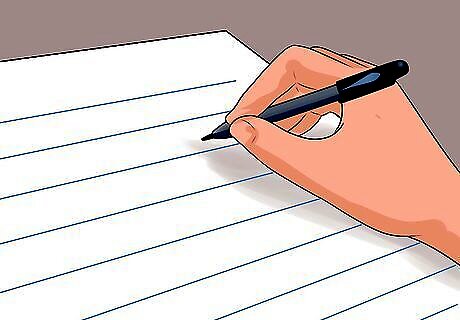
Write slowly. As you progress to writing words and sentences, writing slowly will help you identify areas of your writing that need improvement, such as letter spacing, word spacing, letter size, and slant. By taking your time, you can focus on making your letters uniform and sharp.
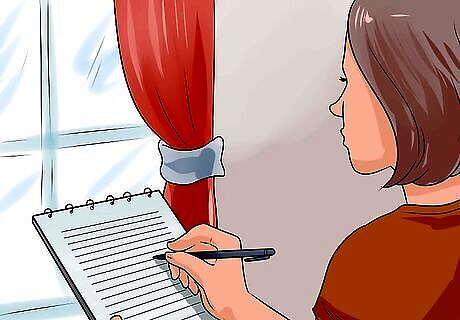
Practice whenever you can. Write out your to-do list or grocery list by hand. Doodle while you're on the phone. Keep a journal and write about your day. The more you practice, the better you will become.


Comments
0 comment