
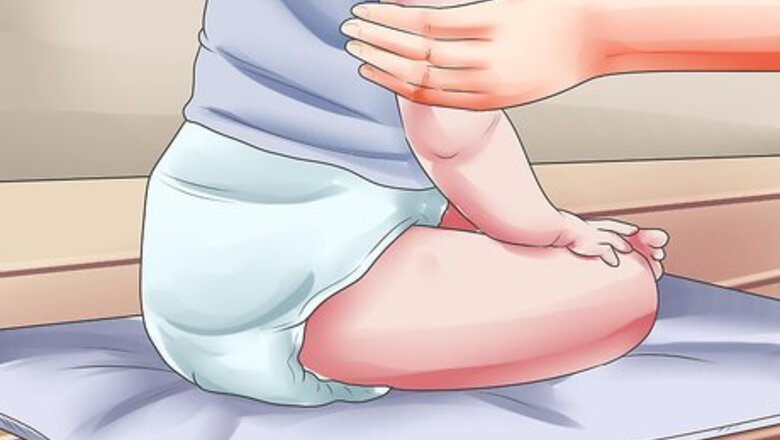
Put the child on the floor, with something underneath the child that is meant for soaking up urine and feces, and is easy to clean (E.G. A cloth-lined, plastic changing pad, bought at any baby and children store or superstore). If you do not have a changing pad, then a regular towel will do, but make sure it is clean and that afterwards, if there are any stains, that you wash the towel clean immediately in cold water and laundry detergent, and hang to dry.
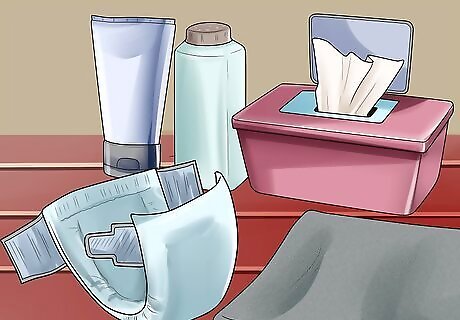
Get the supplies. Now that the baby is on the floor, gather the supplies needed. These include but are not limited to: A clean diaper of your choice, baby wipes of your choice, diaper rash cream, baby powder, a clean change of clothes, a blanket to wrap a tiny baby in when cold, and a toy or book or pacifier to entertain the child with. It is a good idea not to give the child a bottle at this time as the child may associate diaper changes with feeding and that may not work out so well with some parents. It's much easier to gather everything you need in advance than it is to go and grab things once you've already started changing the baby's diaper.
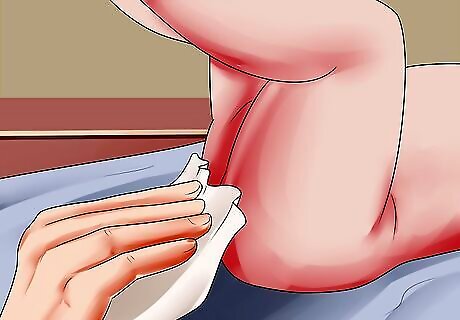
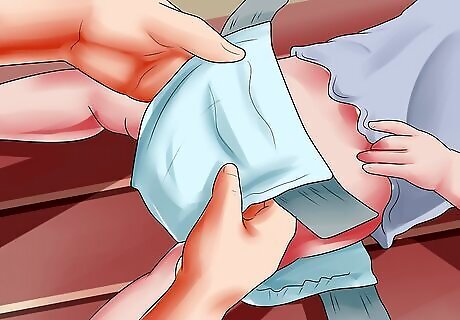
Clean the baby. Start removing the diaper. Now that the baby is entertained, proceed in peeling back the flaps of the old diaper, lifting the child’s rear end up a few inches into the air and removing the diaper. Keeping the child’s rear in the air, reach for a baby wipe and wipe the child downward from genitalia to anus. It is absolutely important that when dealing with females, that you always wipe from vulva to anus. NEVER from the anus to the vulva as this can cause a serious vaginal infection if bacteria enter the vagina.
Replace the soiled diaper with a new one.
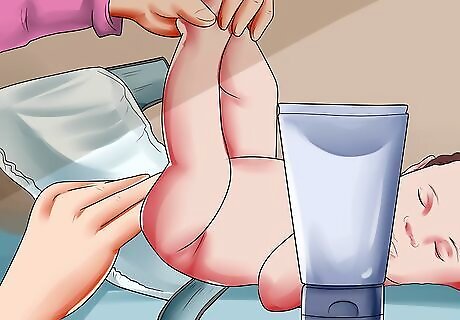
Put on diaper rash cream. Now that the child is clean and fresh, apply the diaper rash cream and/or baby powder to the child’s bottom, if you want, and let air dry. Take this time to unfold the fresh diaper, pulling out the two flaps located at the back and stretching them a bit so they will be more comfortable to the child. If your child is a newborn, now would be a good time to wrap the infant in a blanket to keep him/her warm until their bottom is dry.
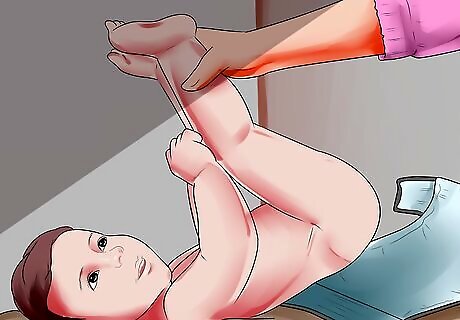
Once the child’s bottom is dry, lift up their rear into the air again a few inches and slip the fresh diaper up underneath the child’s bottom, with the flaps in the back and stopping at the small of the back thus providing a comfortable fit for the child. Now take the front of the diaper and fold it loosely over the child’s genitalia, letting it rest just below the belly button (don’t forget to blow a few raspberries for the older children in diapers to make them laugh).

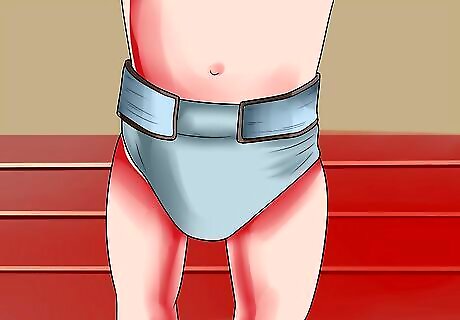
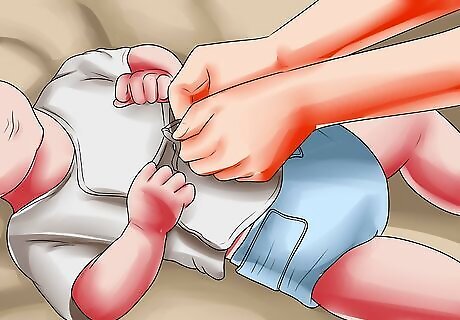
Now, one at a time, take hold of a flap and fold it over to the designated colorful spot on the front end of the diaper. If the child is still very young and still has his/her umbilical cord attached, keeping the diaper off the umbilical cord is very important for hygienic reason. Folding over the protruding end of the diaper, or cutting out a hole beforehand can help evade infection.
PRESTO! Congratulate yourself for you have learned now to recognize and change a soiled diaper!
If necessary, change the baby's clothing. Take this time to replace the child’s soiled clothing the fresh clothing you have pulled out for him/her.


Comments
0 comment