
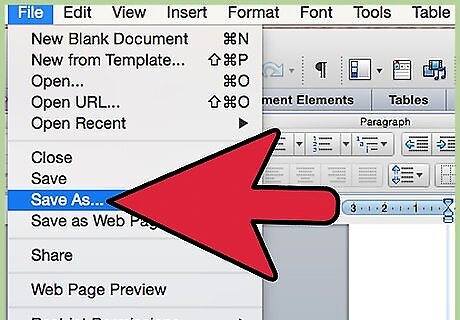
Note: You must have Microsoft Word on your computer to follow these instructions.
Abiding by General Rules
Be professional. Your cover is the first thing that people see when they look at your book. It shouldn’t be off-putting, disturbing, or too comic and absurd. Even if your book is very funny, the cover needs to be professional looking. Remember that there’s a difference between professional and boring – your cover should be interesting and enticing, but it also needs to look composed and clean. For example, if you want your cover to be a naked man running through a football field that is perfectly okay. You just have to find a professional way to show that. Maybe the picture is from behind and far up so that you can see an empty stadium and the entire field. This cover is interesting, professional, and engaging. Make sure that people can actually see your title. You don't want it to be fading into the background of your cover.
Keep it simple. You don’t need that much on your cover to make it interesting. Don’t choose a picture that is too busy or complicated. Remember, most people are just going to be glancing over books. Your book cover should pop without being too intricate. You also don’t need to use Photoshop or any other more serious editing software to make a good cover. You might just end up with a poorly photoshopped photo if you do that.
Complement the story with your cover. Everything from the text to the color scheme to the picture should act as an extension of your story. It doesn’t necessarily have to show a scene or character from the story, but it should match the general feeling that you want the reader to have while reading the book.
Choosing Your Picture
Find a picture you are allowed to use. Just using google images probably won’t cut it. You’ll end up with a picture that is copyrighted for commercial purposes. Try using Flickr creative commons for photos that you can use for free. You can also scan a photo that you have and use that.
Avoid a busy picture. If there is too much going on in the photo than it will be less likely to capture someone’s attention. You don’t want too much action, and you also need space for your title and the author's name.
Choose a visually attractive photo. Pick a photo that people will want to look at. Even if your story is a horror story, guts and blood aren't that appealing when it comes to the cover. Pick something else that is spooky but also beautiful, like a dark lake, or the forest at night.

Trust your gut and be willing to wait. You will know it when you see it. Don’t settle for a book cover that you are feeling unsure about. There are so many beautiful pictures out there that you shouldn't settle for one until you find a picture that really sticks out to you. You should be proud and excited that you found this picture, not tentative.
Choosing Your Font
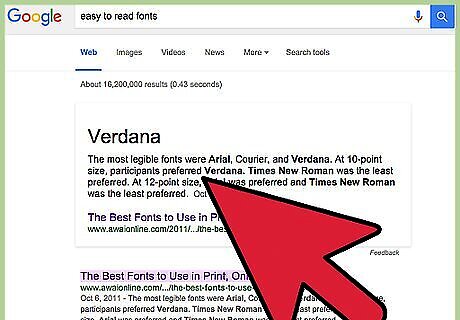
Choose a font that’s easy to read. You want your picture and title to capture the eye. If nobody has any idea what your text says they are less likely to be interested in the book. We naturally skip over text that is unintelligible.

Use one font for the title and another font for the author’s name. Some recommend using one font to accentuate a few words that you want to stand out in your title and then another font for the rest of the words including the author’s name. This is also a tactic that you can take; just make sure that neither font is too dramatically different from the other.
Avoid using more than two fonts. More than two fonts make the cover start to look messy and busy. Stick with two fonts that complement one another.

Make sure your picture and your font mesh. Don’t choose bubble letters if your picture is a serene landscape. Choose a font that complements your picture.
Creating Your Cover
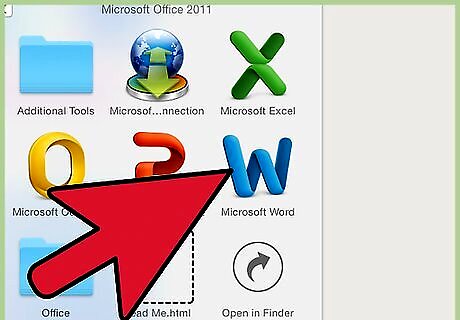
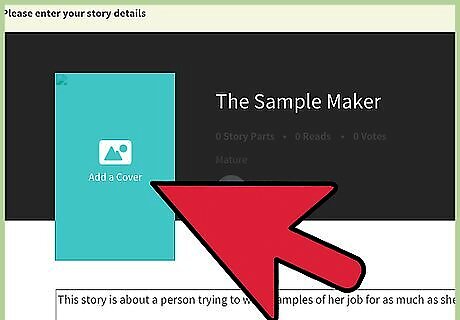
Open Microsoft Word and insert your picture. Simply click the "Insert" tab, and then "Picture". Choose your picture from the window that pops up, and make it the right size on your Microsoft Word document without stretching it or causing it to become pixelated.
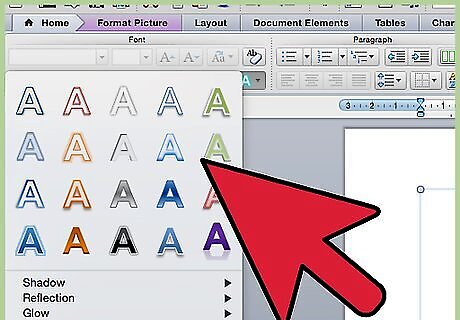
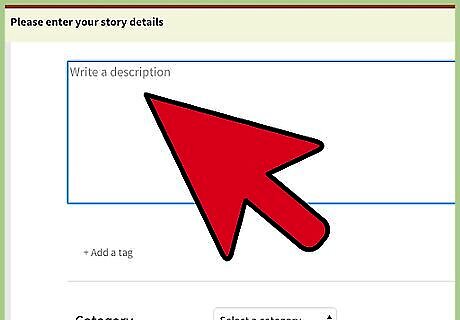
Insert the text for your cover. While on the "Insert" tab of your Microsoft Word document, click "WordArt". Choose which one you would like, then edit the text to the title of your Wattpad story. Change the font, color, and effects to the way you want them, then make them the right size and place them over your photo (make sure they all fit on the photo and no words hang off the side). Do the same with your name/Wattpad user name.
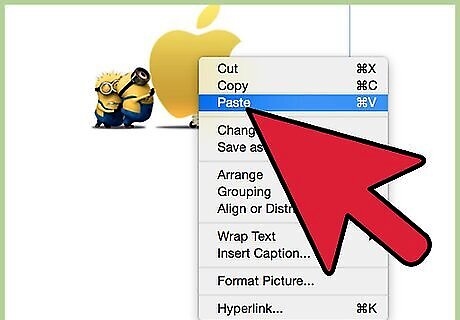
Take a screenshot of the screen. Press Ctrl + prt sc (control and print screen) at the same time, and then left-click your Microsoft Word document. Select "paste". A screenshot of your screen will appear. This may also be done in Paint.
Crop the picture to the right size. Once your screenshot is there, click it, and then click the "Picture Tools > Format" tab. Select "Crop" from the right side of the menu. Crop the picture to just your book cover by moving the black indicators around its edges, then click the "Crop" button again. There is your book cover.
Save your book cover. Left-click the photo you just cropped, and then click "Save as Picture". Save it to your photos or where ever else you will be able to easily locate it.
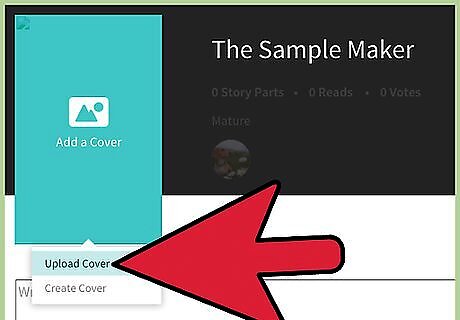
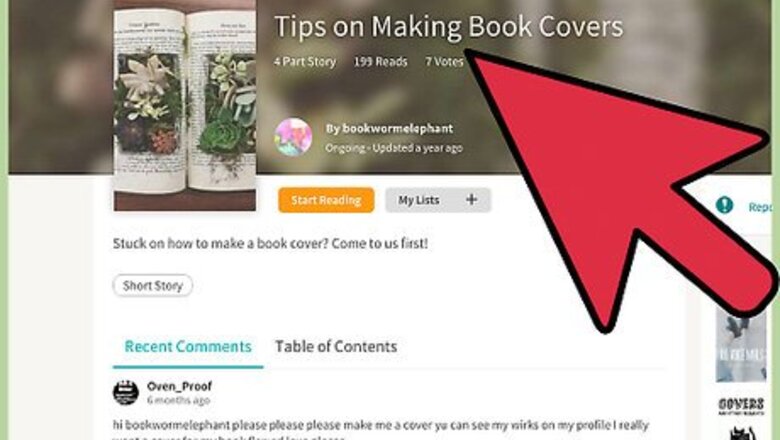
Upload it onto Wattpad. You have to make an account, but as soon as you do that there is a button on your home screen to upload the cover. It's as simple as that! You now have a beautiful book cover to accompany your story!


Comments
0 comment