
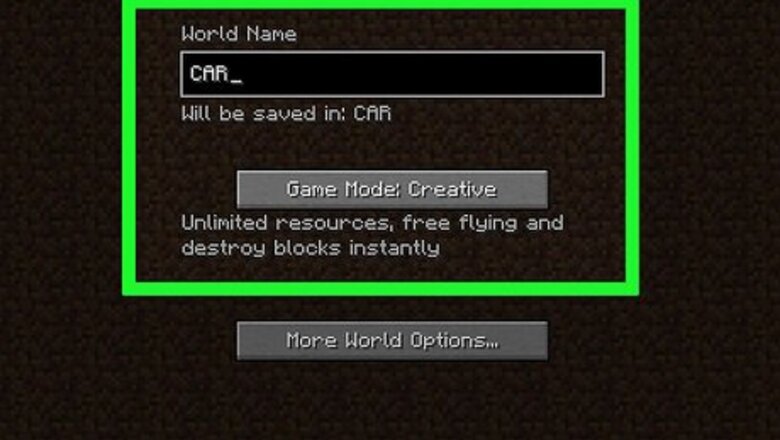
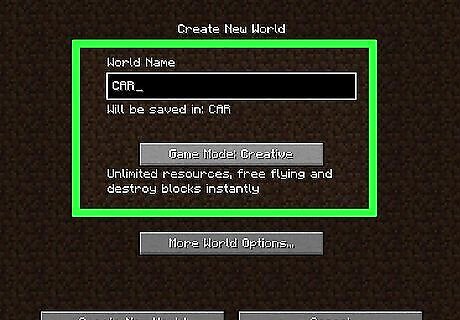
Start a new game in Minecraft's Creative mode. While you can technically build a car in Minecraft's Survival mode, doing so is very difficult due to the scarcity of most of the resources needed. Creative mode will allow you to create a car without running out of resources.
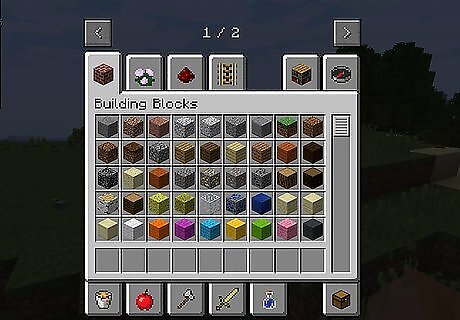
Open the Creative menu. To do so: Computer - Press the E key. Pocket Edition - Tap ⋯ Console Edition - Press the X (Xbox) or square (PlayStation) button.
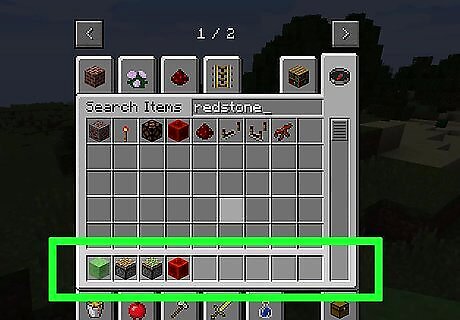
Place the car's building materials in your inventory. Move the following items from the creative inventory to your equip bar: Slime blocks Piston Sticky piston Redstone block
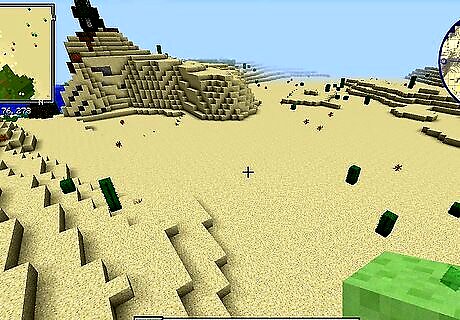
Find a flat space. The Minecraft car template will travel forward until it hits something, at which point it will no longer work. There must also be at least one block's worth of air below the car at all times, or it won't move.
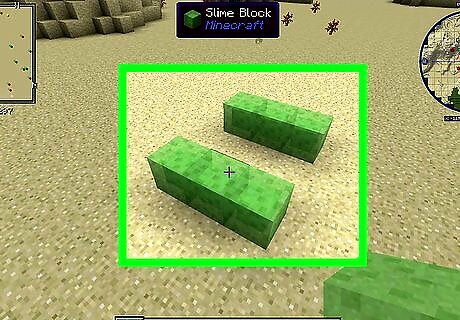
Create two parallel, three-block long rows of slime. These rows must have exactly two blocks of space between them.
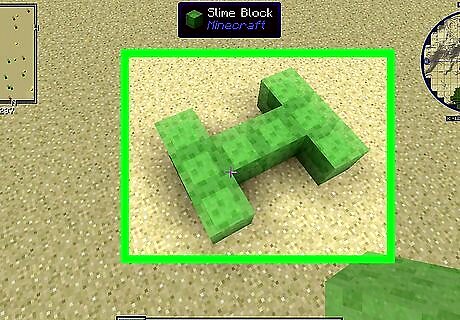
Connect the two rows. Place a total of two slime blocks between the rows of slime at the center blocks. You should now have a capital letter "i" shape, which will serve as the car's staging area.
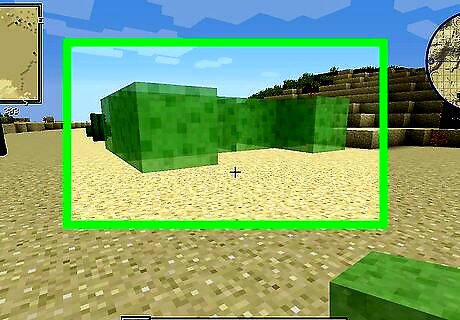
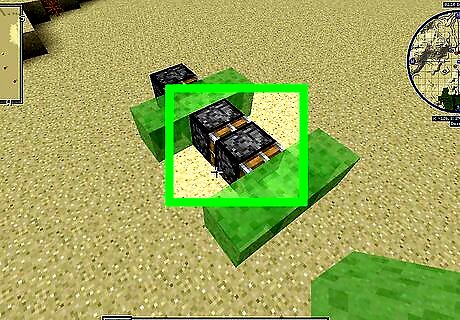
Create the car's body. Add a layer of slime blocks on top of the staging area, then remove the eight slime blocks serving as the staging area. This will leave you with an I-frame suspended in midair.

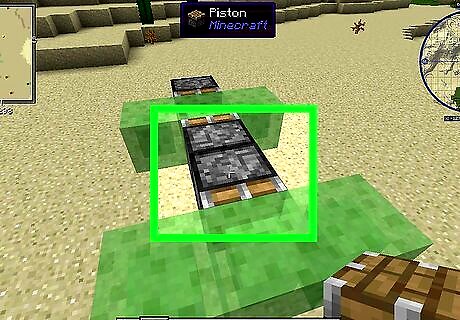
Place a piston behind one end of the car. The piston must be facing the rear-center block. The easiest way to do this is by removing the rear-center slime block, facing away from the car, placing a couple of blocks on the ground to serve as scaffolding, placing the piston, and then removing the scaffolding and replacing the slime block that you removed. The piston end of the car is the back of the car.
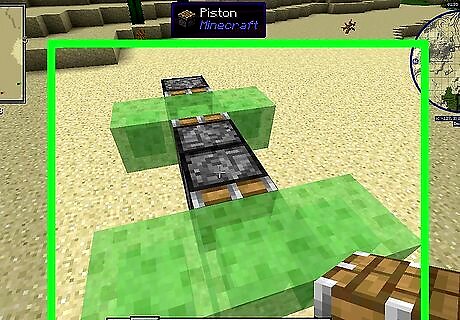
Place your sticky piston. Remove both middle blocks, face the front of the car, and place two sticky pistons. You may have to remove the slime block behind you and then replace it after the second sticky piston is placed.
Move to the front of the car. You'll need to replace the sticky piston closest to the front of the car with a regular piston facing the front of the car.
Replace the front sticky piston with a front-facing piston. This will leave you with the following design from front to back: A parallel slime row A front-facing piston A rear-facing sticky piston Another slime row A front-facing regular piston
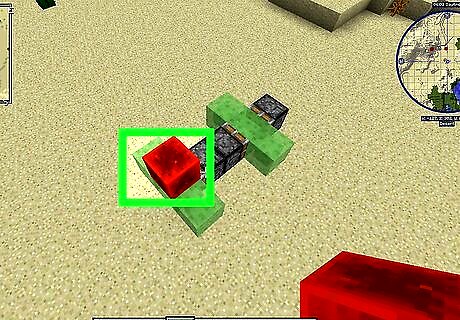
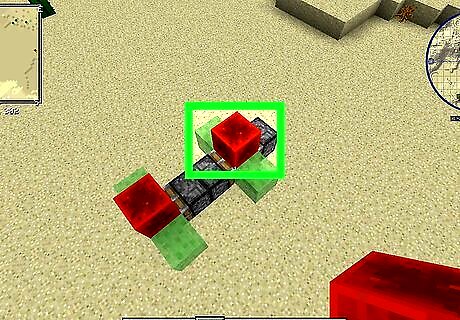
Place the first redstone block. This goes on the front-middle slime block.
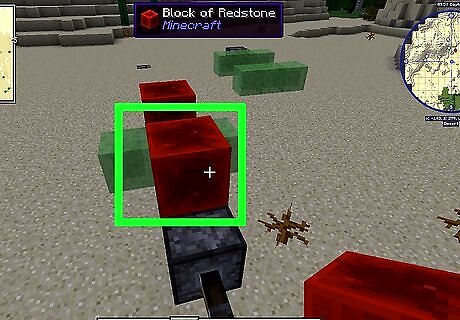
Place the rear redstone blocks. One block goes on the rear-middle slime block, and the other goes right in front of it on top of the sticky piston.
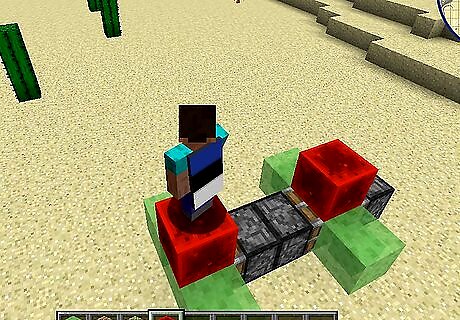
"Sit" on your car. Find a non-redstone area on the car on which to sit.
Break the sticky piston's redstone block. The car will begin moving forward. You can stop it by placing another redstone block on top of the sticky piston, or by placing any block in front of the car.


Comments
0 comment