views
Dyeing Your Paper
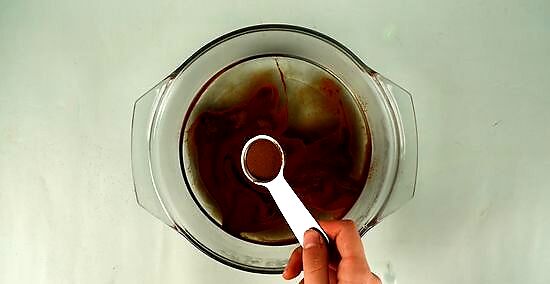
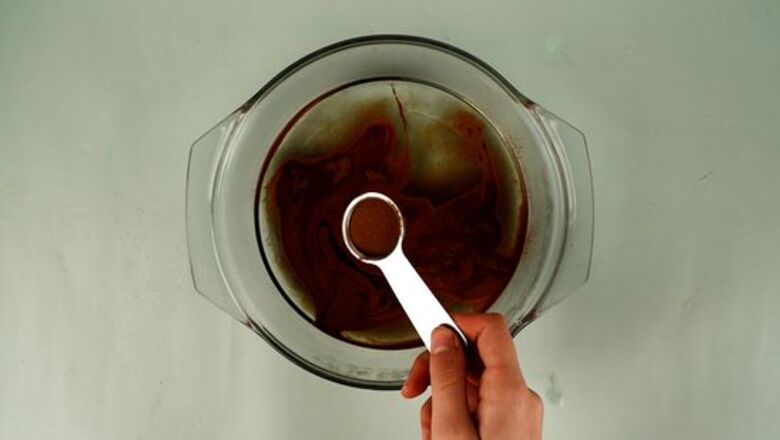
Mix water and coffee in a bowl or pan. If don’t want bright white paper for your bills, then you can try to create a color closer to normal currency by dying it with coffee. Get a coffee cup and fill it halfway up with hot water. Add in 3 tablespoons (44.4 ml) of instant coffee and stir quickly. Then, pour this mixture into a shallow bowl or pan. This should leave you with a deep brown colored liquid. If you want your money to only have a slight brownish tint, then you can add a bit more warm water to the cup. If you don’t have instant coffee on hand, you can instead use a tea bag steeped in a cup of warm water. To create an even more complex color, squeeze out 1-2 drops of green food coloring into the mug and stir quickly. This will give your currency a greenish tint.
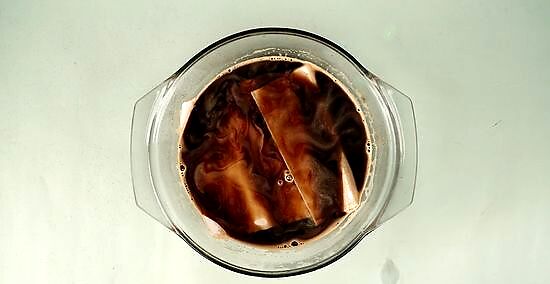
Dip the pieces of printer paper into the water. Hold a piece of paper above the dish and dip the paper into it. Try to evenly coat both sides of the paper. This will create a uniform color. Go as quickly as you and avoid saturating the paper to the point of ripping.
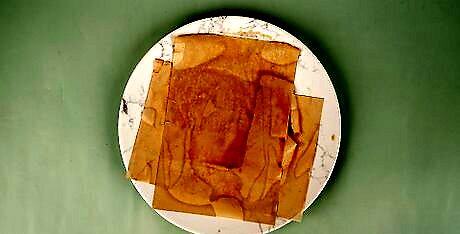
Arrange 1 piece of paper on a plate. Get a microwave-safe plate and place a single sheet of paper on it. The paper should lie flat right in the middle of the plate. You’ll need to use separate plates for each piece of paper. Or, you’ll have to wait until the single plate that you are using is cooled down after microwaving.

Microwave each piece of paper to dry it. Set the plate and paper in the microwave and cook it for 20 seconds on high. Remove the plate and tap your finger against the paper. If it still feels wet, heat it for another 10 seconds and repeat until it is dry. Set the finished piece of paper aside. Repeat the process with a fresh plate and sheet of paper.
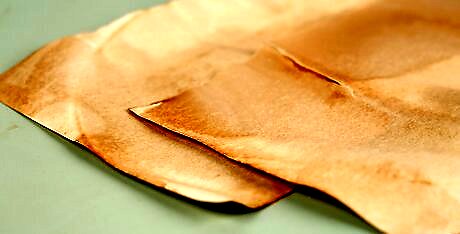
Let each piece of paper air dry, alternatively. If you want to avoid using a microwave, lay all of your paper pieces out to dry on baking sheets. Make sure that they do not overlap, as this will increase the drying time. You can also hang them up on a clothes line with clothes pins.
Designing Your Fake Money
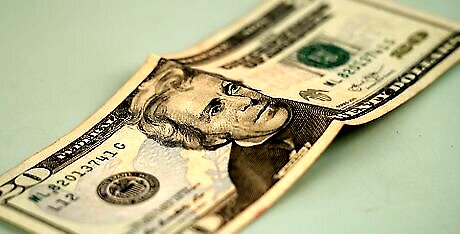
Follow all laws and regulations. Creating any kind of currency is generally regulated by your national government. In the United States, the final fake bill must be shrunk down to 75% or less of the original bill’s size or enlarged to over 150% of the original bill’s size. The government also encourages anyone who prints fake money to make it one-sided. Check with your national or local government before starting printing any fake money, just to be safe. You should also note that it is illegal to copy money in color tones in many areas. Instead, you’ll probably need to go with black and white bills.
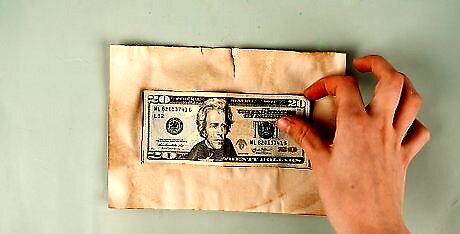
Draw out your currency. If you’d like to avoid the computer and printer, you can use a pen to sketch currency images directly on to your paper. Place a piece of real currency on the paper and then trace around its edges. Use a fine tipped pen to draw additional details inside the bill’s outline. This is an especially great way to make fake money for kid’s activities, as it allows you (or them) to put all sorts of images on a bill.
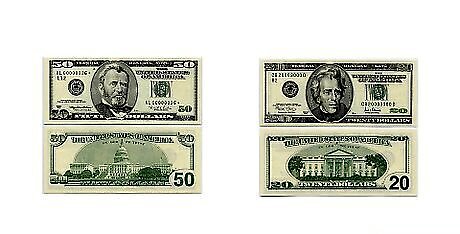
Download play money worksheets. Get on your computer and search for “play money templates” or “play money worksheets.” Download the document and fill it out with any extra details. Some templates allow you to change the dates or text on the currency. You can also adjust the print size, so that the currency follows any laws. Some educational currency websites will even let you put your own photo or another image in the center of the bill.
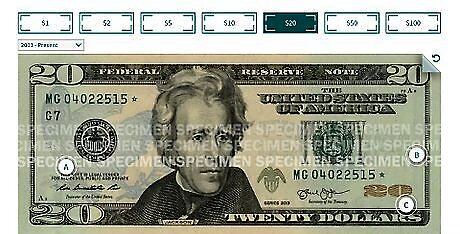
Use watermarked government money images. The Treasury Department of the United States provides images of currency that can be downloaded and printed out for educational reasons via their official website. Other financial groups, such as the European Central Bank, offer the same service as well. Go online, pull up one of these files, and then you are ready to print. Many of these entities offer images of both coin and bill currency.
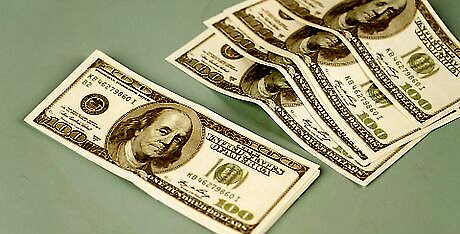
Buy from a prop company. Prop companies are businesses that you can find online or through costume stores. They make sets of fake currency for movies, plays, or other performances. You can generally request more detailed bills or just generic stacks that can be realistic from afar. This is also a good way to get fake money that you know conforms to all legal rules and regulations. However, buying fake money from a prop company can be pricey. Make sure that you understand exactly what you are getting for your money. Most companies will require that you purchase a roll or stack of bills, not just a single bill.
Finishing Your Money
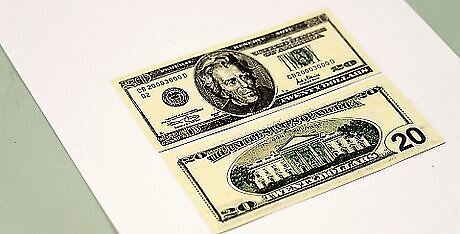
Print out your currency. Add your dyed or colored paper into the printer’s paper feeder. Double-check your printer settings to make sure the currency is fitted to the page. Then, print a single page at a time or multiple pages at once. For the best quality, use a laser printer.
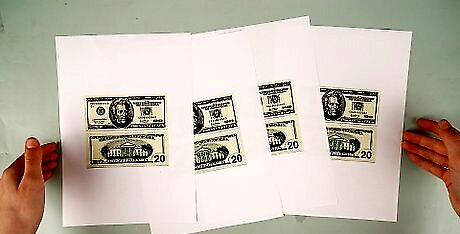
Create multiple copies. If you have a print out of a sheet of currency, you can place this in a copier and make additional ones. You can also make copies of real bills, but you’ll need to keep these black and white. To follow the law, you’ll also need to change the size settings to either 150% larger or 75% smaller than standard bills. You can also make two-sided copies of currency using most copiers.
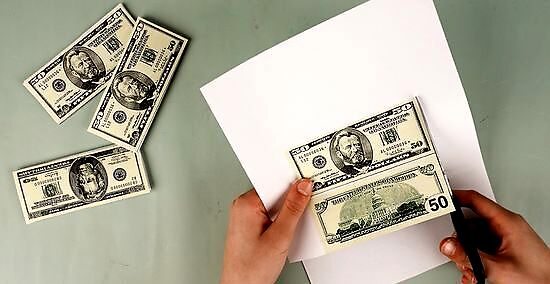
Cut your bills out. If all of your bills are the same size, place the sheet (or stack of sheets) inside a paper cutter and use it to cut them apart. This will create the most uniform, smooth edges. However, if the currency is different sizes, grab a pair of scissors and carefully cut around the sides.
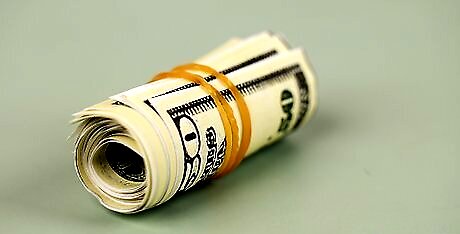
Add a band around the bills. Get cash straps from your local bank or office supply store. You can also use heavy, wide rubber bands. Use a permanent marker to write the name of a bank across the strap. Then, place a stack of bills inside and you are ready to go.









Comments
0 comment