
Measuring and Knotting the Ribbons
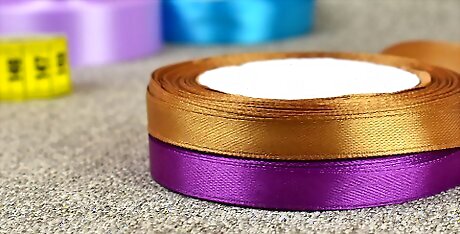
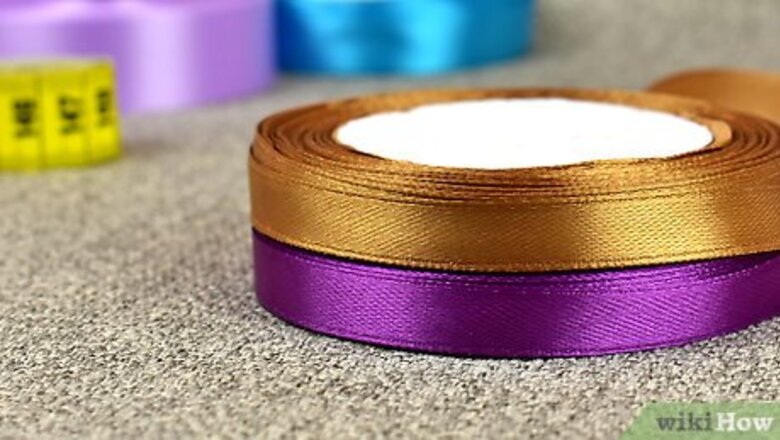
Select two different colors of ribbon in your desired size. Choose ribbons of the same brand and width to make the process easier. Many people choose ribbon that’s 0.625 in (1.59 cm) wide, but you can pick out whatever type of ribbon you’d like. For example, if you’re making the lei for a graduate whose school colors are blue and yellow, pick out a roll of ribbon in yellow and one in blue, making sure they’re both the same size.
Cut the ribbon strands to be roughly 5 yd (4.6 m) each in length. Unravel each roll of ribbon and lay them flat. Use a ruler or yardstick to measure at least 5 yd (4.6 m) of each ribbon, using scissors to cut them at the measured mark. You can measure out more than 5 yd (4.6 m) if you’d like to have more to work with just in case. Cut each ribbon at an angle for a more professional look or straight across depending on your preferences, making sure they're both the same length.
Align the ribbons and tie a knot about 5–7 in (13–18 cm) from the ends. Take an end of each different colored ribbon and form a knot. Leaving 5–7 in (13–18 cm) of space between the knot and the end of the ribbons will give you room to tie the lei together once you’re finished. Create the knot by aligning the ends together and forming a loop, or by tying the two ends together like you would tie your shoes.
Forming the Loops
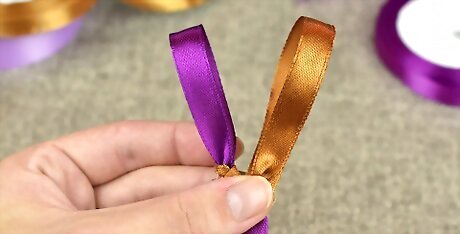
Create a loop with each ribbon near the knot. Form a loop with each ribbon, as if you were making bunny ears. The loops don’t need to be large—a length of 2 in (5.1 cm) works well. Make each loop so that they’re both roughly the same size. Hold one loop in your left hand and the other loop in your right for the best grip.
Stick loop #1 through loop #2, holding on to the base. It doesn’t matter which color ribbon you start with. For example, you might stick a white ribbon loop through a blue ribbon loop, or vice versa. Once a loop is through the other loop, hold the ribbons so one hand is holding each one in place at the base. If your ribbons have a shiny and non-shiny side, create your loops so that one ribbon has the shiny side showing and the other does not. Stick the shiny ribbon through the non-shiny ribbon to start the pattern of the shiny side showing on the lei.
Pull on loop #2’s end to tighten it around loop #1. Pull lightly on the loose end of the ribbon you used to make loop #2, watching as the ribbon tightens around loop #1. Pull the ribbon so that it’s equal to the width of loop #1. Be careful not to pull too tightly, or the ribbon will scrunch up. Avoid pulling the ribbon so that it’s too loose as well—you want the ribbon to be flat against the loop for the best lei. Hold loop #1 in place so it doesn’t move as the ribbon tightens around it.
Make another loop using the ribbon so that there are two loops again. With loop #2 now tightened around loop #1, you’ll need to make another loop #2 that’s the same size. Hold the already-made loop with one hand and use your other hand to form the new loop.
Put loop #2 through loop #1. Do the same thing you did before, just with opposite colors this time. Move loop #2 so that it’s through the center of loop #1. Hold each loop with a separate hand to make sure they don’t unravel. For example, if you first put a white ribbon’s loop through a blue ribbon’s loop, now you’d be putting the blue ribbon’s loop through the white ribbon’s.
Pull on loop #1’s ribbon end to tighten it around loop #2. Hold the loops with one hand, and use the other hand to pull lightly on the loose end of loop #1’s ribbon. Tighten it so that it’s flat against loop #2, and the ribbon isn’t bunched up or too loose. Keep the tightening of each ribbon as consistent as possible so your lei looks its best.
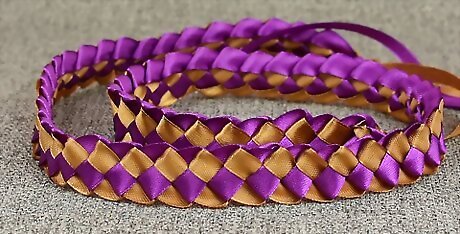
Repeat these steps until your lei is as long as desired. Create another loop, now putting loop #1 through loop #2 again. Tighten loop #2 so the ribbon is flat against loop #1. Continue switching off between colors until you’re satisfied with the length of your lei. To check how long it is so far, hold it around your neck in a U-shape and pretend to tie it together. Remember that whichever ribbon is on the outside is the ribbon you’ll pull. This will also be the ribbon you’ll use to form the next loop, putting it into the already-made loop. Keep each ribbon flat once it’s tightened to avoid pulling them too tight or too loose. As you continue to create loops, your lei's length will get longer and longer.
Finishing off the Lei
Put the end of one ribbon through the other’s loop. After you’ve tightened a loop, instead of forming another one, slide that ribbon’s end into the already-formed loop. Pull it all the way through the loop so that it won’t slide back out.
Slide the remaining ribbon end through the same loop. You should be left with one ribbon loop and that same ribbon’s end. Pull the remaining ribbon end through its loop, going in the opposite direction of the other ribbon. For example, if you pulled the first ribbon through the loop coming from the right, you’d pull the remaining ribbon through the loop coming from the left.
Create a knot with both of the ribbon ends. Tie a knot with the loose ends just as you did when you first started the lei, forming it at the base of the last loops. Make a double knot to ensure it’s extra secure, if desired.
Snip off the extra ribbon length using scissors if desired. Once your final knot is tied, cut off the ends of the ribbon so that they’re short and even. Leave at least 5 in (13 cm) of length for you to tie the ends of the lei together. Once you tie the 4 ribbon ends together in a knot or bow, your lei is finished! Cut the ends of the lei at an angle or straight across, depending on your preferences. Coat the ends in a clear nail polish top coat to keep them from fraying. You can also tie the ends to something like a sign instead, making a wearable banner.


Comments
0 comment