
Making the Dough
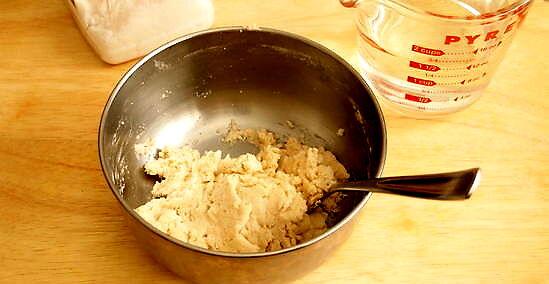
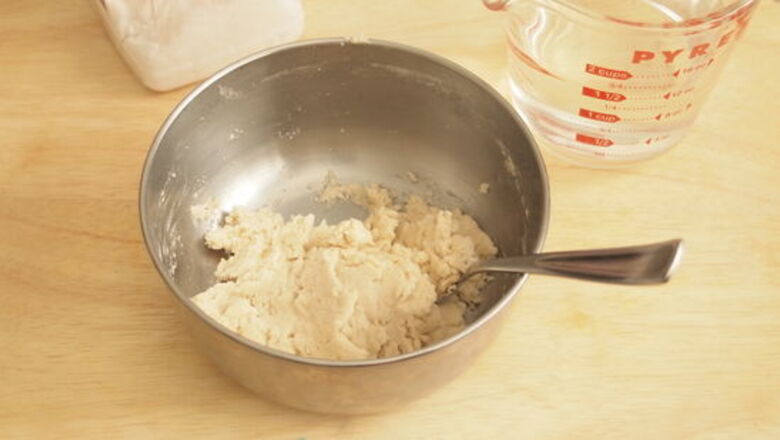
Pour 2 cups (256 g) of flour into a large bowl. Add 1 cup (201 g) of salt, ⁄4 cup (180 mL) of water, and 2 tablespoons (30 mL) of vegetable oil bowl. Stir thoroughly until all of the clumps have been removed from the mixture. It should gain a doughy consistency.
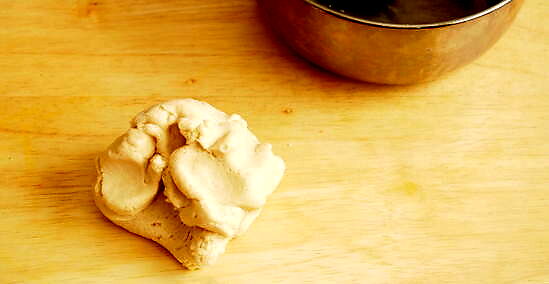
Pour the dough onto a flat surface, such as a cutting board. Knead the mixture with the heels of your hands. Press, fold, and rotate the dough with your hands until it is smooth and thick.
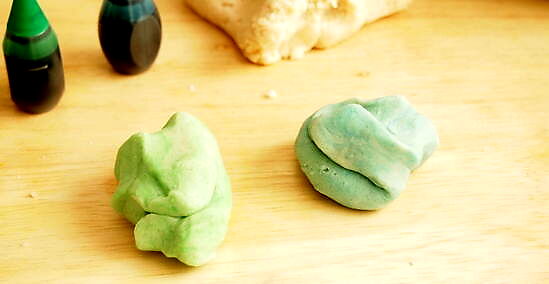
Add food coloring or glitter (optional). Make several batches in different colors. Color can be obtained easily using food coloring available in cake decorating supplies. Glitter adds a lot of pizzazz to the dough. Edible colors include chocolate powder, coffee, spices, beetroot water, carrot juice etc.
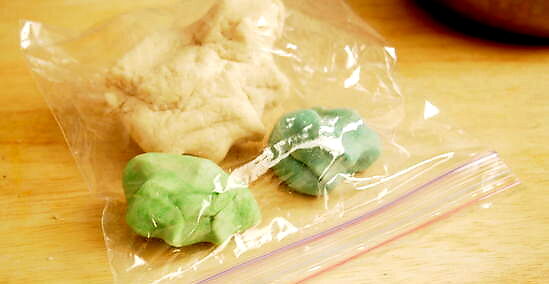
Store your salt dough in an airtight container. It will keep for several days so long as the container is properly sealed.
Making Decorations with the Dough
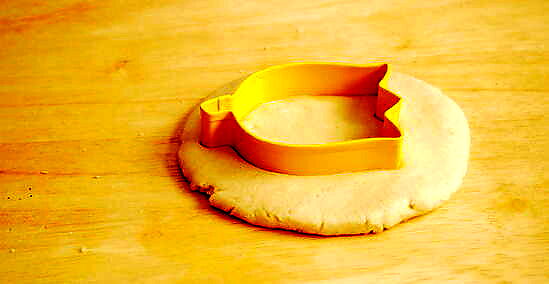
Mold shapes with dough by hand or with cookie cutters. Salt dough is a great way for kids to make easy holiday decorations. It is easiest as a beginner to start with flat objects before advancing to 3D figures with details. Layering details over the initial figure should only be attempted when you feel confident about making the initial shape. Use a rolling pin to flatten out the dough before you use cookie cutters. To prevent your dough ball from drying out while you are working on a smaller piece, place a damp towel over the ball until you are ready to use it.
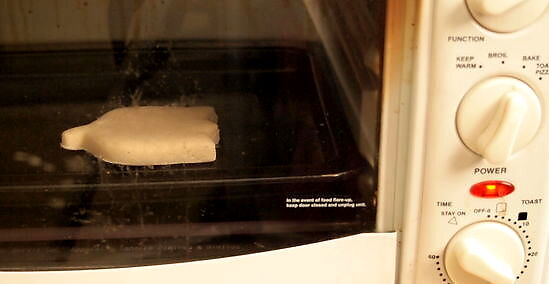
Dry the decorations. There are several different ways that salt dough can be dried: Air dry your decorations. Choose a warm, dry place to let the figures dry. Place figures on a grill to permit air circulation. This method will take about one week and is only suitable for small, flat and thin figures. Air dry and use an oven. Allow for a little drying by air and then bake the figure in the oven for half an hour at 50ºC (122ºF). You can increase to 100ºC (212ºF) after the initial half hour if more time is needed. Put your decorations directly into the oven. Set the oven at 180ºF (82ºC) for about 10 minutes. Dry directly on the oven rack to ensure even drying over the entire figure.

Check the decorations continuously if you choose to dry them in the oven. You do not want to brown or burn the figure.
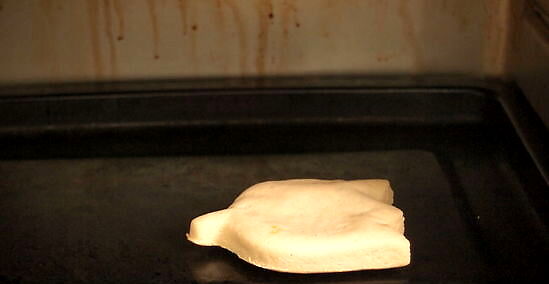
Tap the cooked figure. If it sounds hollow, and will not yield to your finger, it is ready. If not, dry it for a longer period of time. Dry it at a low temperature or air dry it to avoid browning it. Placing it in the oven more than once will increase the chance of your decoration cracking.
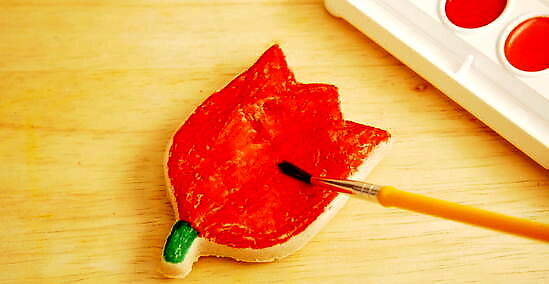
Decorate the figures. They can be painted once dry.
Other Ways to Use Dough
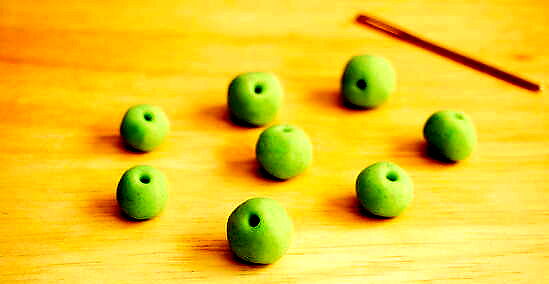
Create jewelry out of dough. Your kids can make inexpensive necklaces and bracelets that will look cute and stylish.
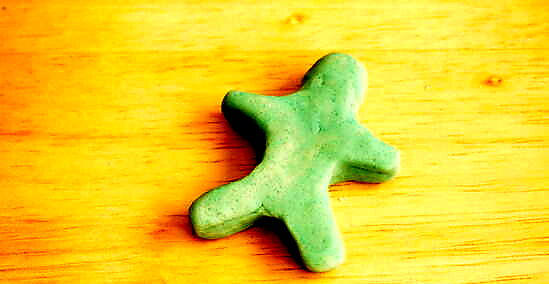
Make figurines out of dough. Shape the dough into the different components of something (such as a head, body, arms, and legs) then stick them together! In order to keep them attached, wet both parts that you would like to stick together.
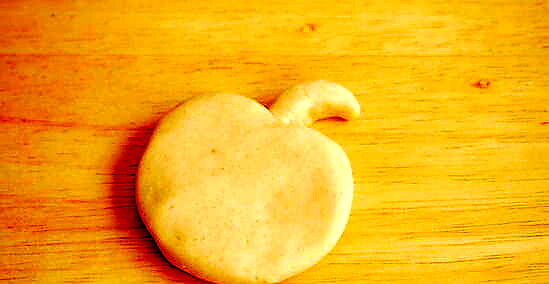
Get crafty by making dough food. You can give dough food figurines to your kids to play house with, or decorate your fridge by gluing magnets onto the back of the dough shapes.


Comments
0 comment