views
Getting the Watermelon Juice
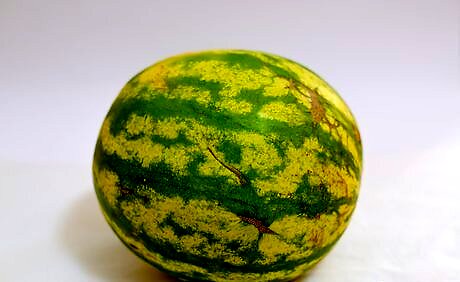
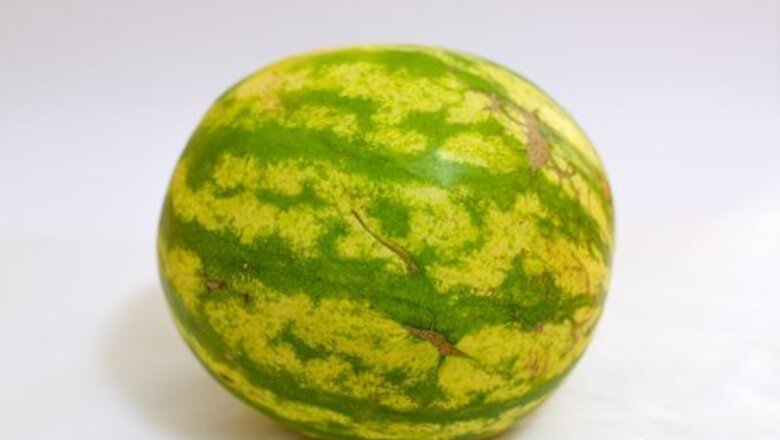
Pick the right watermelon. Make sure to pick a large, ripe watermelon. To check ripeness, knock on the watermelon. If the knock sounds like a dull thud, it is underripe. If the knock makes an almost hollow-sounding noise, the watermelon should be ripe. Make sure that the watermelon has a round, regular size and feels heavy. When fruit feels heavy for its size, it means that it has a lot of water inside and is ripe.
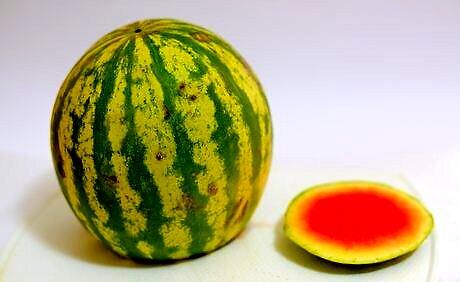
Remove the rind from the watermelon. Wash the watermelon, then lay it on a cutting board. With a large knife, Peel a Watermelon by first cutting off the very top and bottom, then placing the watermelon upright and slicing downward to remove the rind. Make sure to keep your fingers clear of the area of the watermelon you are cutting. Also use a sharp knife so that you don't run the risk of having to use excessive force and accidentally nicking yourself with the knife. After cutting off the rind, slice off any white strips on the watermelon until you’re left with only the red fruit.
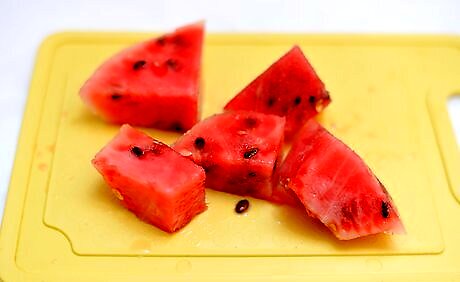
Chop the watermelon into one-inch cubes. After you have removed the rind, chop the red fruit into one-inch (2.5 centimeter) pieces. These pieces don’t have to be precise since you’ll be cooking them down, they just have to be relatively small chunks.
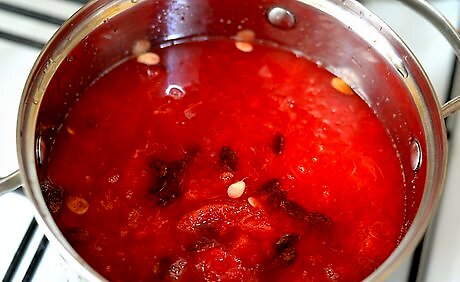
Place the watermelon in a large pot and cook. Place the watermelon chunks and the juices in a large pot and turn the heat to medium. You will cook the watermelon down so it liquefies and can be turned into wine.
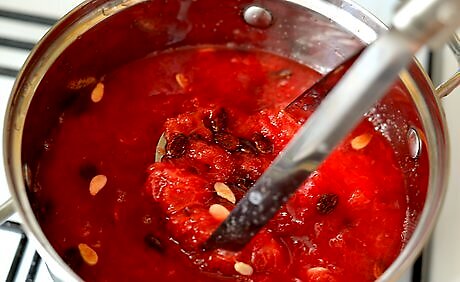
Stir and mash the watermelon until it’s liquefied. As the watermelon heats, it should begin breaking down. Help to speed up the process by mashing the fruit with a large spoon and stirring the watermelon frequently. Stop when most of the fruit has broken down, about a half hour, and remove the pot from heat.
Filter 14 cups of the watermelon juice. Carefully pour out 14 cups (3.5 liters) of the watermelon juice through a fine mesh strainer to catch any of the watermelon seeds or large chunks of the fruit. If you have leftover juice after you pour out the 14 cups (3.5 liters), you can reserve it to drink cooled or to use in cocktails. Store the leftover juice in a sealed container in the refrigerator for up to three days.
Preparing the Watermelon Juice for Fermentation
Add the sugar to the watermelon juice. After you’ve finished straining out the seeds from the watermelon, pour the 14 cups (3.5 liters) of juice into a large pot. Add the granulated sugar to the pot, and heat until almost boiling. Stir until the sugar is dissolved. Then remove the pot from the heat.
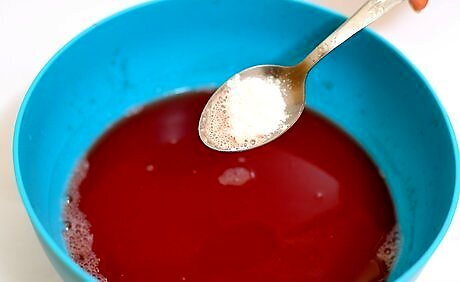
Add the acid blend and yeast nutrient. Wait until the watermelon and sugar mixture cools to room temperature, then add the acid blend and the yeast nutrient. Stir with a whisk until they dissolve, which should take around thirty seconds.
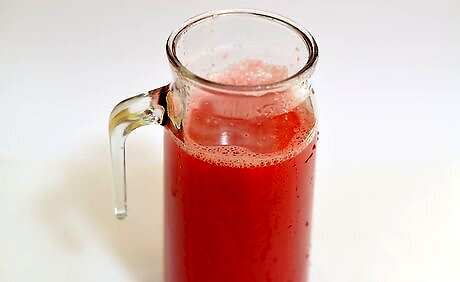
Transfer the juice into a fermentation container and cover. Carefully pour the watermelon juice into a 1 gallon (3.7 liters) carboy or another large fermentation container. Then cover the top of the container with a cloth and let it sit for 24 hours. Fermentation containers include heavy-seal plastic bins, glass or plastic carboys, and stainless steel kegs and tanks. The most important aspect of a fermentation container is its ability to seal completely and keep out oxygen. Before the using the fermentation container and other fermentation equipment, sanitize them by soaking them in a mixture of water and bleach, with 1 tablespoon of bleach to each gallon of water, for at least twenty minutes.
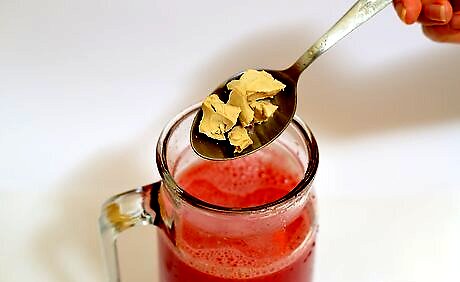
Sprinkle in the yeast and seal the container. After the juice has sat for 24 hours, add the Champagne yeast by sprinkling it over the top of the juice. Then use an airtight lock to seal the fermentation container. Let the juice sit overnight.
Racking and Fermenting the Wine
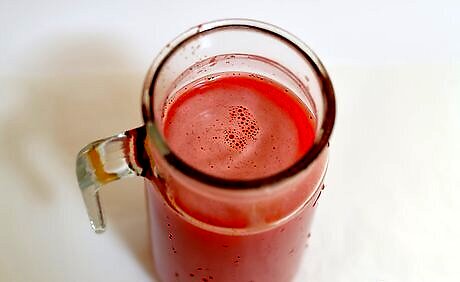
Rack the wine and leave it for three months after fermentation begins. After you have set your wine aside for one day, you should notice that the surface of the liquid has become bubbly and foamy, and bubbles have formed in the airlock. This means that the juice is starting to ferment into wine. To rack the wine, place the end of a siphon hose into your fermentation container about an inch from the bottom. Then suck the hose to start the siphoning process. The wine will start to move through the tube once you get it started. Place the other end of your tube in the other fermentation container, then seal the lid when all the wine has transferred. You will notice that some wine sediment has been left behind in the first fermentation container. After you notice the bubbles and foam, Rack Wine into another 1 gallon fermentation container to leave behind the sediment. Cap the container and let it sit for two months.
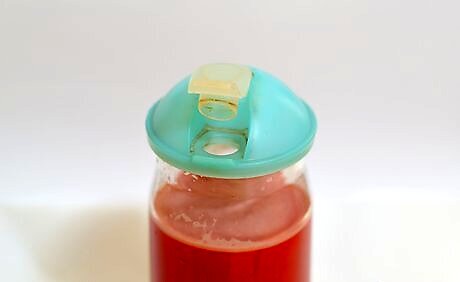
Rack the wine again after two months. After the three months have passed, repeat the process of racking the wine and place it in a new fermentation container. Cap the wine and leave it two months.

Rack the wine a third time. After two months has gone by, rack the wine again for the third time. This time, leave the wine for a month or so. By six months of fermenting, the wine should look quite clear.
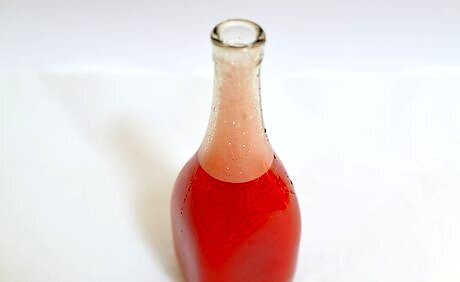
Rack the wine into bottles. After around six months, there should be no bubbles in the airlock and the wine should look clear. This means that the process of fermentation is over. Rack the wine one last time, but this time transfer the wine into several sanitized bottles. Fill the bottles to one inch below where the bottom of the cork will be.
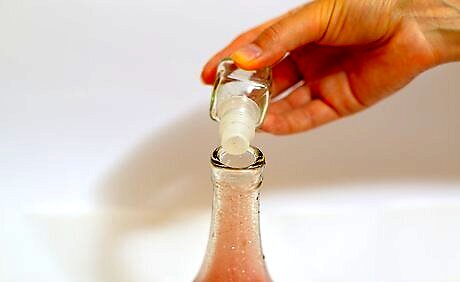
Cork the bottles. After you have poured the watermelon wine into bottles, soak corks in warm distilled water for 20 minutes. Then place the bottle into the hand corker. Put the cork into the opening of the bottle. Then in one fluid motion, insert the cork into the bottle using the corker. If in doubt of how to use the hand corker, read the instructions on your specific corker. Be sure to use corks that are 1 ¾ inch long.
Store or enjoy the watermelon wine. Now that your wine is corked, it is ready to be consumed! If you want a slightly more nuanced flavor, you can store the wine in a cool dark place for six months to a year. Otherwise, uncork a bottle on a warm summer night and drink it chilled or at room temperature.


Comments
0 comment