
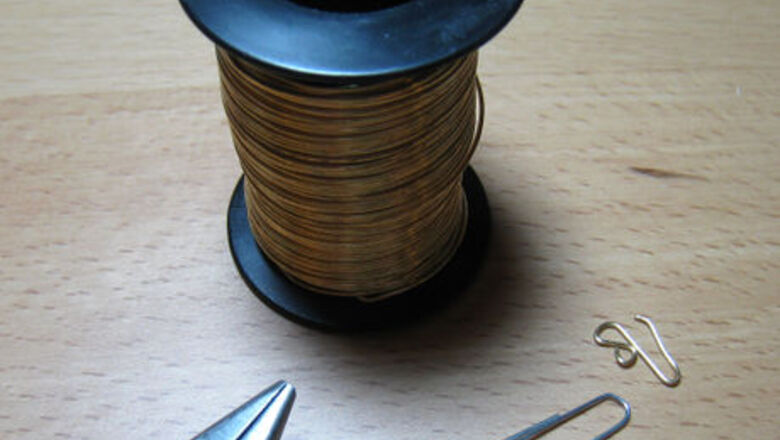
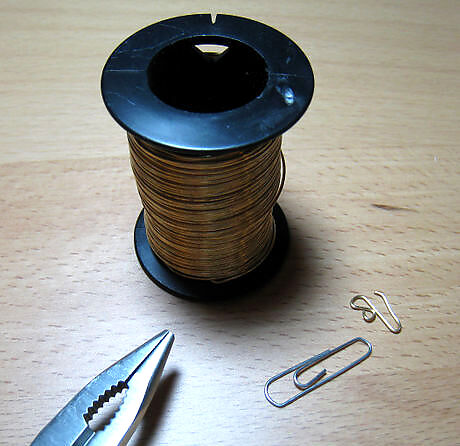
Start with a spool of craft wire or straighten a paper clip or two. Any small paper clip will do, whether or not it is plastic coated, as long as it is made of wire. Craft wire, if you have it, is a little softer and easier to work.
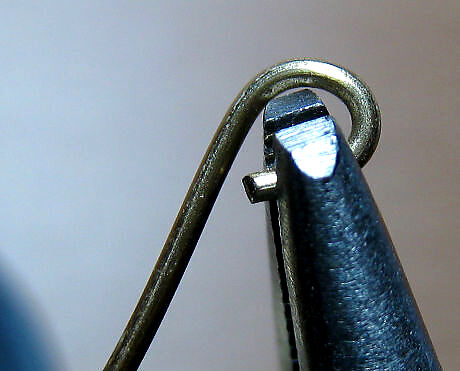
Grip the very end of the wire in the pliers. Loop the end of the wire closely around the tip of the pliers.
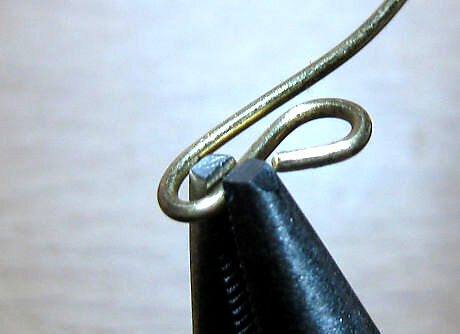
Grip the wire just past the loop you just formed and fold it over the other way.
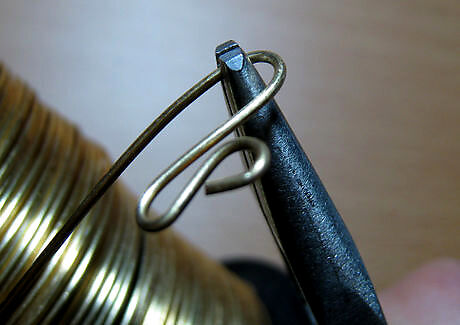
Grip the wire and turn it one more time. This time, grip it higher up and turn it a little more loosely.
Curl the wire out a little at the loose end.
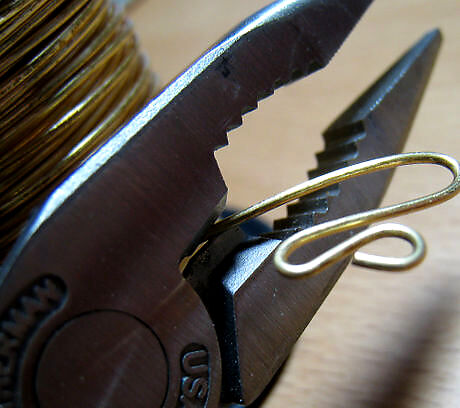
Cut the wire off where you want it, generally a bit past the bottom of the second loop. Many pliers have a wire cutting edge like these do.
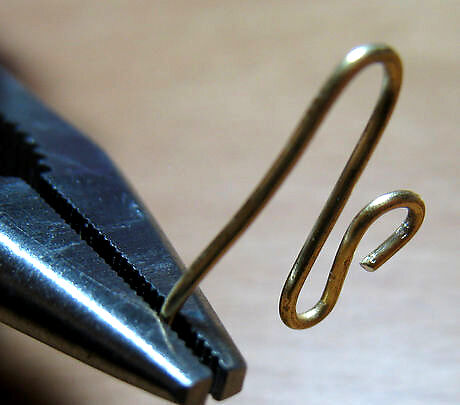
Curl the wire back toward itself. This will help when inserting the marker and it will help keep the marker from catching things.


Comments
0 comment