
Measuring Accurately Based on Your Draw
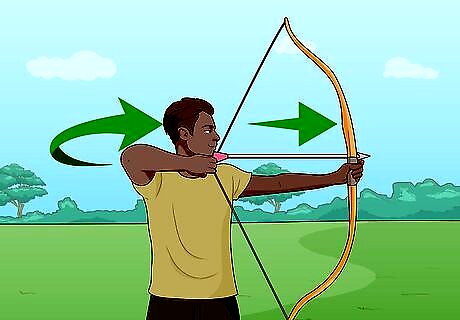
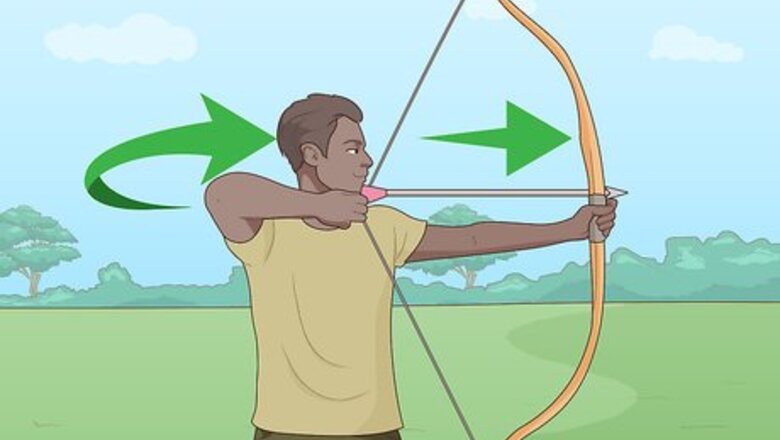
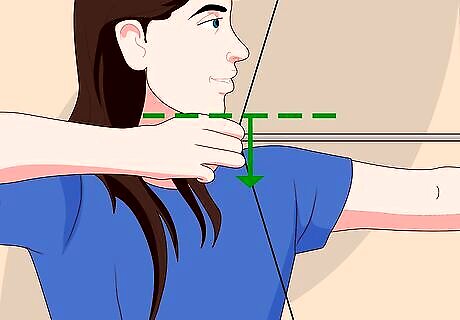
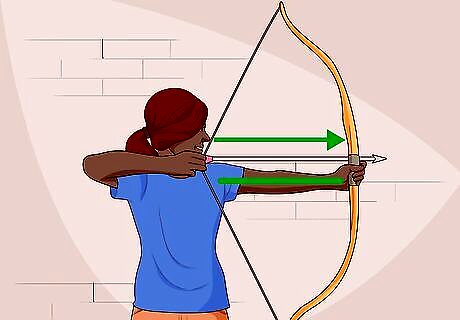
Learn proper form for drawing a bow. To get an accurate draw measurement, the most important factor is knowing how you will be drawing the bow to shoot in practice. If you have bad form, posture, or instruction, your draw length could come out several inches off from where it needs to be. A common issue with form is overstretching. It feels somewhat intuitive to stretch your arms and shoulders back as far as you can thinking this will translate into more power. However, beyond a certain point, you are not stretching in the direction of the arrow. This creates extra slack length that does nothing for your shot. Generally, you want your front arm outstretched and locked. Your back arm should draw the curve between the index finger and thumb to your jaw bone below the ear. This anchoring point will give consistent shooting and proper placement for aiming.
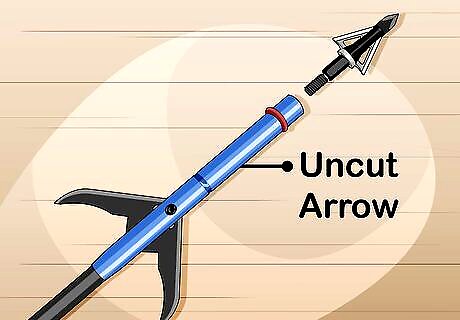
Use an uncut arrow to measure the draw. This is typically a professional’s go-to method for beginners as it utilizes the Archery Trade Association’s calculation for draw length. You will use a regular bow with the uncut arrow, and the pro will be able to mark your draw length like on a ruler.
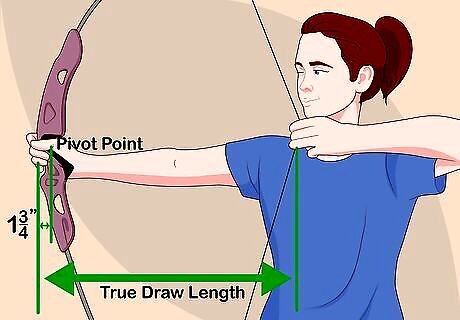
Draw the bow and measure from nock point to pivot point plus 1 ¾ inches. The nock point is where the arrow nestles on the string—not the end of the arrow. The pivot point is where the bow nestles into the curve between your index finger and thumb. The 1 ¾ inches addition is the measure forward from the pivot point to the front of the bow’s grip. This is deemed the “true draw length.”
Consult your local archery club or sales shop as a beginner. Typically this will be your best bet to get a professional’s help in determining your appropriate draw length. Although the methodology may change from professional to professional, they will have a method that has worked well in their experience. This will also give you the chance to ask more questions and find out what to do if you feel the measurement turns out slightly off.
Using the Wingspan Method
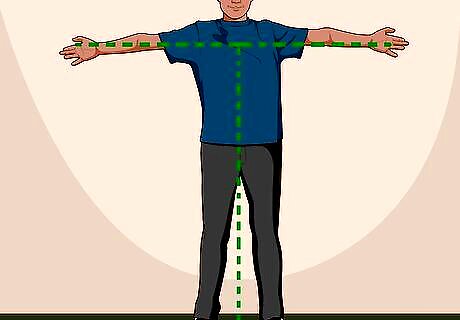
Stand against a wall with your arms outstretched. Make sure the wall is bare behind you so as not to alter the measurement. Your arms should be parallel to the floor, but not overly reached out to the side. Your body should be forming a "T" shape.
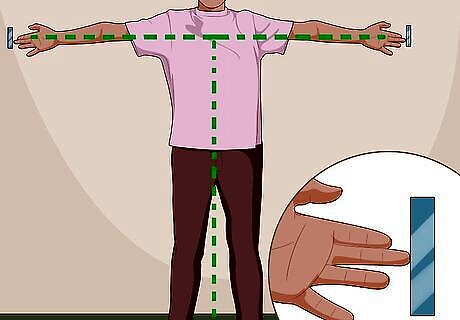
Mark the wall to where your middle fingers extend. Have a friend place a small piece of painter’s tape (to avoid damaging the wall) at the tip of each of your middle fingers.
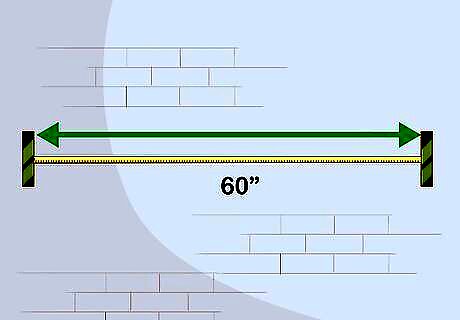
Measure your wingspan from tip to tip in inches. With a tape measure, calculate the distance between each piece of tape. This is your wingspan. You can now remove the tape from the wall.
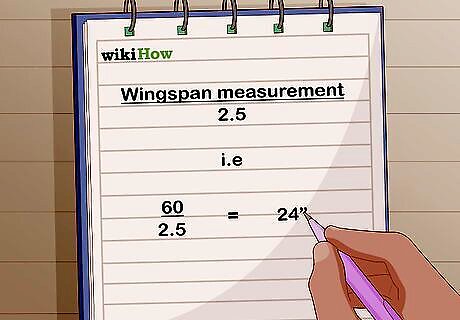
Divide the wingspan measurement by 2.5. This is another tried and true method used by archers everywhere. Some places will use your height instead, as there is a correlation between height and wingspan, but since your arms are doing the work, it is best to do this by wingspan.
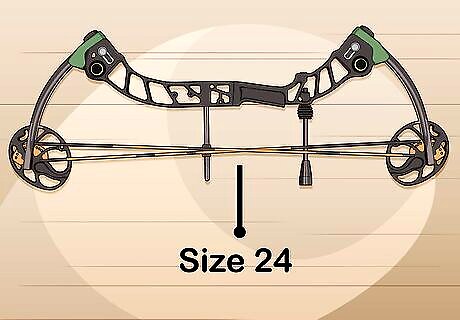
Use this measurement to buy or set your bow’s draw length. Depending on the type of bow you are shooting with, you will either select your recurve bow size by the draw length or adjust the compound bow’s settings to match your draw. Have an idea of the size you need before going into the store. This will save you time and effort when dealing with the salesperson. You also need to research the draw weight that is appropriate for your age, size, and physical ability. Consult a pro to help you decide if you are unsure.
Using an Arrow
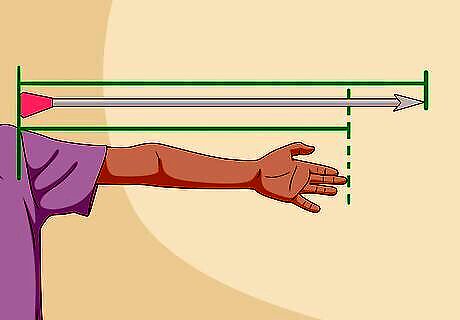
Get an arrow that is longer than your arm. Use an uncut arrow or a specific measuring arrow with ruler markings on the side. Check at your local archery supply store or make your own. This can help make calculating the distances a little easier in the long run.
Place the notch of the arrow on your chest. It should be just below the collarbone. This aligns the arrow with your shoulders’ sockets to the left and right.
Face your palms together with the arrow between your hands. The arrow should be pointing away from you, parallel to your arms. Do not arch your back to get extra distance!
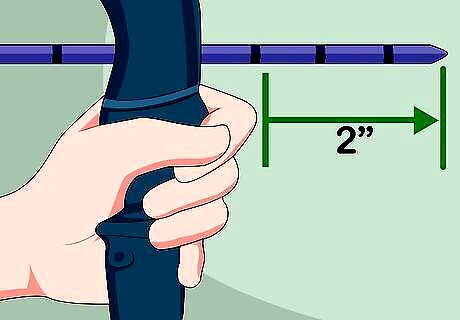
Mark where the tips of your middle fingers reach on the arrow and add 2 inches (5.1 cm). Similar to the Archery Trade Association’s calculation, you will add 2 inches (5.1 cm) on top of the measurement from the arrow. Although this method is not typically as accurate for professionals, it’s a good starting place for beginners or archers working solo.


Comments
0 comment