views
Making a Mold from Reusable Materials
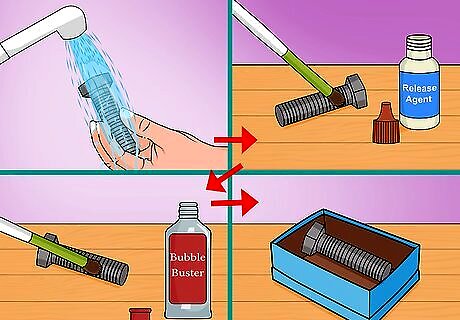
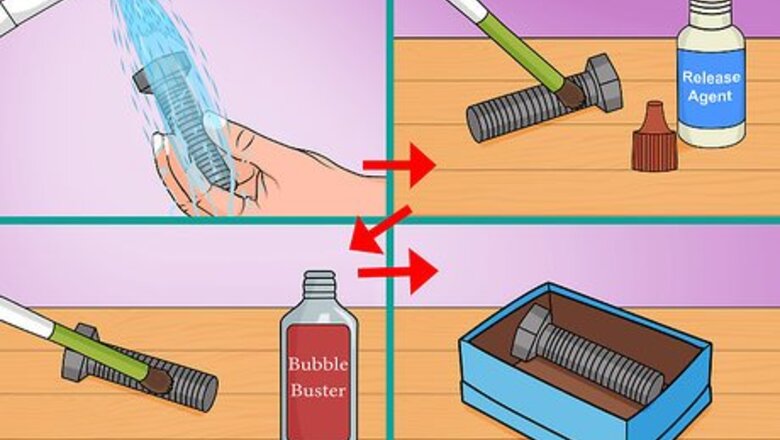
Prepare the master part. The master part is the item that you will use to create the mold. To prepare the master part, first wipe down or wash the item. Once clean and dry, apply a release agent to the original item—this will ensure that the master part will pop free from the mold. Coat the item with a layer of bubble buster—this product prevents the formation of air bubbles around the master part. Place the master item into a heat safe container. The container must be slightly larger than the item.
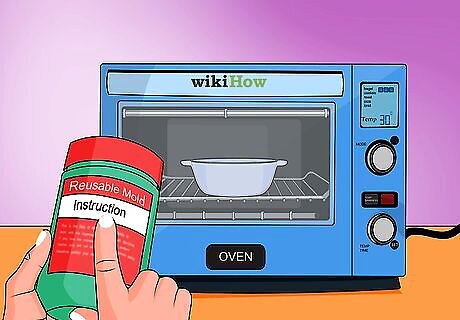
Melt your reusable molding materials in a microwave. Reusable molding material is easy to use and mistake proof; you can melt, mold, cast, and de-cast reusable molding material up to 35 times. Place the container of reusable molding material into a microwave. Follow the instructions on the product to properly melt the materials. Heat the material for short intervals, roughly 15 to 20 seconds, until you understand how the microwave affects the materials. If you do not have a microwave, you may use a double boiler.
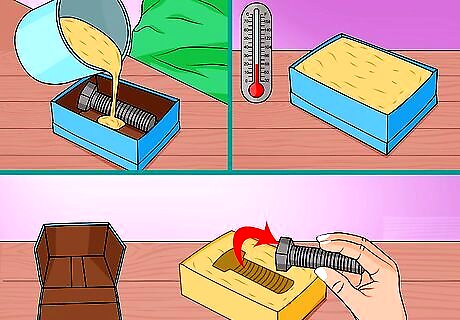
Pour the melted material over the master part. Carefully pour the melted molding material over the master part. Allow the product to cool and harden. Gently remove the mold from the heat safe container and the master part from the mold.
Making a Silicone Mold
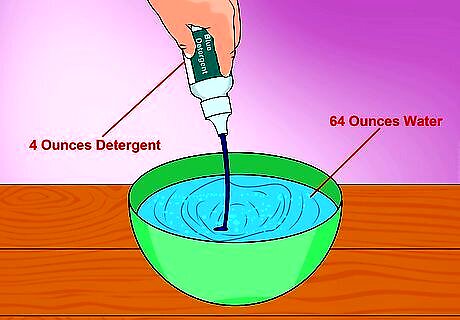
Create a catalyzing solution with soap and water. When a high concentration of dish soap is combined with water, it forms a catalyst bath for silicone—it allows the silicone to cure faster. In the large bowl, combine approximately 64 ounces of water with 4 ounces of blue dish soap. Mix the soap and water together with your hands.
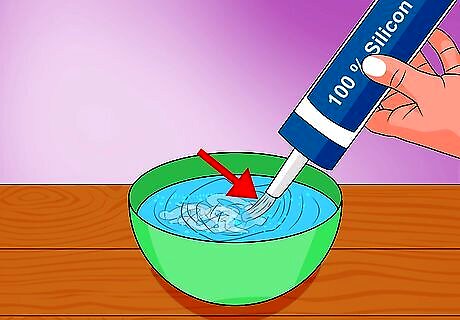
Catalyze the silicone. Use a pair of scissors to cut off the tip of the 100% silicone. Insert the bottle into a caulk gun. Empty enough of the 100% silicone into the catalyst bath to surround your master part. If you are unsure how much you will need, use the entire bottle of 100% silicone.
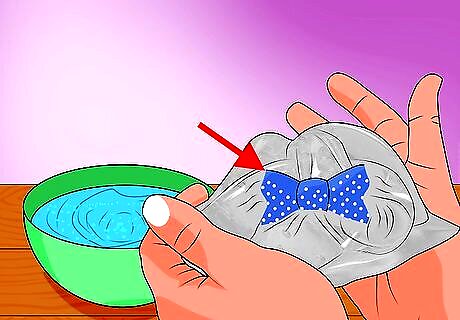
Knead the 100% silicone in the catalyst bath. Submerge your hands into the catalyst bath and slowly gather the strings of 100% silicone into a ball. Massage the ball with your fingers. Pull, stretch, and fold the 100% silicone as you knead it. Continue to knead the 100% silicone until it stiffens and becomes less malleable.
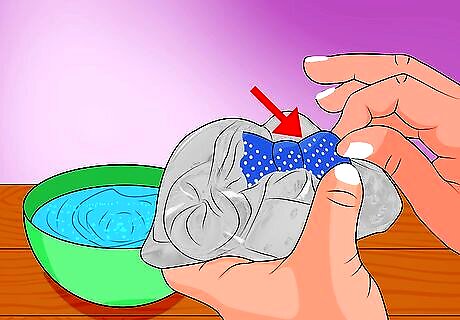
Form the mold. Retrieve your master part. Carefully flatten out the 100% silicone so that it is ½ inch thick. Cover the master item with the 100% silicone—press the 100% silicone into all of the knocks and crannies of the master part. Once you have formed the mold, attempt to wiggle the master item out and back into the mold. If you can easily achieve this, the mold is ready to cure. If you can not, reform or cut away parts of the mold. Applying a release agent to the master item will make it easier to remove from the mold.
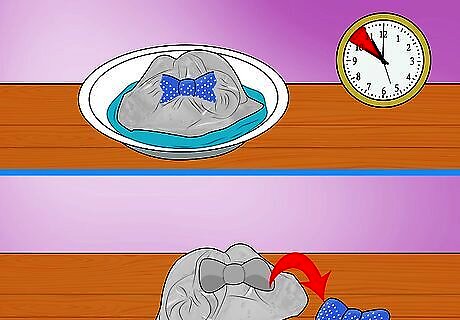
Allow your mold to cure. Pour soapy water onto a paper plate so that it just coats the surface—this will prevent the silicone from adhering to the plate. Set your mold and master item onto the plate and allow it to cure for 1 hour. When the mold is no longer tacky to the touch, remove the master item. While the mold is curing, it is essential that the master item remain within the mold.
Making a Two Part Mold
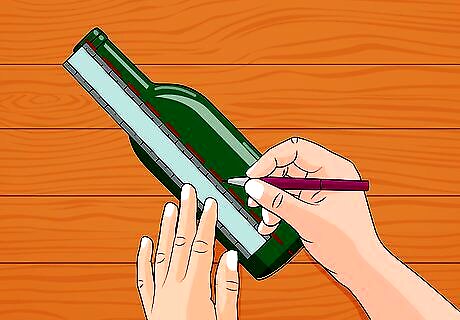
Draw a centerline on your master part. The separate sides of a two-part mold join along the centerline of the master object. Retrieve your master item, a permanent marker, and a ruler. Draw a straight centerline around your master item.
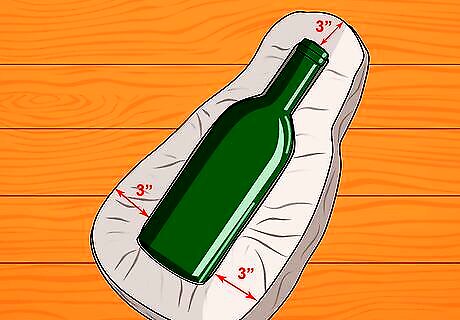
Embed half of the master item in a clay bed. Set a block of non-toxic and non-drying molding clay on your work surface. Embed the master item into the clay up to the centerline. The top of the item should line up with the top of the clay bed. There should be a 1 inch border of clay surrounding the remaining 3 sides of the item.
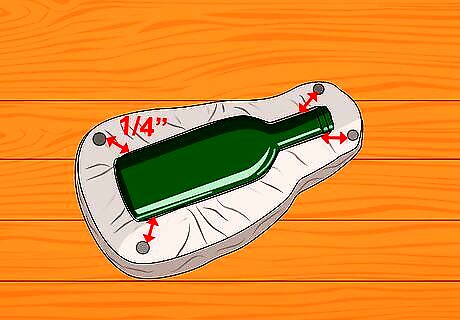
Attach 4 alignment keys to the top of the clay bed. Alignment keys join the 2 halves together perfectly. Retrieve four ½ inch alignment keys and a bottle of temporary adhesive. Apply a thin layer of temporary adhesive to the flat side of the alignment key. Place the key in ¼ inch from the top left corner and adhere it directly to the clay. Place 1 key in each of the remaining 3 corners.
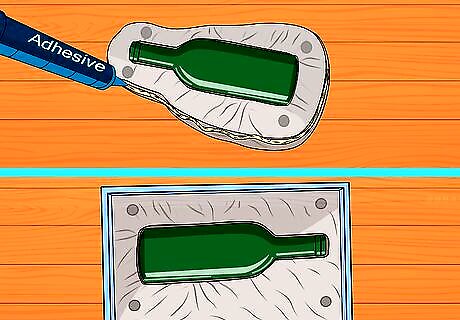
Secure the master part to a retaining wall. In order to fill the mold, you must provide an opening. For this mold, the opening will appear at the top of the clay bed. Apply a thin layer of temporary adhesive over the top of the master item—the side not embedded in clay—and the top side of the clay bed (the side directly below the top of the master item). Press this side flush against a wooden or metal retaining wall. Allow it to dry.
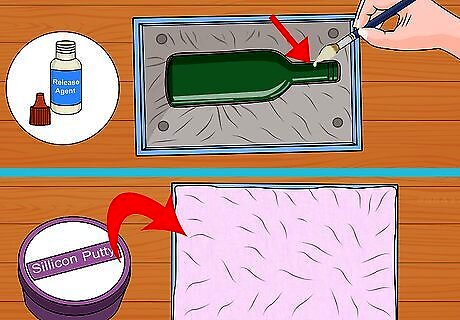
Cover the master item’s exposed half with silicone mold putty. A layer of silicone mold putty will form 1 of the mold’s inner walls. Coat the master part with a release agent. Apply a layer of mold putty to the exposed half of the master item. Apply mold putty to the clay bed’s surface, carefully covering the alignment keys. Extend the molding putty ½ inch up the retaining wall.
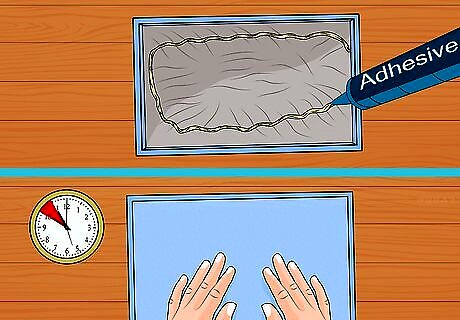
Attach a second retaining wall. Apply a thin layer of temporary adhesive to the bottom side of the clay bed (the side parallel to the top of the master item). Press this side flush against a wooden or metal retaining wall. Allow the adhesive and the molding putty to cure for 1 hour.
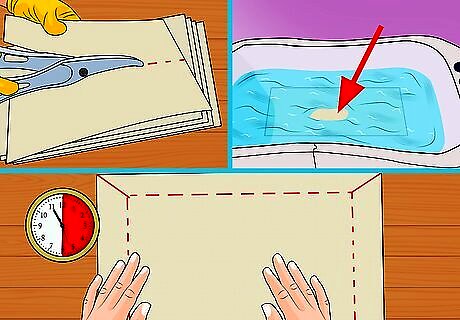
Create a durable mother shell. Due to the flexibility of cured molding putty, it is necessary to create a second more durable shell, known as a mother shell. You will create the mother shell with plaster sheets. Cut 4 to 6 sheets of plasters. Each sheet should be 6 inches longer than the mold. Layer the sheets on top of eachother. Dip the sheets in bowl filled with room temperature water for 1 second. Remove the excess water by squeezing the sheets over the bowl. The sheets should be wet, not dripping with water. Lay the sheets over the mold and up the retaining walls. Press the sheets into the mold so that they form to the shape. Crease the edges along the retaining walls into crisp 90° angles—the plaster sheets lining the retaining walls will serve as feet. Allow the plaster to cure for 30 minutes.
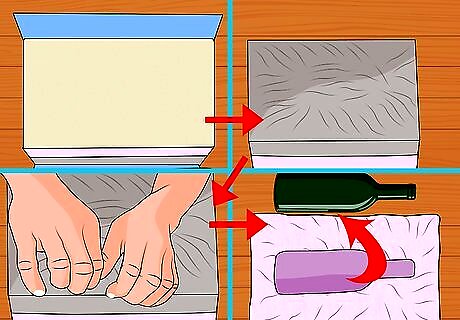
Remove the retaining walls and clay bed. Once the plaster has hardened, remove the two retaining walls. Flip the entire mold over so that it is resting on the 2 plaster feet. Carefully remove the clay bed and any remnants remaining on the master part. If the key alignments do not come off with the clay bed, remove these as well.
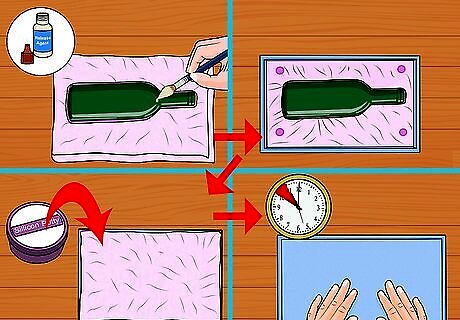
Create the second half of the 2 part mold. When creating the second half of the 2 part mold, you will repeat the process you just completed: Apply a release agent to the master part. Attach the top of the mold to a retaining wall. Coat the master part in a layer of molding putty. Attach the bottom of the mold to a retaining wall. Create a mother shell out of plaster sheets.
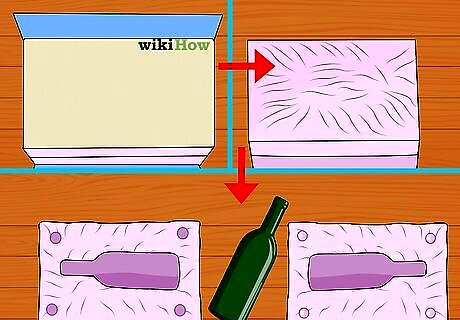
Remove the master part from the mold. Once the plaster has cured for 30 minutes, you can safely disassemble the mold. Remove the two retaining walls from the mold. Place the mold upside down on your workspace. Remove the mother shell and carefully peel away the silicone mold. Set aside the master part and reassemble the mold.
Casting the Mold

Prepare your work area. Find a flat work space that is well lit and ventilated. Cover the work space with clean paper towels or scrap paper. Newspapers are not advised as the print could come off on your molds or your finished plastic parts. You may also cover the surface with a trash bag or an old vinyl tablecloth.
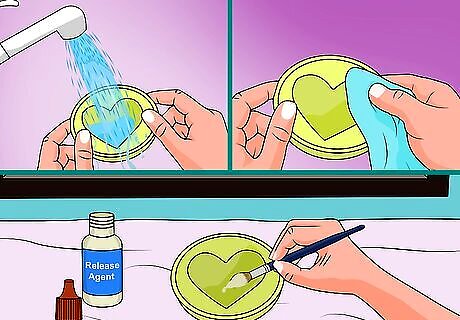
Prepare the mold. Proper treatment of the mold is essential to the success of your project. If you are using a pre-made mold, wash it thoroughly under hot water to remove the film of cornstarch. Dry it with a clean cloth. Coat your mold with a layer of release agent. If you are using a 2 part mold, coat both sides and reassemble it.
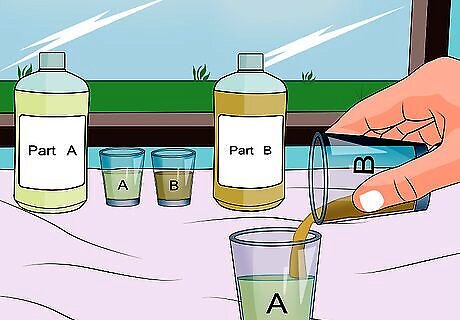
Mix the plastic resin. Plastic resin is comprised of 2 parts, typically labeled part A and Part B. The resin is formed by mixing equal parts A and B. Retrieve 2 plastic disposable cups. Determine how much resin you will need to complete your project. Pour equal parts A and B into cups 1 and 2 respectively. Pour the contents of cup 2 into cup 1. Stir with a wooden popsicle stick.
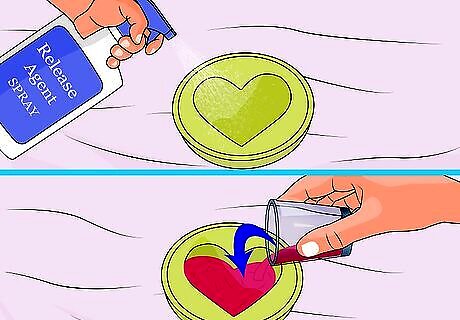
Cast the mold. Pour the resin into your mold. To combat the air bubbles rising to the surface, spray the top of the resin with a releasing agent. Smooth and scrape off any excess resin with a metal putty knife. Allow the resin to set for the time specified in your product’s instructions.
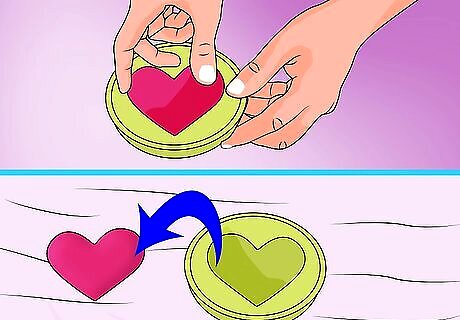
Remove the item from the mold. Once the resin has set, you may carefully remove the item from the mold. If you are using a pre-made mold, a silicone mold, or a mold made from reusable materials, apply pressure to the back of the mold with your fingers and pop the item out. If you are using a 2 part mold, disassemble the mold to remove the item.


Comments
0 comment