
views
Mixing the Paint
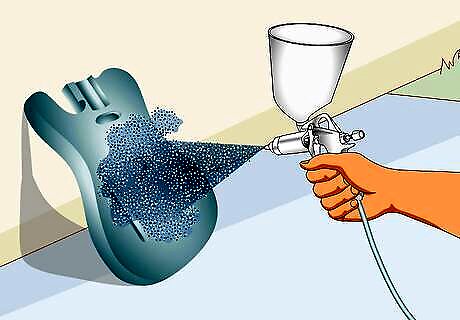
Spray clear coat mixed with metal flake over a painted surface. Don’t bother buying a colored base to use for your metal flake paint work. Since the metal flakes are adding both color and shine to the paint, always aim to use clear paint as a base.Tip: If you’re working on a metal item that isn’t in great condition or isn’t the right color, sand the surface with 1200- or 2000-grit sandpaper and apply 2 layers of primer before adding the metal flake clear coat.
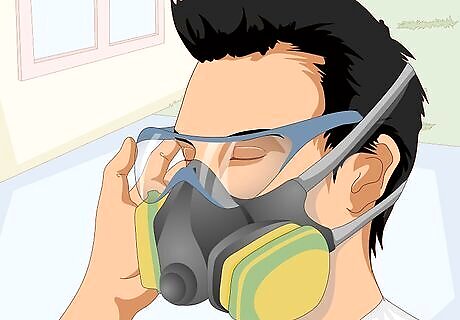
Use safety equipment and work in a well-ventilated area. Make sure to wear proper safety equipment before working closely with paint and metal flake. Protect your mouth and nose by sliding on a ventilating mask. To prevent any fumes or spray from getting in your eyes, wear a set of safety goggles or glasses as well. Make sure that a door or window is open in your workspace, or that a fan is circulating fresh air around. You can find standard safety equipment at most hardware and home improvement stores, as well as any store that sells paint.
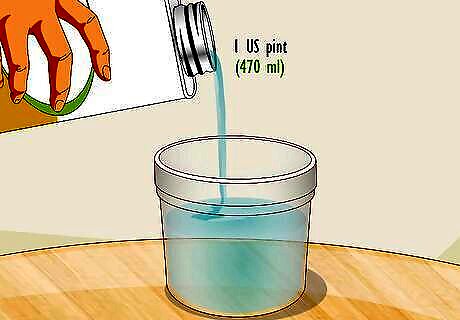
Pour 1 US pint (470 mL) of clear base coat into a large paint cup. Open up a can of clear base paint and pour a small amount into a plastic container. Check the label on the paint can to ensure that the product is safe to use on the material you’re planning to spray paint, like metal. While metal flake is commonly used to paint vehicles, it can also be used to decorate guitars and skateboards. Use a general “Base Coat Blender” paint whenever you work with metal flake.
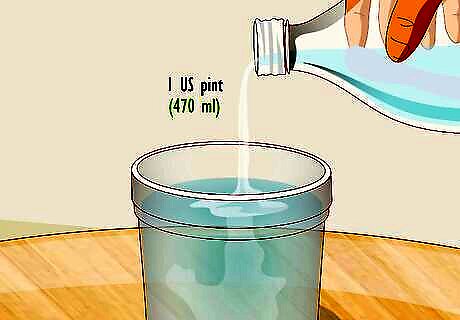
Mix in 1 US pint (470 mL) of paint thinner. Pour a small amount of paint thinner into the cup, mixing it in with the base paint. Keep the ratio of paint and paint thinner even, so the mixture is thin and watery. To stir both items together, use a wooden paint stirrer. You can find paint cups and stirrers at a hardware or home improvement store. While most paints have a thicker consistency, spray paints needs to be thin enough to squirt out of a nozzle.
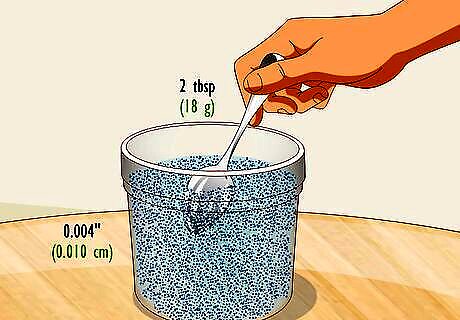
Stir 2 tbsp (18 g) of 0.004 in (0.010 cm) metal flake powder to the paint. Scoop a small amount of finer metallic flakes and pour them into the paint mixture. Add an additional scoop to the cup, and then begin stirring the ingredients together so they’re no longer sitting on top of the paint. Metal flakes are measured by their diameter. Start with flakes that are on the smaller side, like 0.004 in (0.010 cm).
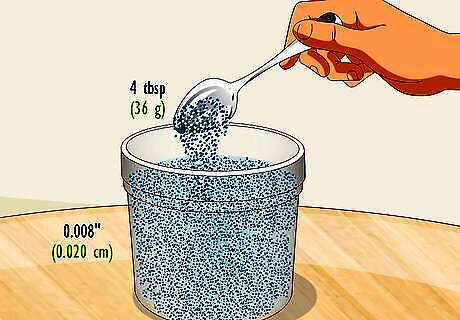
Add in 4 tbsp (36 g) of 0.008 in (0.020 cm) metal flake powder into the mixture. Once you’ve mixed the first 2 scoops of flake into the clear paint, add in 4 more scoops of a thinner, 0.008 in (0.020 cm) metal flake into the paint cup. Keep stirring as you scoop, letting the metal flake disperse evenly throughout the clear paint. Try to use metal flake products that are the same color. If you’d prefer to go for a mixed color scheme, use 2 different colors of metal flake, instead. Some metal flake packages come pre-mixed.
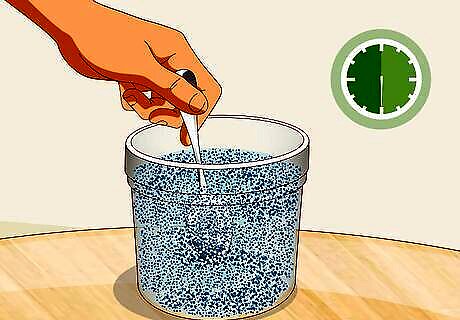
Continue mixing the paint for at least 30-60 seconds. Stir the paint constantly, working the flake into the clear paint base. Set a timer for at least 30 seconds so you can track how long you stir. When you lift up your stirrer, you should be able to see a thin layer of pure metal flake lifting on the surface of the stirrer.
Applying the Metal Flake Paint
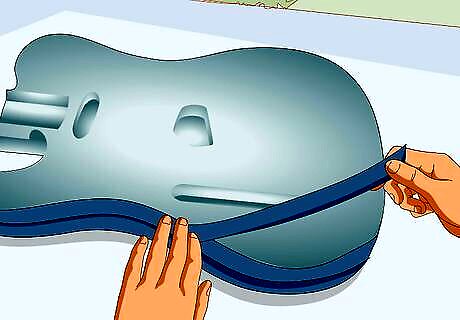
Cover any open surfaces to guard them from excess spray. Arrange the item that you’d like to paint in an open, well-ventilated area, like an open garage. Use canvas or plastic drop cloths to cover all visible surfaces that you don’t want to accidentally paint. Make sure that all important items are removed from the area before you continue. If you plan on spray painting often, consider investing in canvas drop cloths, as they’re reusable and more longer-lasting. Make sure to use small or large sheets of plastic and masking tape to mask any areas you want to protect or eventually paint a different color. Tuck the edges of the plastic around these sections (e.g., wheels of a car, emblems, etc.) so your paint job looks even.
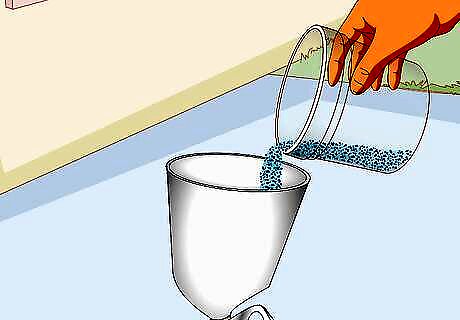
Pour most of the paint into the metallic spray canister. Check that the metal paint spray machine is unplugged before you pour anything in. Next, take off the lid of your spray paint canister and set it aside. Pour your mixed metal flake paint into the now-opened container. Depending on the size of your equipment, you might not be able to use all of your paint at once. Be sure to secure the lid back on the spray paint nozzle before using it. Make sure that your spray nozzle is at least 1.8 mm wide. If you plan on using metal flake paint a lot, consider investing in a 2.5 mm nozzle. If you don’t have specialized painting equipment on hand, purchase it online or at a specialty store.
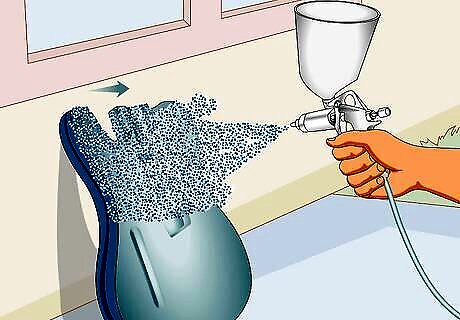
Spray on the mixed paint in wide motions from left to right. Plug in the spray machine and press on the trigger mechanism to release the paint. Since the paint metallic flake paint will come out in a large spray, work in long, wide motions as you spray. Move consistently, working the paint spray from left to right to ensure even coverage. Gradually move up or down to paint the rest of the surface.

Let the paint dry between coats. Wait several minutes for the paint to dry, or however much time your paint can specifies. Depending on the item you’re painting or the type of paint and flake you’re using, you might have to wait longer for the item to completely dry. Wait the minimum amount of drying time specified before very lightly tapping on the paint to check if it’s completely hardened and dry. On average, most spray paints dry within 30-60 minutes.
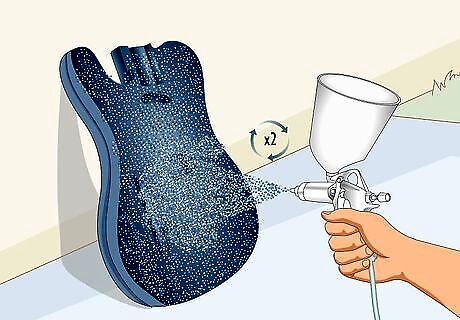
Apply an additional coat or 2 of metal flake paint. Continue applying the paint in long, wide strokes, covering the entire surface with metal flake. After each new coat, give the surface time to dry before adding any more paint. Once the item has dried, evaluate the surface to see if you’re happy with the paint job. If you want to add an extra layer of protection to your project, try applying a layer of clear top coat. Did you know? If you’re painting a car or metal surface, you’ll probably have to buff the paint with different levels of sandpaper to smooth out any visible lumps or imperfections. If you see any obvious blemishes after painting the final coat, soak down the surface with soapy water and even it out with 800-grit sandpaper. Continue going over the paint with soapy water, using sandpaper with finer grit to get rid of any obvious marks or imperfections. Try working with 1000-, 1200-, and 1500-grit sandpaper before finishing with 2000-grit.


Comments
0 comment