views
Dismantling the Controller
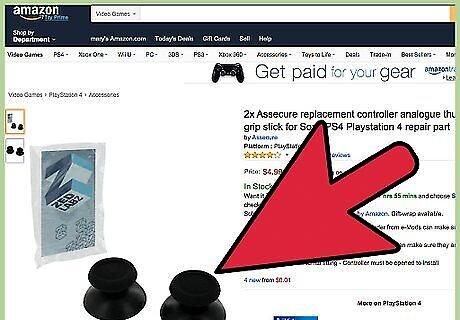
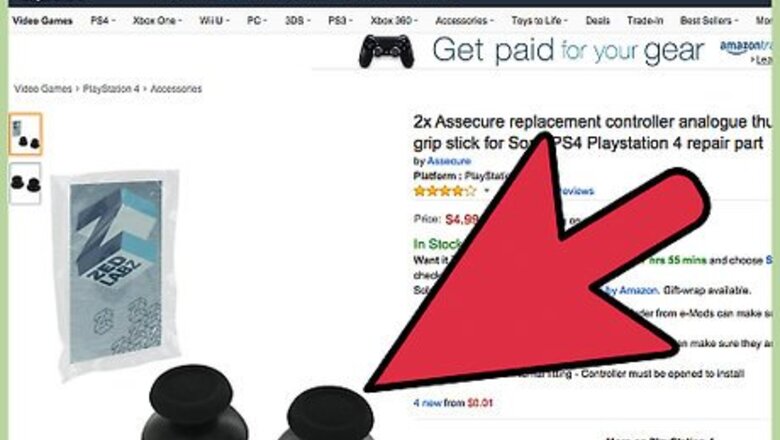
Get the stuff you need. You’ll need a few tools in order to replace your PS4 analog sticks, but don’t worry, as these items are cheap and can be purchased from your local gaming and hardware store: Precision screwdriver size PH00/#00—You can buy a full set of precision screwdrivers from your local shopping center for under $7. The set would already include this size of screwdriver. Replacement analog sticks—You can buy replacement analog sticks for PlayStation 4 controllers online from sites like eBay, or purchase one from gaming stores near your area. Replacement analog sticks usually come in a minimum set of 5 pairs for under $10.
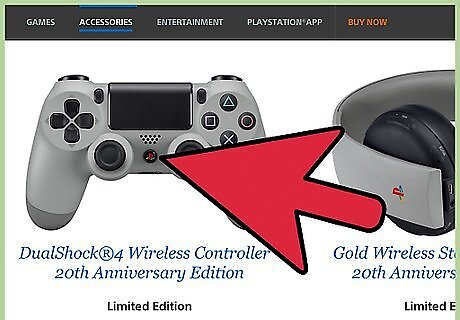
Switch off your controller. Press the PlayStation logo at the center of the controller to switch it off. Do not open the controller with its power turned on as this may short its circuit board.
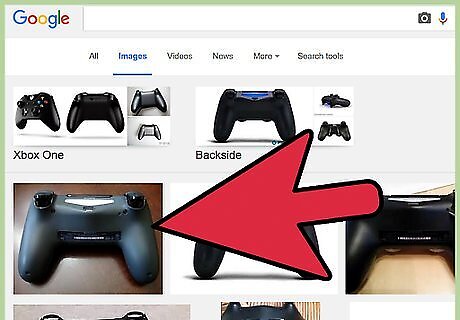
Remove the back panel of the controller. Turn your controller facedown on a flat surface. Using the precision screwdriver, remove the four screws found on the four corners of the back side of the controller. Once you’ve removed the screws, apply some pressure and pull the back panel off to separate it from the front panel of the controller, revealing its circuit board and battery.
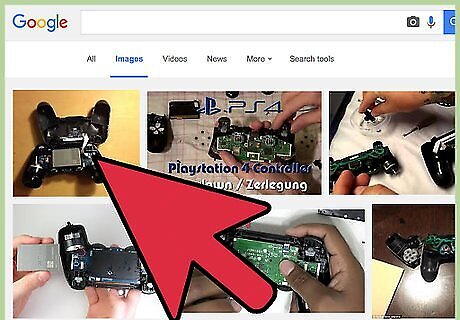
Disconnect the back panel from the controller. On the right-hand side of the controller, you’ll find a flat cable connecting the back panel to the circuit board. Slowly pull the flat cable off the circuit board to disconnect and separate the back panel from the entire controller.
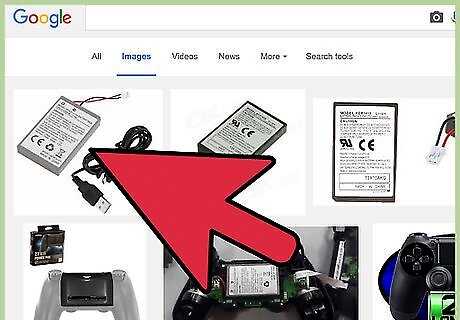
Remove the battery. Pull the white connector found on the left-hand side of the controller that connects the battery to the circuit board, allowing you to safely remove the battery.
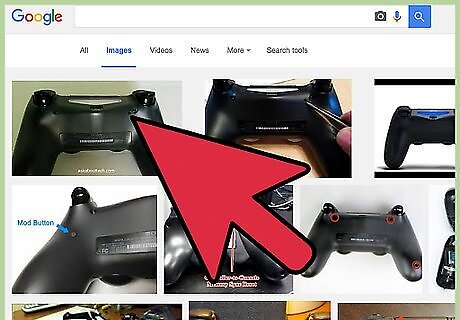
Remove the reset button and the battery tray. Pull the reset button found on the upper right corner of the battery tray. It’s not glued or attached to the controller, so it should come off easily. Once the reset button is out, apply some force and pull the battery tray off the circuit board to separate it from the rest of the controller.
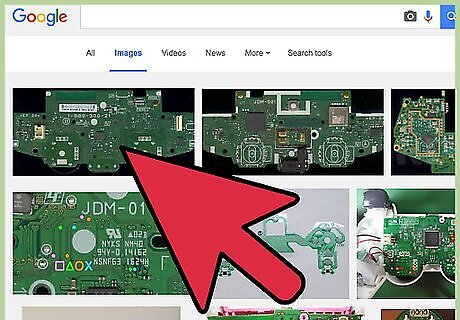
Remove the circuit board. Underneath the battery tray is a screw that holds the circuit board to the front panel of the controller. Use your precision screwdriver and remove the screw. Once the screw has been removed, disconnect the flat cable that sits on the top right corner of the board that connects it to the front panel. Once the screw and the cable have been disconnected, you can now separate the circuit board from the front panel.
Replacing the Analog Sticks
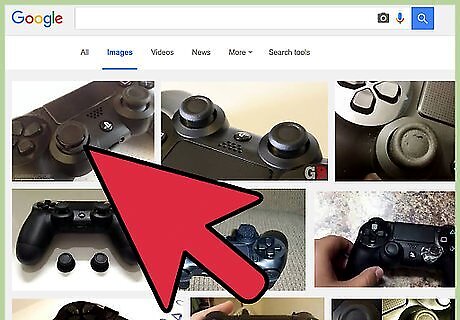
Remove the old analog sticks. Turn over the circuit board to reveal the analog sticks. Pull out the analog sticks to remove them from the board. They’re not glued to the board itself, so the sticks should pop off easily.
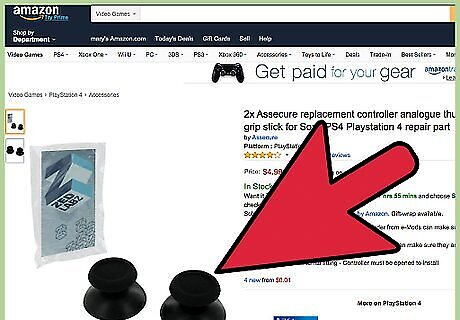
Replace the analog sticks. Take the replacement analog sticks and push them in place on the circuit board. The replacement sticks should fit in on the board with only a little amount of force.
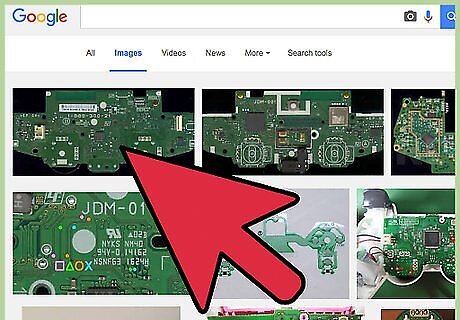
Place back the board. Turn the circuit board facedown and place it back to the front panel the same way as you removed it. Put the screw back in on the middle of the board and plug the flat cable back in at the top right corner of the board that connects the circuit board to the front panel.
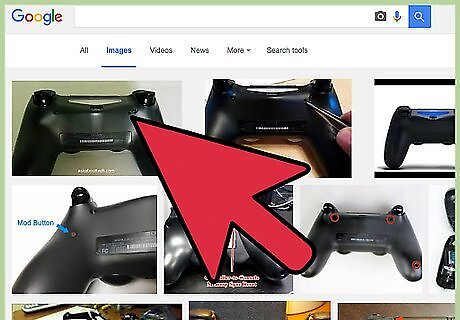
Place the battery tray and reset button back. Press the battery tray back onto the circuit board, and it should snap back it with little effort. Afterwards, place the reset button back to the hole on the top right corner of the battery tray.
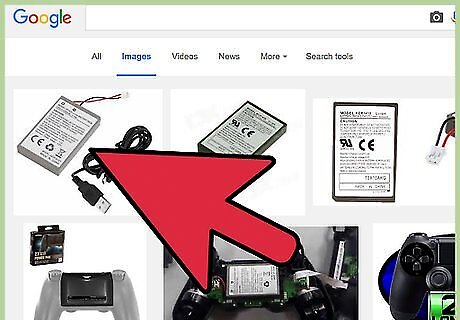
Connect the battery back. Place the battery back on the tray and plug in the white connector on the left-hand side of the board that connects the battery to the circuit board.
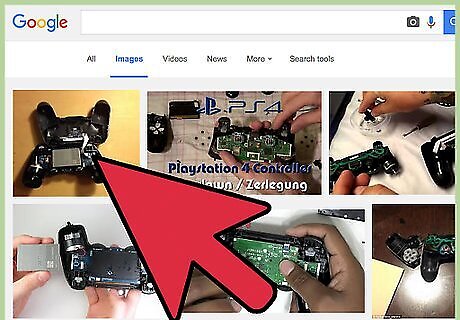
Connect the back panel. Take the flat cable running from the back panel and plug it back in on the white port found on the right-hand side of the circuit board.
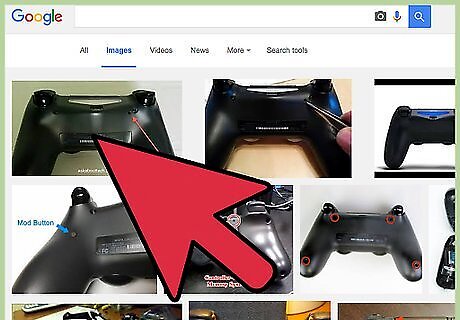
Put back the back panel. Press the back panel to the front panel of the controller and the two should snap back together easily. Re-insert the four screws you removed from the corners of the controller and the controller should be back in one piece.
Test your new analog sticks. Press the PlayStation logo found on the center of the front panel to turn the controller back on. Start playing games, and your PlayStation 4 controller analog sticks should look and feel like new again.




Comments
0 comment