
Selecting Materials

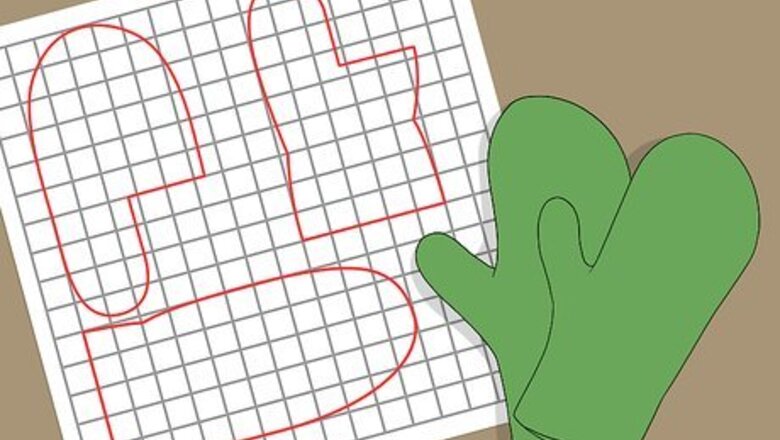
Select a simple pattern for your first fleece project. Choose something that doesn’t require too many pieces, seams, or advanced fitting techniques, such as pleating. Instead, opt for simple, loose-fitting styles when you want to make a fleece garment. Some simple items you might try making with fleece include: Blankets Pull-overs Mittens Pajama pants
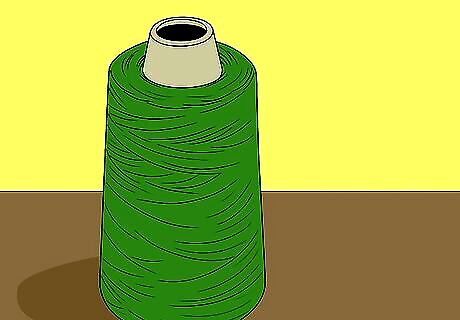
Choose a polyester thread color that matches or is similar to your fabric. Since fleece is thick, the thread will be hard to see. However, it is still a good idea to choose thread that matches your fabric as closely as possible. If your fleece fabric is a print, opt for thread that matches one of the dominant colors in the fabric. Don’t use cotton thread when sewing fleece as it doesn’t have much give and may break. Opt for polyester or polyester-wrapped cotton thread instead.

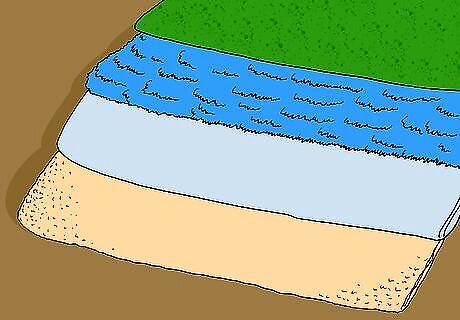
Select a thin cotton or polyester fabric if you want to line fleece garments. Fleece is pretty thick, so you might not need to line it at all. However, if you decide to line your fleece fabric for comfort, style, or stability reasons, don’t use a thick fabric. Use something lightweight and thin, such as cotton or polyester.
Select an anti-pill fleece to ensure durability and quality. Some types of fleece will form pills—little fuzzballs—on the fabric over time. These are unattractive and can be irritating against bare skin as well. To avoid this, look for fleece that is labeled as anti-pill. Other types of fleece you might consider include: Cotton fleece: soft, knitted, breathable fabric that absorbs moisture. Rayon fleece: smooth, soft, and breathable. Polyester fleece: high-quality, durable, soft, and anti-pill. Hemp fleece: natural fluffy fleece that’s plush on one side and smooth on the other. Bamboo fleece: made from bamboo with a soft texture. Polar fleece: thick synthetic fleece that makes a good lining for jackets and other garments. Faux Sherpa: resembles a fluffy wool material.
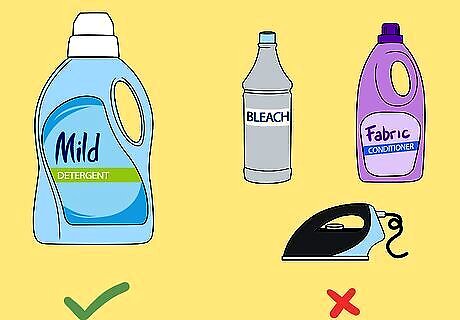
Pre-wash your fleece fabric before sewing as it may shrink. Follow the manufacturer’s instructions for washing fleece. In general, wash fleece on a normal cycle with warm—not hot—water. Use laundry detergent, but never use bleach or fabric softener. Avoid drying fleece in a dryer and hang it up to dry whenever possible.Warning: Never use an iron directly on fleece fabric as it may melt the fabric.
Marking, Cutting, and Sewing

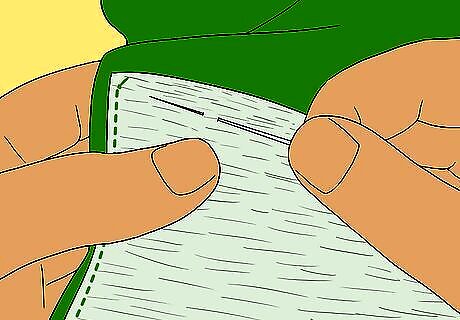
Mark the right side of the fabric if the sides look similar. Use chalk, a fabric marker, or a piece of tape to mark the right (outer) side of the fabric. Some types of fleece look the same on both sides, so it can be difficult to tell the difference between them. Marking the fabric will help to ensure that you are sewing the fleece with the correct side facing out.
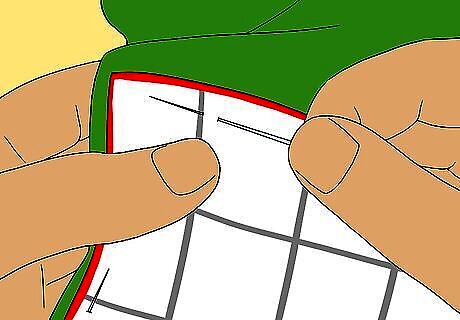
Secure the pattern pieces on fleece fabric with long pins or weights. Insert the pins through the paper pattern piece and fabric, then back up and through both layers again. Position the pins or weights about ⁄2 in (1.3 cm) from the edges of the paper pattern pieces. Short pins can easily get lost in thick fleece fabric, so make sure that you are using extra-long pins or fabric weights to keep your pattern pieces in place as you cut the fabric.Tip: Make sure that the nap is all going in the same direction when you place the pattern pieces. The nap is the direction that the fibers face. You can check this by running your hand across the fabric from different directions.

Cut the fabric around the pattern with sharp fabric scissors or a rotary cutter. Fleece is often thick and it can be difficult to cut, but a pair of sharp fabric scissors or a rotary cutter will work well for getting smooth, even cuts. If you use scissors, don’t try to cut it with dull scissors or you may end up with jagged edges. Use a pair of sharp fabric scissors that you only use for cutting fabric. Make sure to place the fabric onto a cutting mat if you’re using a rotary cutter. Don’t use it on a counter, table, or other surface because the cutter may damage it.
Attach interfacing to the fabric if you need to stabilize the fabric. Sew interfacing along an edge or seam, or apply it to the fabric before sewing by ironing it with a damp cloth over the interfacing and fabric. If you’re not concerned about the fabric maintaining a rigid structure, then you can skip this. However, if you want to ensure that the fabric retains its shape or holds up against tension along a seam, attaching interfacing can be helpful. Some situations where you might want to use interfacing include: The shoulder areas of fleece garments Zippers and other closures Seams and hems
Setting up Your Sewing Machine
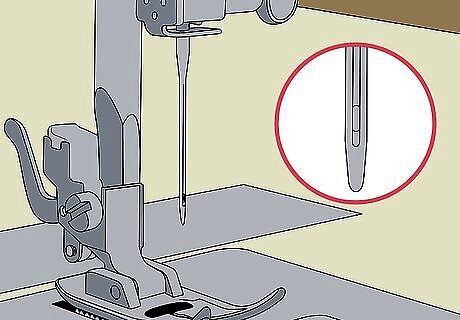
Install a new universal or ballpoint needle in your sewing machine. Choose a needle in size 12 (80) for best results. Using a ballpoint needle is optional, but it may help to prevent skipped stitches. This type of needle goes in between the fibers rather than cutting through them, so it can also help to prevent damage. Tip: Always install a new needle before sewing fleece. This will help to ensure that the needle is sharp enough to break through the fibers of the fabric.
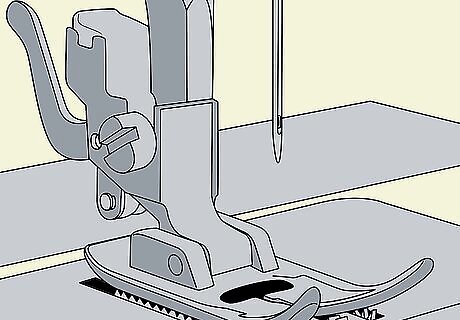
Set up a walking foot in place of a normal presser foot, if possible. A walking foot can help to prevent your fabric from getting bunched up by moving it along as you sew. If you don’t have a walking foot, you can still sew fleece with your regular presser foot. If you do use a regular presser foot, expect to sew a little slower and pay close attention to the fabric under the presser foot to ensure that it doesn’t get stuck.
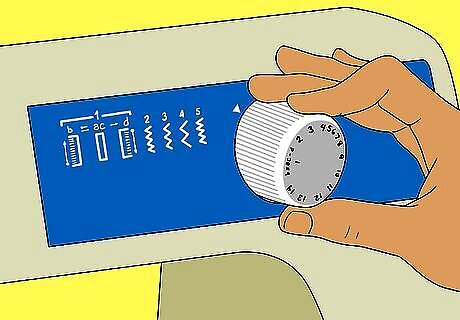
Select the narrowest zigzag stitch setting on your sewing machine. On most sewing machines, this will be 0.5 mm, but you can make it narrower if this is an option. Adjust the setting on your machine using the dial or digital display, depending on what type of machine you have. Check your sewing machine’s instructions for details on how to change the settings if you are unsure about how to change them.

Set the stitch length to 3.5 mm or longer. A longer stitch length is better for sewing fleece as it provides more give in the seam. Choose at least a 3.5 mm setting, or set the stitch length to a longer length if desired. You may also want to consult your pattern’s suggestions for what stitch setting to use.
Sewing and Finishing the Fabric
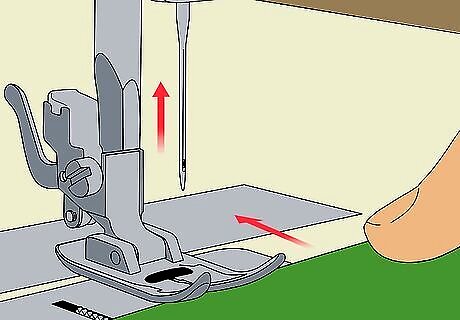
Raise the presser foot and position the fabric under the needle. Align the fabric under the needle where you want to sew a hem or seam. Ensure that the fabric is straight and adjust it so that the edge of the fabric is at the right distance from the needle to create the desired seam allowance. Then, lower the presser foot onto the fabric to secure it.
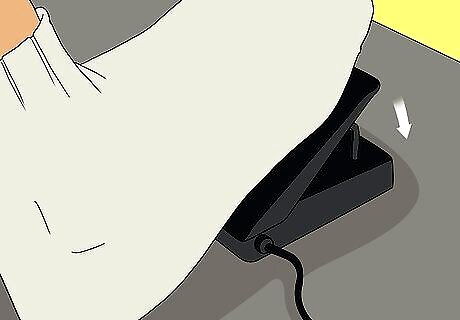
Apply gentle pressure to the pedal to sew slowly. Sewing too quickly may result in mistakes, such as bunched up fabric or thread. Instead, sew the fabric using a very light touch, at least at first. As you get more comfortable sewing fleece, you can increase your pressure on the pedal and sew faster.Tip: You can also test a few stitch by turning the wheel on the right side of the sewing machine. This will manually move the needle up and down to stitch the fabric. Turn the wheel 4-6 times to create a few stitches and see how it looks before continuing.
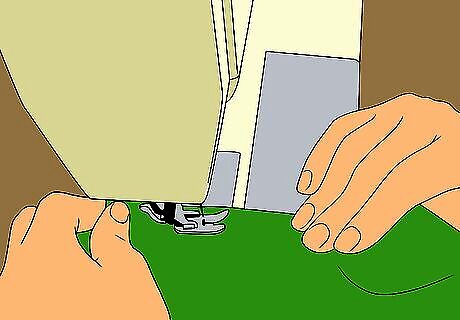
Hold the fabric taut as you sew. Pull the edges of the fabric gently in front of and behind the sewing machine. Don’t stretch the fabric, but keep it taut enough so that it doesn’t bunch up under your sewing machine. If you notice this happening, stop sewing and readjust the fabric.
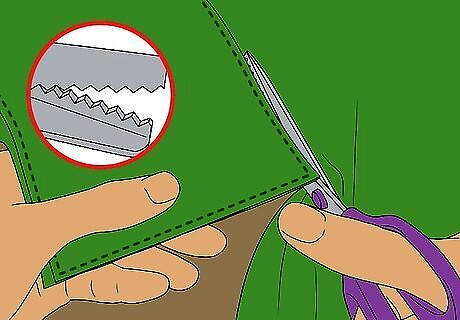
Trim the edges with pinking shears to prevent fraying. Pinking shears are fabric scissors with jagged edges. Use a pair of pinking shears to cut in a straight line about ⁄4 in (0.64 cm) from the seam after sewing a fleece garment. Be very careful not to cut through the seam itself. Most fleece fabric is not prone to fraying, but trimming the edges with pinking shears before you sew will help to ensure that it doesn’t fray. You can also add a stay stitch to prevent fraying along the edges, such as by sewing a zigzag stitch along the edge of a fleece item.


Comments
0 comment