views
Boiling a Natural Fiber Shirt
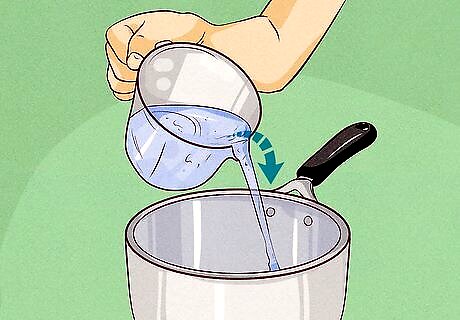
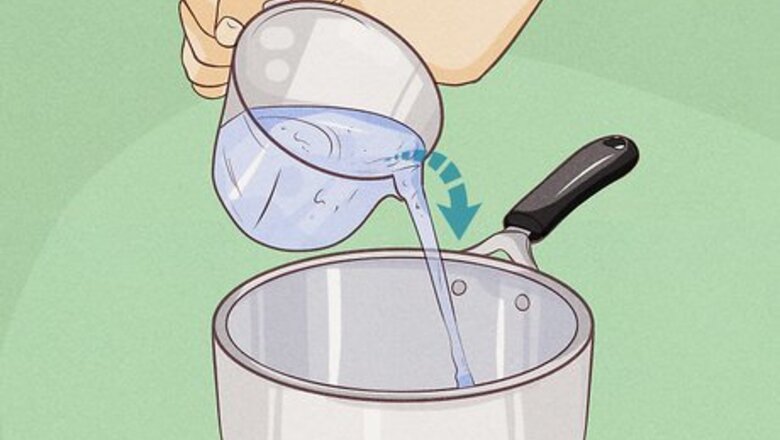
Pour water into a clean pot big enough to hold the shirt. Fill the pot about 2/3 full with cool water, enough to submerge the shirt. Pick an old pot that you don't want to use for cooking anymore. Keep in mind that this could cause your shirt to bleed, so don't try it on a shirt you're very attached to. You can take steps to prevent it from bleeding, like adding a dye fixative to the hot water before you add the shirt.
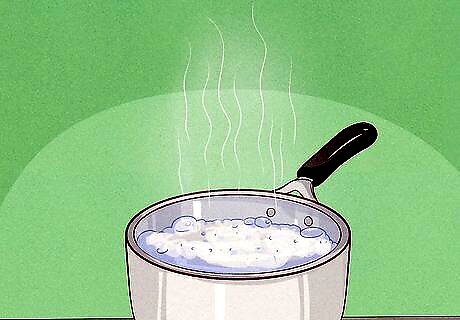
Bring the water to a boil. Set the pot on a burner and turn the stove on high heat. Let the water come to a boil. Small bubbles will appear first, which is a sign the water is about to boil. When you see the surface bubbling and rolling, take it off the heat.
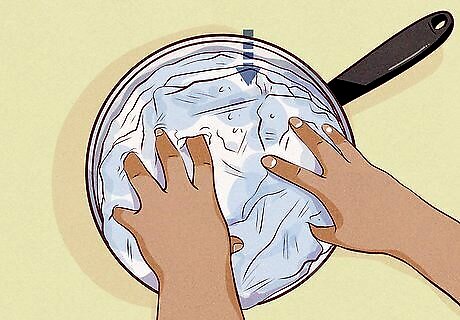
Plunge the shirt in the water to soak. Place the shirt in the water. Use tongs to push any part of the shirt that you want to shrink beneath the water – for example, the cuffs, the collar, or the entire thing. Leave it in the water for at least 5 minutes. You can leave it in for up to 20 minutes if you want it to shrink a lot. If you just want to shrink part of your shirt, try just putting that part in the water and leaving the rest out of the water. You could even put the rest of it in cooler water to prevent the heat from transferring to other areas.
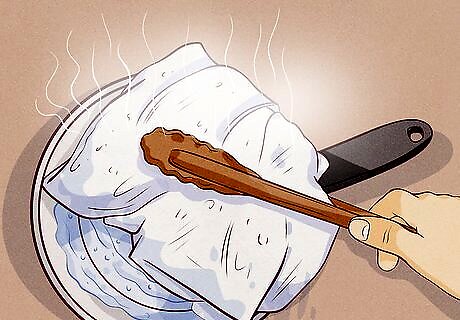
Take the shirt out with tongs to check your progress. Use a wooden spoon or tongs to transfer the shirt to a clean sink. Run cool water over it for a few minutes. Once it's cool, squeeze the water out to see if it's shrunk enough for your liking. If you can't tell, go ahead and dry it to see how it fits.
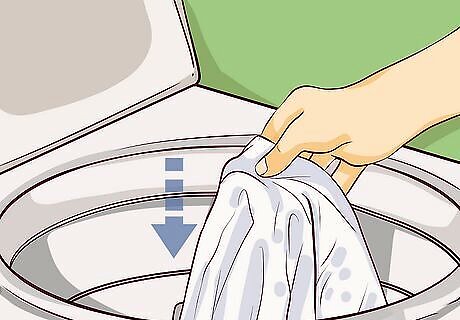
Toss the shirt in the dryer to finish the process. You can hang the shirt up if you don't have a dryer, or if you just wanted to shrink one part. However, a dryer will help shrink the shirt more. Once it's dry, check to make sure it's shrunk enough by trying it on. If it hasn't shrunk enough, repeat the boiling process. Keep in mind that a shirt will only shrink about 20%.
Using Your Washer/Dryer on a Natural Fiber Shirt
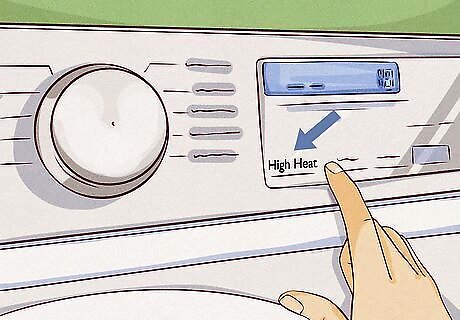
Wash the shirt on the hottest setting in your washer. Turn the washer all the way up. Select "high heat" or whatever setting your washer uses for the most heat. Add detergent like you normally would, then turn the washer on. It may help to add the extra rinse cycle if your washer has that option. This will give your shirt more exposure to hot water, which will help the shrinking process. Avoid using this method on fragile fabrics. Turn patterned fabrics inside out.
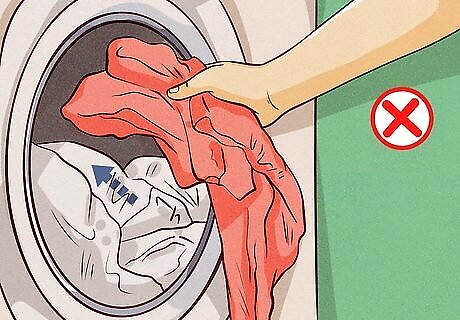
Put like colors together if you are washing other clothing. If you want to shrink something else, make sure it's the same color or similar in color to the first garment you're washing. In water this hot, the fabrics may bleed, so you don't want to put a red shirt in with a white shirt. If you're worried about bleeding, try adding a dye fixative to the water before putting the clothes in.
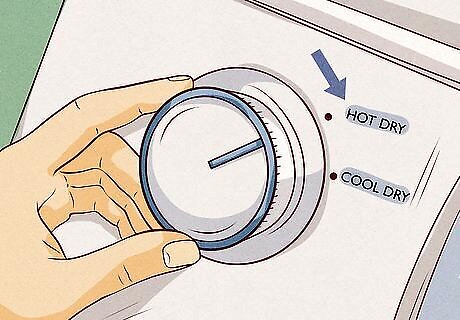
Place the shirt in the dryer on the hottest setting. Once the shirt comes out of the wash, place it in the dryer. Add tennis balls or dryer balls to help with the agitation process, and put the dryer on the hottest setting before turning it on. Agitation – or vigorous motion – helps the shirt shrink. With some fabrics, agitation may help them shrink more than just the heat itself. Both heat and agitation cause the fibers to curl up slightly smaller than when they started, which shrinks the fabric.
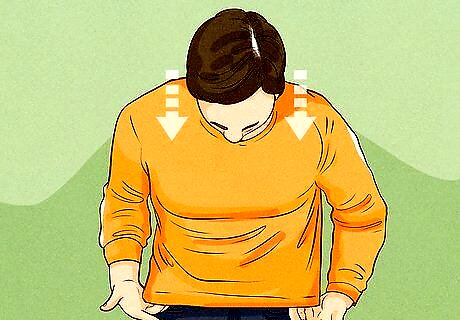
Try the garment on before shrinking it again. Once the clothing is dry, let it cool off for a few minutes. Put it on to see if it's now the size you want. If it's not, try the shrinking process again.


Comments
0 comment