

Collect pine needles and bark for tinder.
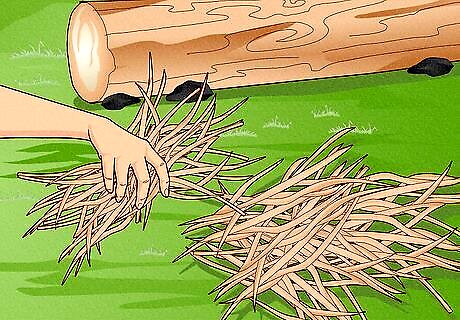
Tinder is any highly flammable material that only needs a spark to light. Search the area for dry pine needles, grass, moss, bark, wood chips, or wood shavings. If they're all wet or you can’t find anything, use cotton balls, dryer lint, crumpled paper, or toilet paper, or similar materials you might have on hand. In wet conditions, add cooking oil or petroleum jelly to materials like cotton balls to make a DIY fire starter. If you’re planning ahead, pack steel wool or magnesium shavings to include in your tinder. They burn hot and help dry out firewood in wet conditions. Pack or collect about 4 times as much tinder as you’d normally need to start a wet wood fire.
Grab an armful of small twigs for kindling.
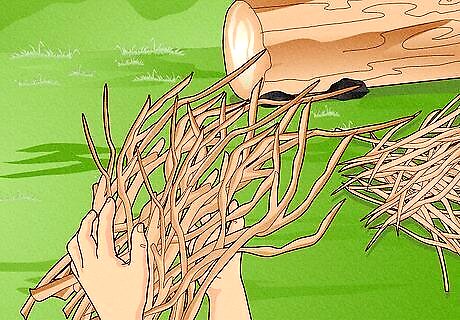
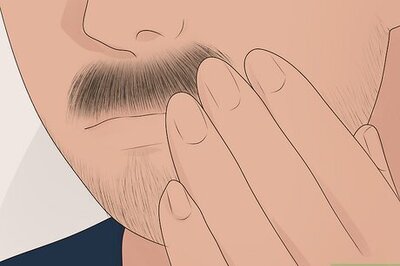
Kindling is small twigs and sticks that you’ll burn to dry out your logs. Search dead trees (fallen or standing) for twigs you can snap off. Also look in the underbrush or for twigs and sticks that were shielded from the rain. You’ll need about 4 times more kindling to start a wet wood fire than a regular one. If you can only find wet twigs, shave off the outer layers with a knife to get to the dry center. The ideal kindling sticks are thinner than the width of an adult finger and around 6 inches (15 cm) long. If necessary, use a hatchet to split large logs open, revealing the dry wood inside. Then shave off dry pieces to use as kindling.
Split large logs open to expose dry wood (if you can).
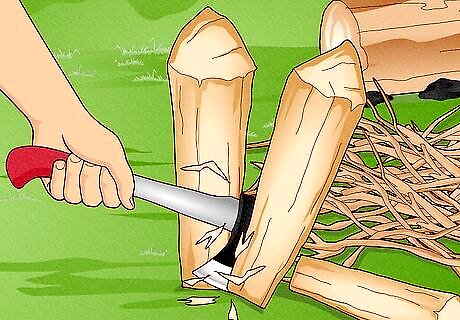
Fuel logs are the biggest pieces of wood you’ll burn to feed the fire. Use a hatchet or ax to break your wet firewood into smaller pieces, then make several cuts into the sides of the wood. The cuts expose even more dry wood, plus they create more surface area that can catch fire. In a pinch, lay a knife perpendicular to the log you want to split and “baton” it (tap the knife with a sturdy log) through the log to split it.
Make a small platform with logs or rocks.
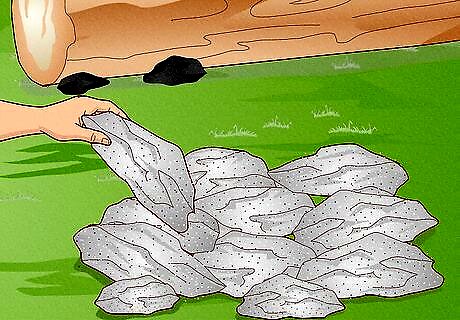
Elevation is key to keeping your fire off of the wet ground. Fire pits are great for safety, but they tend to collect water when it rains. Clear any wet debris out of the pit and fill it with logs or rocks to create a small mound or platform. This will allow the ground to dry out without extinguishing your fire. The added height also increases air flow to your fire, which is essential for starting one with wet wood. If you build your platform with logs, they will eventually dry out and be able to burn too.
Put tinder and kindling in the middle of the platform.
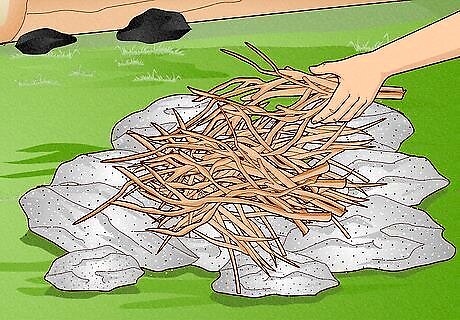
Pack your tinder in the center of the ring and surround it with kindling. Arrange the kindling sticks so they’re leaning against each other in a cone or teepee shape around the tinder. Turn the kindling sticks so the driest side of them is facing inward toward the tinder. The teepee shape helps you build your fire upward, away from the wet ground, while still allowing ample air flow.
Arrange the largest logs in a criss-cross pattern.
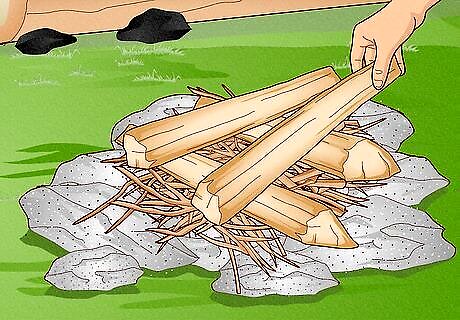
Put down the 2 driest logs parallel to each other with the kindling teepee between them. Turn them so the driest side is facing the center. Make sure to leave about 1 inch (2.5 cm) of space between the logs and the kindling for air flow. The top side of the logs should be level with or slightly taller than the top of the kindling teepee. If they’re not, stack another log on top to achieve that height. Stack 2 more logs on top of the base layer. Lay them perpendicular to the bottom logs to create a criss-cross or hashtag shape.
Use matches or a lighter to light the tinder.
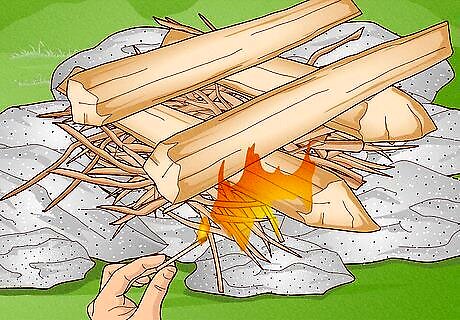
Keep adding more tinder until the kindling catches on fire. Once the kindling is lit, the heat will start to dry out the fuel logs as well. Keep adding tinder and kindling to the flames until the fuel logs catch on fire too. The driest logs on the bottom will burn first, which will help dry out the wetter logs on top. If it’s windy, make a shield with a stack of wet logs. This keeps the heat from blowing out of the fire and offers additional protection from the elements.
Add logs in a criss-cross pattern to feed the fire.
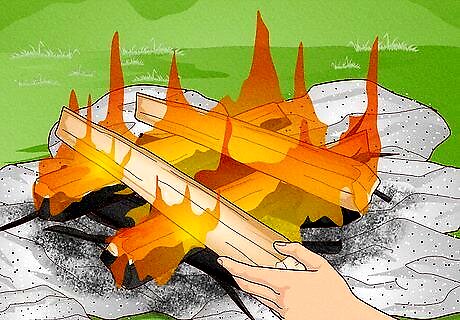
Keep your wet logs near the fire so the heat will start drying them out. Add logs to the fire sooner than you think you need to since they will take a while to fully dry out and light. Add more layers gradually rather than all at once. This will ensure you don’t accidentally smother the fire. Enjoy your fire! As long as you continue to dry out your wood ahead of time, you’ll be able to keep your fire bright, hot, and healthy all night long.
Rearrange the burnt logs to maintain airflow.
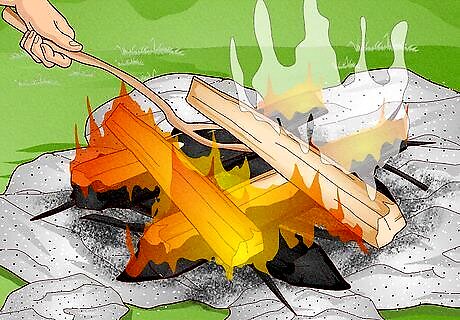
As the bottom logs burn up, the fire will collapse and start smoking. Use a long stick or tongs to shift the burnt wood around to make gaps and passages for air. Once the air is flowing, the smoking will stop.
Put out the fire completely when you're done.
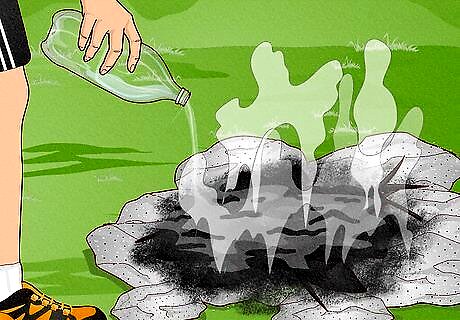
If you have water on hand, douse the fire until every last ember is put out. If you don’t have water, use a stick or tongs to stir sand and dirt into the fire bed until the fire’s totally extinguished. Always put out your campfire before going to bed each night. Feel the temperature around the coals, embers, or burnt wood with your hands. If any of it is too hot to touch, then the fire is too hot to leave unattended.


Comments
0 comment