
Tracing Over the Lines

Separate your line art from the background if it is all one layer: Change mode to "Grayscale". Go to the "Channels" palette. Select "Load Channel" as Selection. This will select the background. Go to the "Layers" palette. Press "Delete" to get rid of the background. Press Ctrl+D to deselect the background. Change Mode to "RGB Color". Add "Solid Color" adjustment layer.

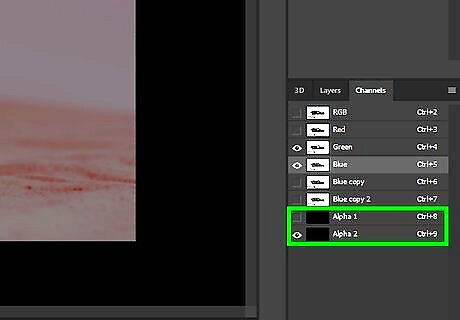
Use the "Channel" palette to make a selection again.
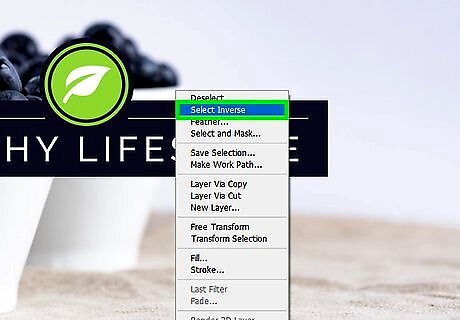
Invert the selection. This is very important. Instead of deleting the background, you are 'painting' the foreground.
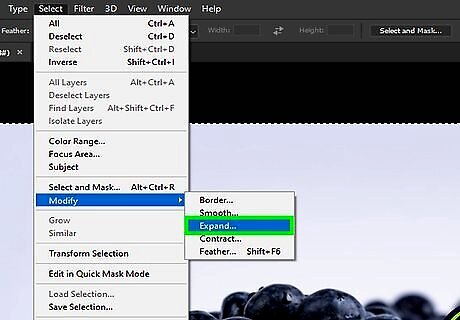
Go to Select >> Modify >> Expand and expand your selection. How complicated the design is will determine how much you will expand it. Start out with 1 pixel.

Go to Edit >> Fill and fill the selection with black. If your image fills up completely, then you went too far. Make sure not to select "Preserve Transparency".
Using the Minimum Filter

Do not make a selection. The filter won't work with a selection.

Go to Filter >> Other >> Minimum.
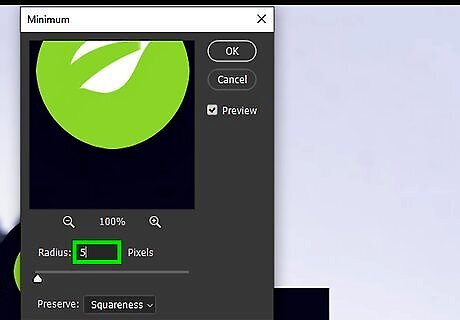
Change the number to a higher number. Four or five is a good place to start.
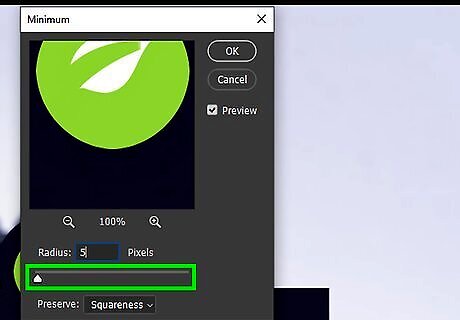
Adjust as necessary.

Clean up any extra marks.
Using the Layer Mode
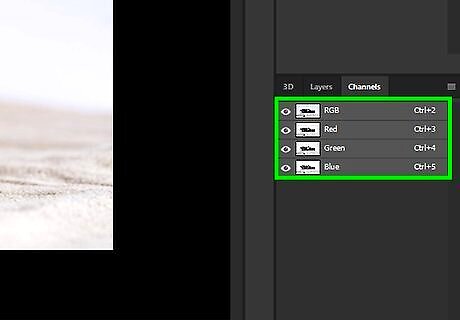
Separate your lines from the background. Change mode to "Grayscale". Go to "Channels" palette. Select "Load Channel" as Selection. This will select the background. Go to the "Layers" palette. Press "Delete" to get rid of the background. Press Ctrl+D to deselect the background. Change Mode to "RGB Color". Add "Solid Color" adjustment layer.
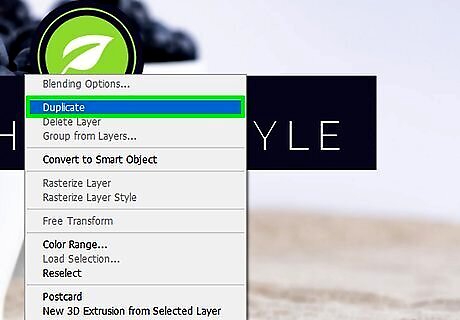
Duplicate the lines.

Change the blend mode to "Multiply." Make sure that you are on the top layer.

Merge down.

Repeat as needed. Be aware that any spots or marks on the paper will be amplified by this process.

Erase anything that you don't want in your final image. Having a white background will help you find anything that you want to get rid of. Make sure you have a hard brush. This will help you with getting rid of any marks that you don't want.
Using a Levels Adjustment Layer

Select the lines that you have separated from the background. The easiest way is to use the "Channels" palette and get your selection from there.

Go back to the line art layer and then add a "Levels Adjustment" layer.
Move the black slider (black triangle on the left) to the right. This will serve to darken your black.

Repeat if necessary.


Comments
0 comment