views
Overhand Throws
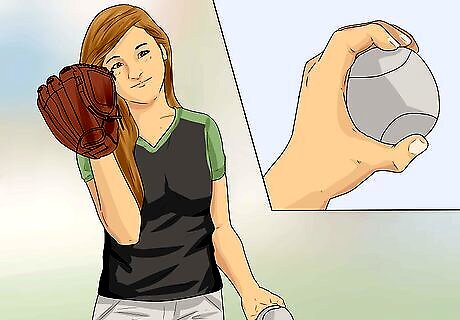
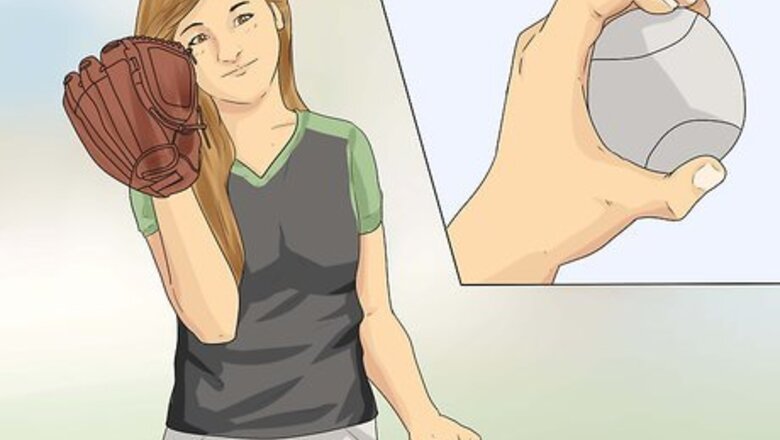
Know the mechanics of a good throw. Fast and accurate throwing is essential for every softball player, but the exact motions of a good throw may seem foreign to someone just starting to learn the game. Good throwers throw with a lot of backspin, which helps the ball fly farther, use their whole body instead of just their arm to get power, and align their legs and shoulders with the target for accuracy. Make sure you throw with your dominant hand. This is whatever hand feels the most comfortable. Always practice with a glove in your opposite hand -- this is how you will have to throw in a game.
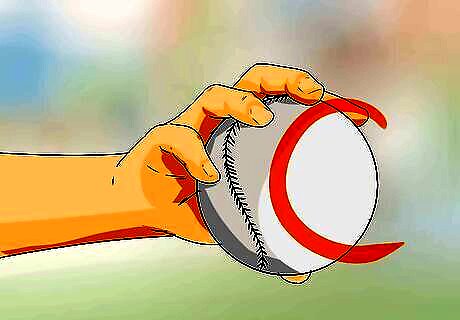
Grip the ball with four fingers on the laces. Turn the ball so that the laces form a "C," then place your four fingers along the top lace. Your thumb should comfortably rest on another lace along the side of the softball. The laces provide a surface to grip onto, and you will "pull" on the laces as you throw to give the ball backspin (the top of the ball spins back towards the bottom), which helps the throw's speed and stability.
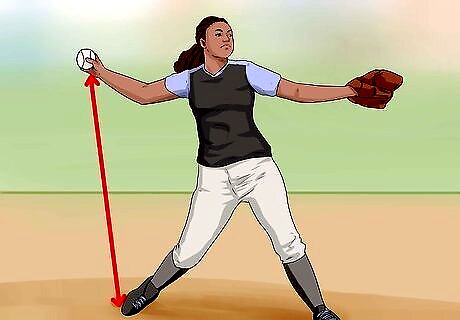
Place the inside of your back foot towards the target. Your back foot is the foot on the same side as your throwing arm. You want the instep, or inside, of your foot to face your target so that your toes point diagonally to the right (right-handed throwers) or left (left-handed throwers) of your target. To be precise, point your toes roughly 45 degrees away from the spot you throw towards.
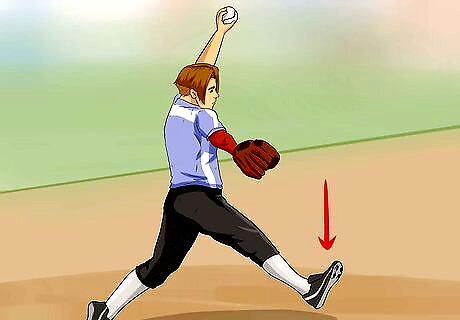
Step straight towards your target with your front foot. You should be able to draw a straight line from your back instep through your front foot and to your target. In other words, you will be perpendicular to your target. You should point your front toes however you feel comfortable. Usually this is sideways.
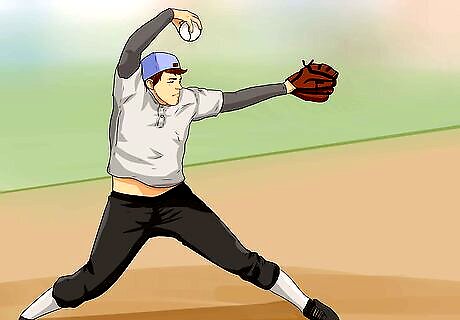
Point your glove towards your target. This insures accuracy, but it also opens up your shoulders to allow a more natural throwing motion. As you get more experienced, you may begin pointing your glove elbow, not the glove, towards your target. This makes your throwing motion more compact and efficient.
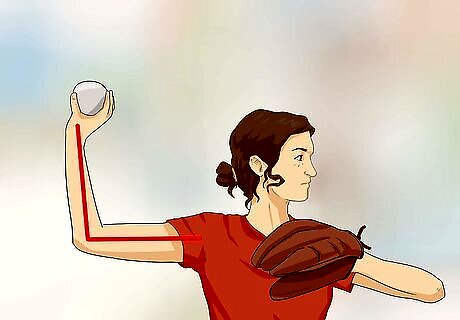
Bring the ball back behind your head with your elbow at shoulder height. Your arm should form an "L" shape with the ball held high. Dropping the elbow is the most common mistake many young softball players make when throwing, so pay close attention to your arm position.
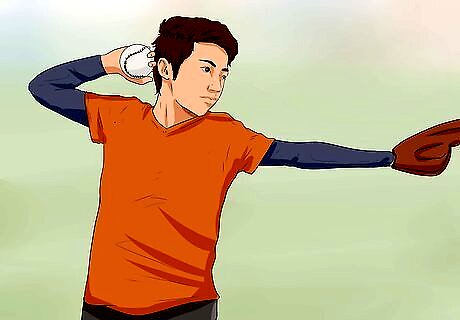
Point your palm behind you. With your arm high in the air behind you, point your palm and the ball up and behind you. This will allow you to snap your wrist with more power later in the throw.
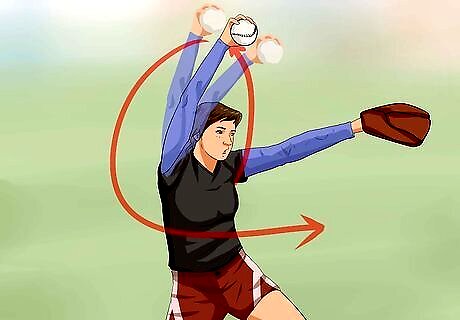
Bring the ball rapidly up and over the shoulder. This is your throwing motion, and you will feel your arm extending as you "whip" past your head. Remember to keep your elbow near shoulder-height as you begin your throw. The ball will be at the highest point of your arm. Try to keep your elbow loose and relaxed -- don't try to keep the "L" shape as you throw. You can throw the ball with more power when you extend your arm all the way behind you.
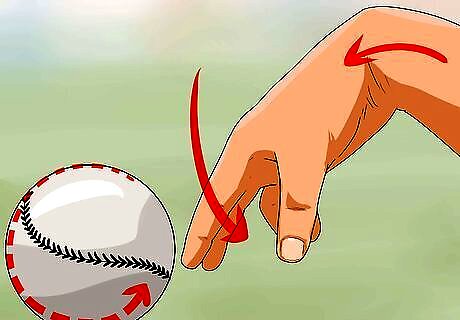
Release the ball by snapping your fingers and wrist downward. As the ball passes you head, throw the ball by simultaneously letting go of the ball and "pulling" the laces of the ball down to create backspin. You can test your backspin by placing black electrical tape perpendicular to the laces of the ball. If you release the ball properly, you should see a solid black "line" of the tape as the ball spins. Try to throw the ball the ball with a vertical rotation. This keeps your throws are straight, which makes them easier for your teammates to catch. Balls with a diagonal rotation are a lot harder to catch.
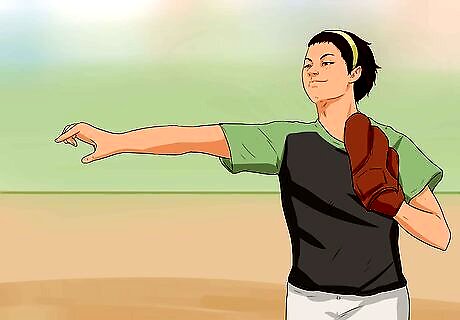
Pull your glove back towards your body. Though not necessary when you are first learning, practice pulling your glove back towards your chest as you begin your throw -- it gives you more room for a powerful follow-through. Bend your arm towards your chest at the elbow, then pull your elbow back towards your ribs.
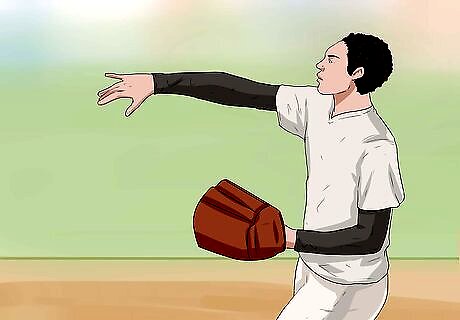
Continue your throwing motion across your chest. Once the ball is released, let your arm keep swinging down and across your body, ending with your hand near your opposite thigh. Your fingers and wrist should be down from spinning the ball.
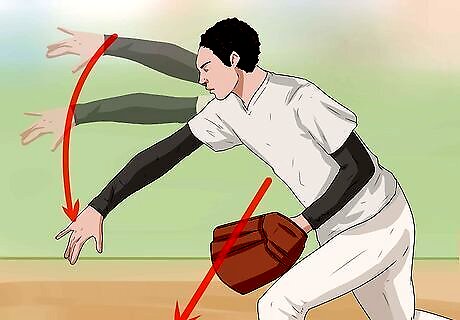
Carry your momentum forward. As you throw, you will feel your body weight shifting to your front foot. Don't resist it, and feel free to pick you your back foot to keep your balance as you lean forward after the throw.
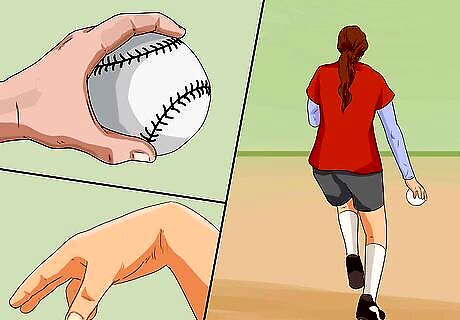
Practice each part separately to learn good mechanics. If you decide to try everything at once, every time, you are bound to pick up bad habits. Instead, break the throw down into smaller parts and practice these before bringing it all together: Grip: Toss the ball up and catch it in your glove. As soon as you catch it, grab the ball and turn it in your hands to quickly place all four fingers on the laces. Repeat. Feet: Pick 3-4 different targets in the distance. Toss the ball up to yourself. As soon as you catch it, grab the ball, turn, and set you feet up towards one of the targets, cocking your arm back like you are about to throw. Stop here and note your foot position -- are you in a straight line towards your chosen target? Wrist Flick: Hold your arm in front of your body with the ball high and your elbow at shoulder height. Practice throwing the ball with just your upper arm, snapping down from the elbow and pulling back the laces with your fingers and wrist. Your goal is to practice good, consistent backspin.
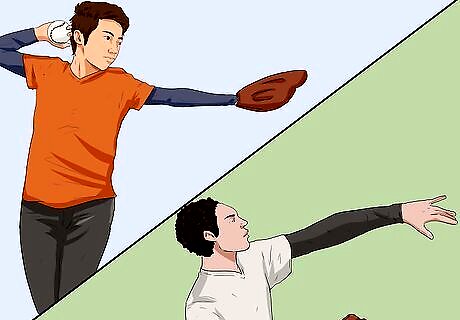
Bring it all together. You should work on throwing with a good, fluid arc. Your final throwing motion should be consistent, smooth, and comfortable. Grip the ball along the laces. As you bring the ball out of your glove, align your feet with the target. Cock you arm backwards at a 90 degree angle while pointing your glove at the target. Rapidly swing the ball past your head and release. Snap your fingers and wrist down and towards your target. Follow through by bringing your weight and arm forward and down.
Underhand Pitches
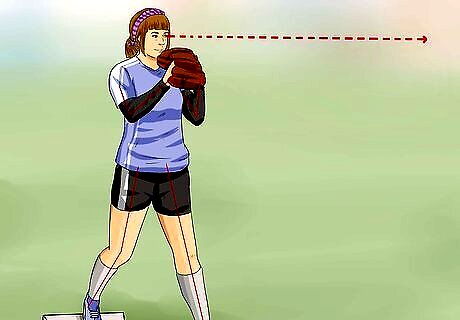
Start with your feet shoulder length apart and facing the catcher. Hold the ball in your glove near your chest.
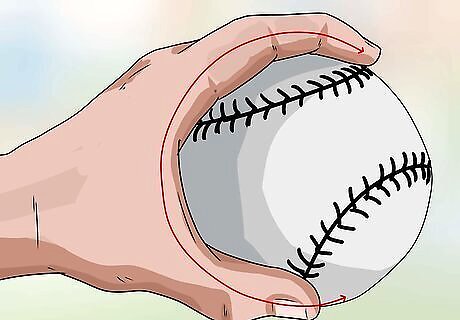
Grip the ball with four fingers along the laces. Turn the ball so that the laces form a "C," then place your four fingers along the top lace. Your thumb should comfortably rest along the side of the softball. In order to properly grip the laces, use the tips of your fingers to hold the ball so that there is a little bit of space between the ball and your fingers.
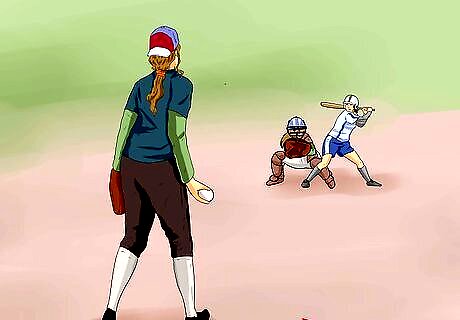
Step with your opposite foot towards the catcher. This is the foot opposite your throwing arm, and you want it placed directly towards your catcher. Most often, where you place your feet will indicate where you throw the ball, so work on making a "power line" that extends from your back foot, through your front foot, and straight to the catcher. Your feet should be pointing anywhere between 90 and 45 degrees to the side, away from the batter.
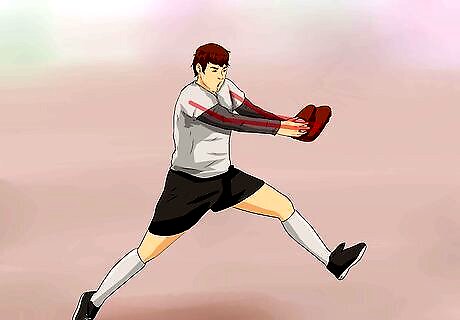
Extend both arms in front of your body. The ball and the glove arms will be separate, but both should be extended and pointing at the catcher.
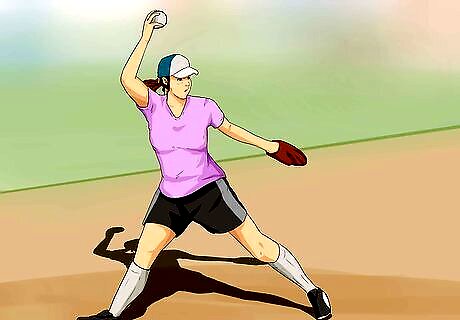
Bring your throwing arm high above your head. Keeping your arm straight, bring your throwing arm up so that the ball is towards the sky.
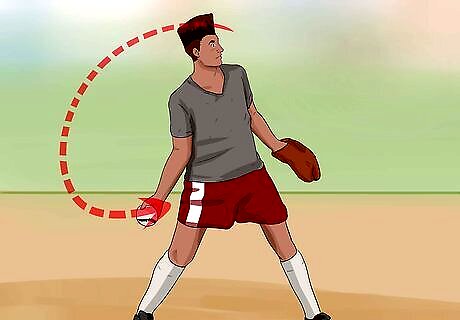
Swing your throwing arm down behind your body and around to your waist. Your arm should be relaxed and slightly bent at the elbow the entire time. Think of your arm as the hand of a clock and your shoulder is the center of it. This is called the "arm whip," because your arm should be loose and relaxed, letting momentum carry your arm quickly through it's arc and towards your waist.
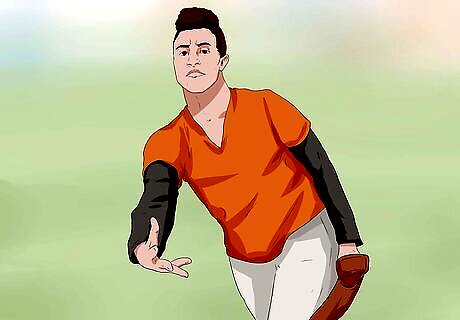
Simultaneously, drop your glove hand down. As you arm swings backwards, start dripping your glove back to your side. When you time both arms correctly you open up your shoulders so they face towards your target, allowing better accuracy.
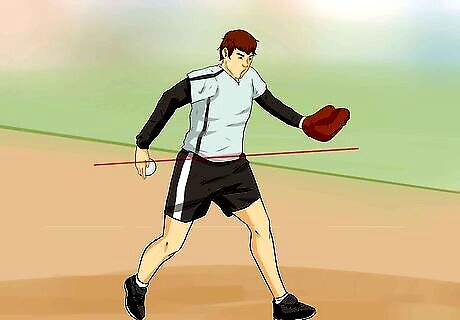
Release the ball just past your waist. Practice to find the exact location that works for you -- release too early and the ball will hit the dirt, too late and it will go too high.
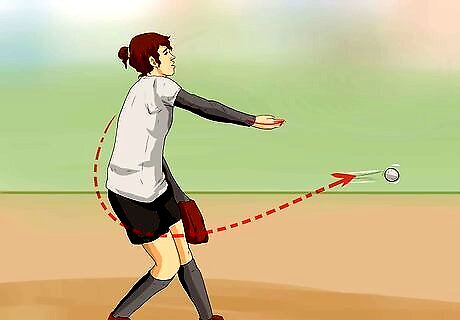
As you release, flick your fingers back towards your palm. Your palm is facing upward and your fingers will rapidly snap back into your hand as you let go of the ball. Think of the motion you make when trying to hide something in your palm. Your fingers come back as if someone was trying to take a quarter out of your hand.
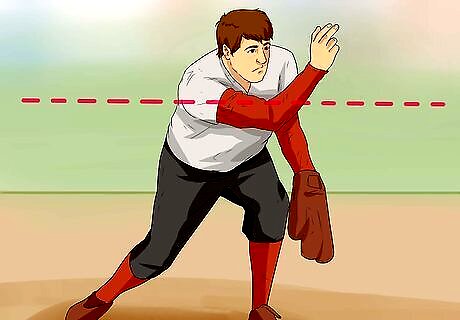
Follow through by bringing your arm to chest height. After you release the ball, you want to end with your arm up and pointing directly at your target.
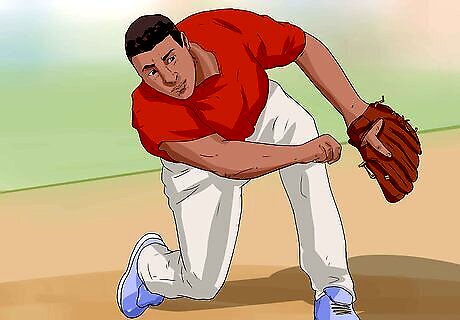
Troubleshoot your pitches. There are a lot of things that can "go wrong" while pitching, but the most common ones involve balance and improper posture. Some things to look out for include: Keeping the ball over your toes. You want your arm's entire arc to stay perpendicular to your body, so avoid letting your hand stray out and away from your torso. If the ball is over your toes the entire time you will keep the ball straight and throw more strikes. Forgetting your fingers. The snap at the end of the throw is crucial to keeping the ball stable at high speeds, so if your pitches are wild or wobble in the air, focus on following through properly. Landing your front foot. As you start throwing, don't forget that proper foot placement is key to accuracy. Make sure that every time you step forward you are landing towards the target.
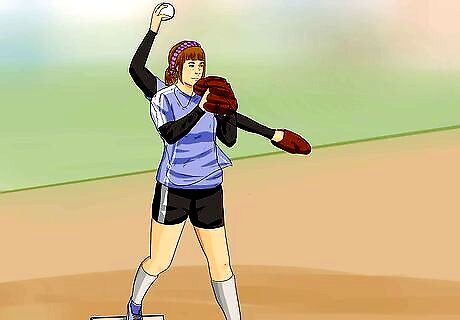
Practice the full motion after you have the parts down. Do not try to start throwing pitches right out of the gate. Practice every part slowly and separately to get good habits. For example, make your step forward and bring your arm up, then stop and check your position -- are you in line with the catcher? Next, bring your arm around and snap your fingers -- did you get good backspin? You are not looking for good pitches yet, just good consistent motions. You can test your backspin by placing black electrical tape perpendicular to the laces of the ball. You should see a solid black "line" of the tape as the ball spins.
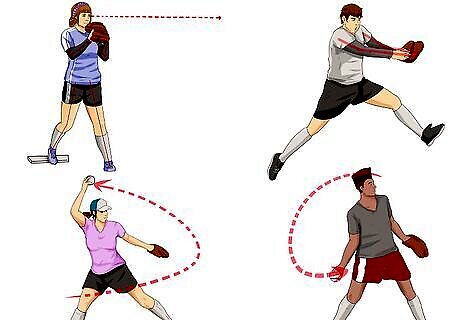
Practice finding a smooth delivery. The best pitchers put all of these parts together quickly and smoothly, without pauses or jerky, awkward motions. Push off of your back foot. Plant your front foot towards the catcher. Begin rotating your extended arm clockwise over your head. Drop your glove arm as you arm passes your head Release the ball by your waist. Snap your fingers back into your palm as the ball exits your hand. Follow through to your chest.
Other Pitching Techniques
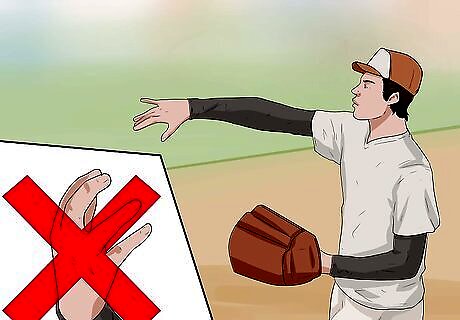
Throw a change-up by following through without snapping your fingers. The change-up is a slower pitch that throws batters off-guard when expecting another fast-ball. Hold the ball completely in your palm, letting your each finger rest on the laces, and skip the finger snap when following through, instead leaving your hand open. This is often the first special pitch you should learn after the fastball.
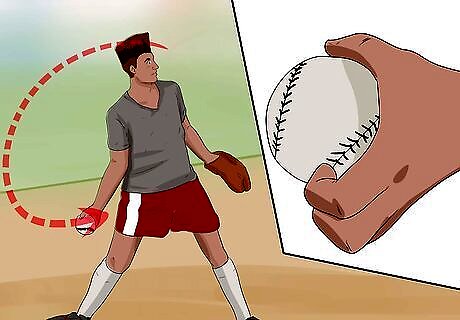
Throw a drop pitch by gripping the ball along the laces. The aim of the pitch is to make the ball sink on the batter. Grip the ball with your fingers aligned with the laces, instead of across them like you would on a fastball. Keeping your elbow a little more rigid than normal, flick your wrist and follow through like as if you were throwing a basic pitch.
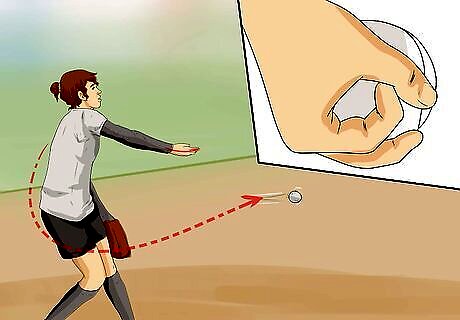
Throw a curveball by rotating your wrist as you release. You need the same grip as a drop pitch -- fingers aligned with the laces, not across. Curveballs move down and sideways, making them tricky for a batter to track and hit. Your throwing motion is nearly the exact same as a fastball, but you twist your wrist (counter-clockwise for righties, clockwise for lefties) as you release the ball. This causes the ball to spin sideways as it travels.
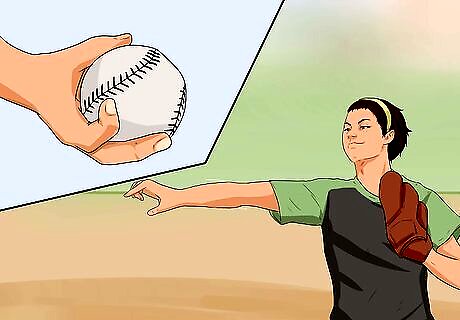
Throw a "rise ball" with a special grip and release. The hardest pitch to throw, this ball will come up towards the batter, making it incredibly hard to hit. The goal is a pitch that has top-spin so that the bottom of the ball rotates towards the top. To throw it: Put your middle and ring finger in between the laces, at the point where they start to come towards each other. Dig the tip of your index finger into the side of the ball. Begin your normal fastball motion, but keep your palm facing down as you come around behind your back. As you release, quickly turn your hand so that your palm faces up, as if you were turning a doorknob. Release the ball early so that it has time to rise. Remember that this is the hardest pitch to throw, and may take upwards of a year to perfect.



Comments
0 comment