views
Creating the Base
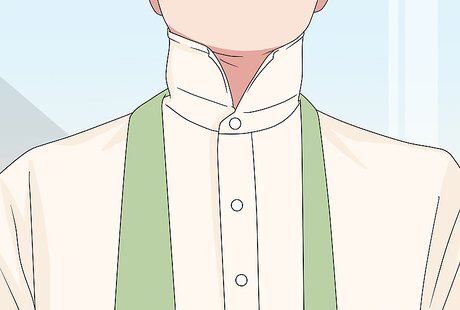
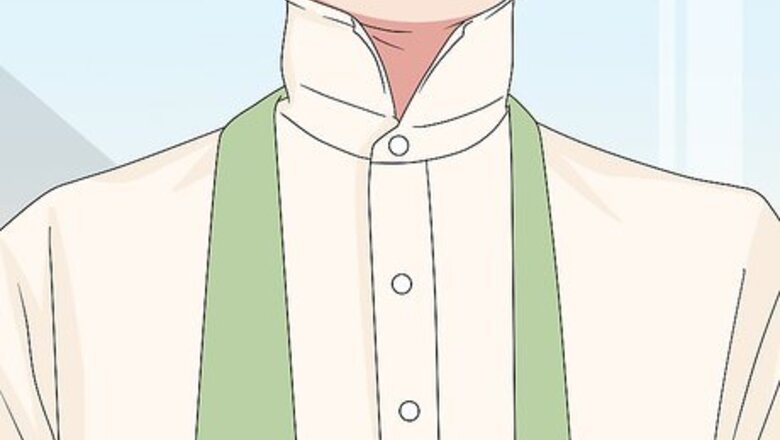
Drape a tie around your neck with the smooth side out. Have the big end hanging a little above your belt line, and the narrow end should be over your left shoulder. The seam should be on the back of the tie. You should already be wearing a dress shirt, with the collar turned up.
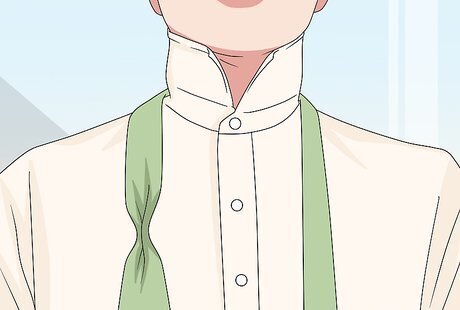
Pinch the wide end widthwise. It should be level with the first button on your shirt, the one below the collar. You can make the dimple by pinching the sides of the tie against the center, so you get a sort of fan-fold, with the side edges pointing towards your chest.
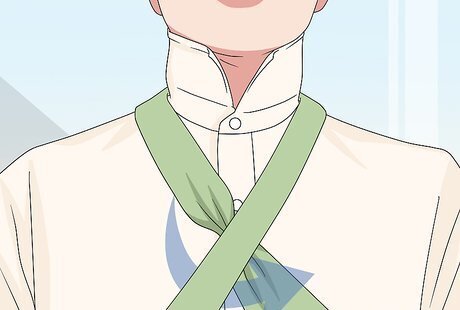
Bring the narrow end over the crease. Pull it upward towards you shoulder so that both sides of the tie cross snuggly in front of your neck. There will be a gape between the crossed ties and your neck. This is the neck hole.
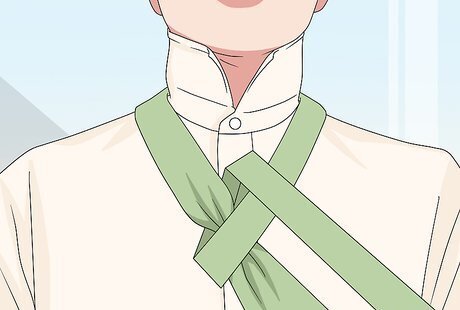
Pull the narrow end through the neck hole. Bring the narrow end under the neck hole. Feed it up through the hole. You will have the beginning of a knot.
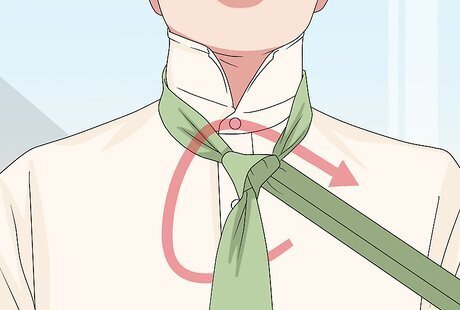
Feed the narrow end through the neck hole again. Bring the narrow end back under the knot. Pull it upwards and feed it back down through the neck hole. Tug it downwards and to the left again.
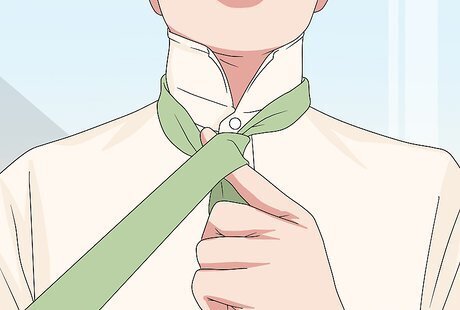
Wrap the narrow end around the knot and your finger. Place your finger over the knot. Wrap the narrow end over the knot and your finger.
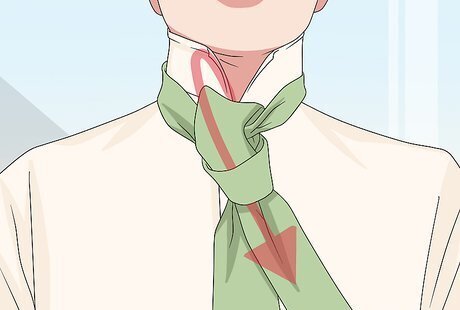
Feed the narrow end through the neck hole and down through the loop. Bring the narrow end under the knot. Feed it up through the neck hole. Remove your finger, leaving behind a loop. Pull the narrow end down through that loop.
Forming the Bud
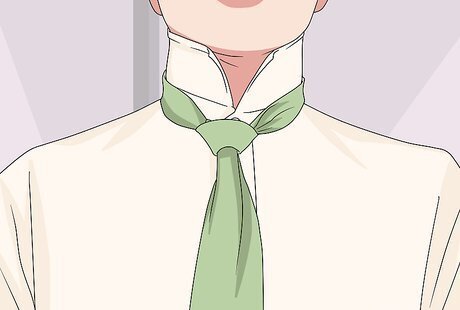
Tighten the knot. Gently tug the knot upward so that it is resting against the base of your neck. It should be snug, but it should also be comfortable.
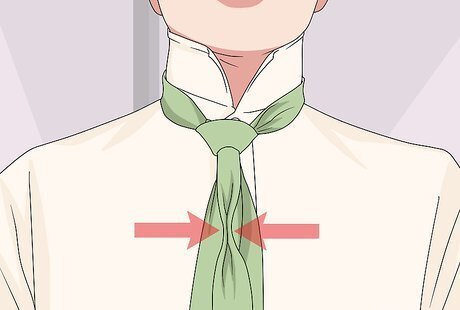
Fold the narrow end in half, lengthwise. This will create a crease that will eventually form the petals on the bud.
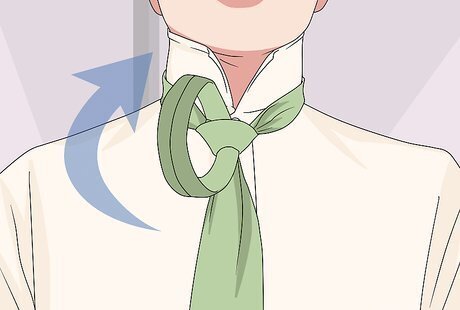
Feed the narrow end through the neck hole. Keeping the narrow end folded, pull it upward. Feed it down through the neck hole. Tug it downward and to the left. Position the wrapped part as far to the right as you can.
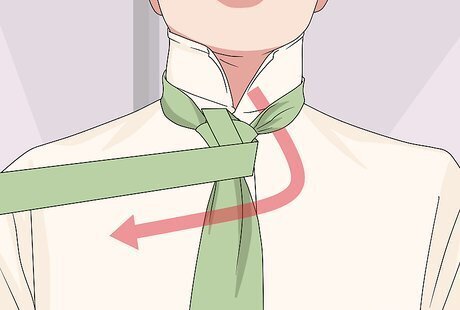
Wrap the narrow end across the front of the knot. Position it just below the knot, so that it is resting across the front of the wide end. You should still be keeping it folded.
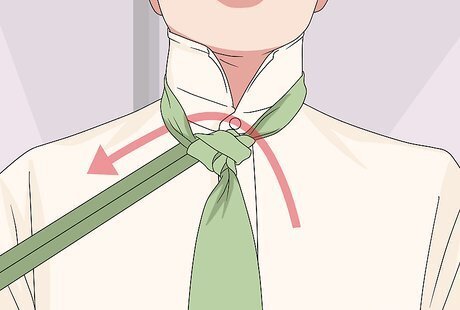
Feed the narrow end through the neck hole again. This time, tug the narrow end upwards and to the right. Feed it down through the neck hole, positioning it as far to the right as you can.
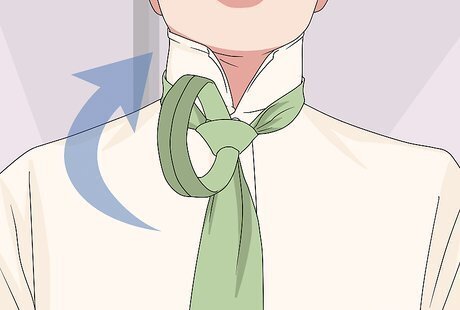
Repeat the previous step one more time. Shift the first looped part to the left. Bring the narrow end upward and to the right. Feed it down through the neck hole and tug it to the right. Adjust the two wrapped layers so that they are overlapping each other.
Finishing the Knot
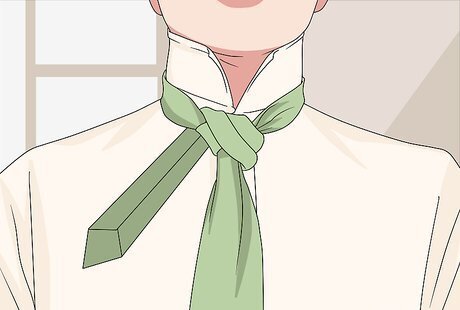
Wrap the narrow end around the tie. Pull the narrow end towards the tie that's wrapped around your neck. Wrap it around the band a few times until you have nothing left. This gets the tail end out of the way. Don't worry, it won't be visible in the end.
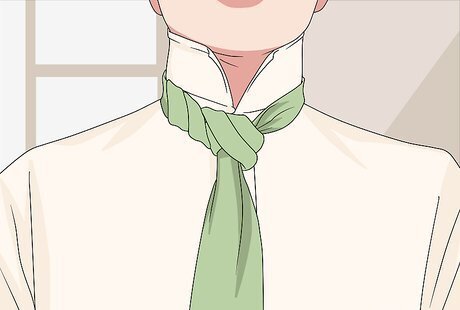
Cinch the tie. Gently tug the knotted rose bud upwards until it is resting against the base of your neck. Again, it should be snug but comfortable.
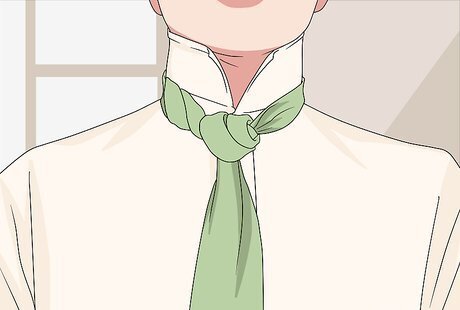
Open up the petals, if desired. Use your fingers to gently widen the smallest hole at the center of the bud. Shift the layers to the side to open them up further.
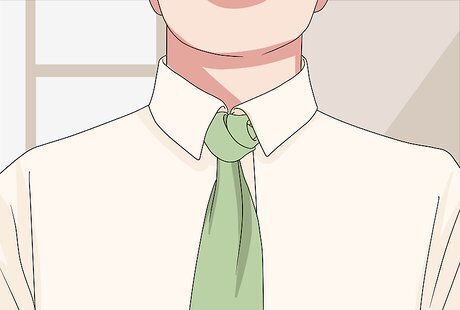
Turn down your collar. You are now ready to go!


Comments
0 comment