views
Tying a Surgeon’s Knot
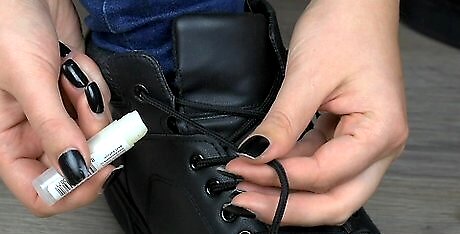
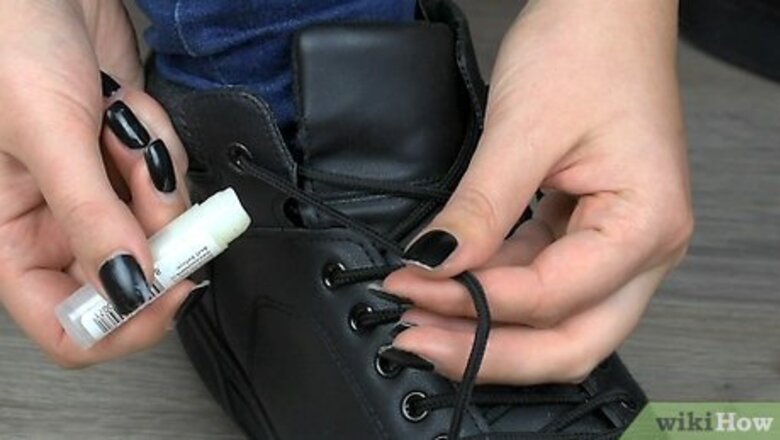
Rub lip balm over the laces once or twice. Using a few strokes of waxy lip balm will create a helpful layer of wax-like resistance that will make the laces have more resistance, and therefore keep them tied together more tightly and longer. This strategy is especially useful for round leather laces that slide out of knots easily. Apply the lip balm to the central part of the shoelaces, where you cross them to make a knot, as well as to the tips of the laces. You don’t need to put very much lip balm on the laces for them to have more friction. Just run the stick along the lace back and forth to get a thin layer.
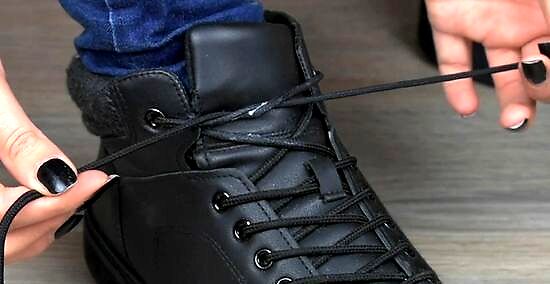
Make an ‘X’ with the two laces and tuck one side below the other. This knot begins the same as the standard way to tie shoelaces, with each lace tucked under the other. You can place either lace on top of the other, as this won’t matter for your surgeon’s knot.
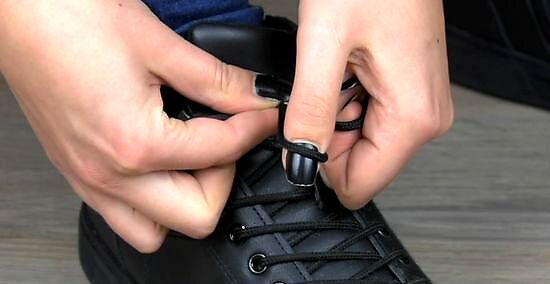
Shape a loop with one lace, toward the base. Grasp one lace at the base, right where it comes out through the top of the shoe. Make a regular, open loop with the lace and then pinch the base of the loop with your fingers to hold it firmly in place. The “loop” should look almost like a shepherd’s crook or a bobby pin. It won’t look like a round circle, as it needs to be open at the end.
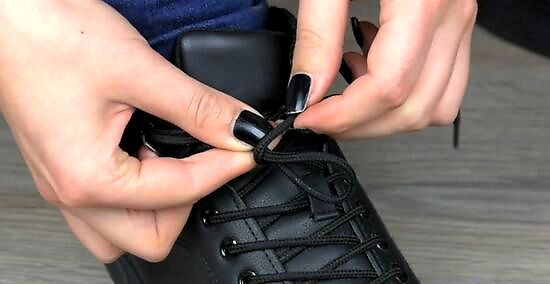
Wrap the loose lace around the base of the loop. Tuck the un-looped lace behind the loop, and pull the tip of the tucked-under lace over the loop. You can do this by grabbing the tip and pulling it around the front of the loop. You are simply wrapping the loose lace around the loop once.
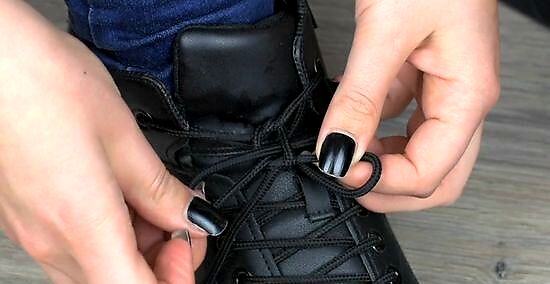
Push the un-looped lace through the gap under the loop. Press into the middle of the lace to slide it under the original loop. Be sure to grab the middle on the other side to help pull it through. This will form a second loop in the knot.
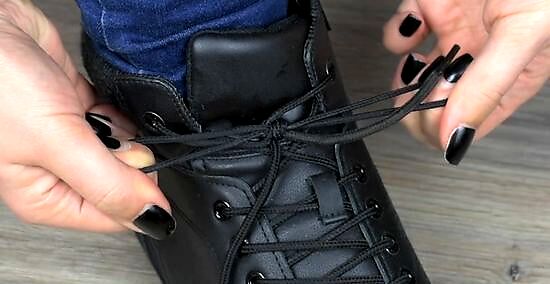
Wrap the second loop around the base of the first one and tuck it. Now that you have both main loops of this knot formed, pull the loop back under the knot one more time to finish and push it through the gap once more. This will create a super-strong knot with the appearance of a coil in the middle, connecting the two loops. Pull the knot tightly so that it holds firmly in place.
Making a Decorative Coil or Barrel Knot
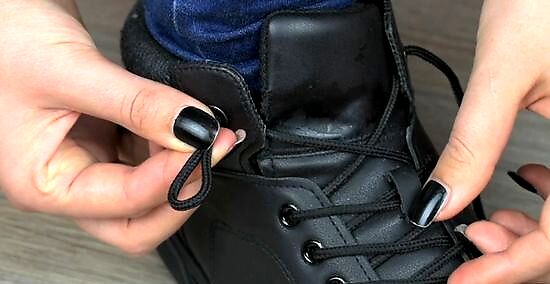
Make a loop at the base of one lace, near the eyelet. Letting the end of the lace lay down loose, bunch up the lace at the base. It should form a small loop right by the eyelet. A coiled knot is a common choice for boat shoes and leather moccasins, making an easy and relatively permanent choice for leather laces. Barrel knots are strictly decorative, and do not tighten the tongue of the shoe at all. Only use a barrel knot on shoes with a snug, comfortable fit and decorative laces.
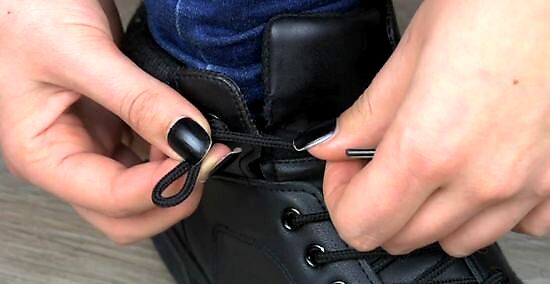
Wrap the end of the lace around the base. Pull the lace around itself once in either direction. To make a coil knot, you need to pull the end of the lace around the back of the loop and back over the front, angling the lace upward so that you can coil it.
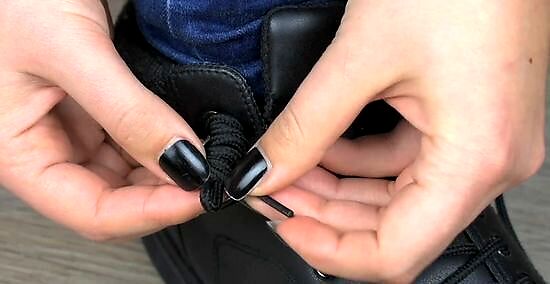
Wind the lace up the central loop, leaving a slight gap at the top. Continue to wrap the lace around itself up the main loop in the same way as before, ending each wrap with the loose lace angled upward to prepare for another loop around the central loop. The goal is to cover the central loop with a tight coil. Don’t wrap all the way up the lace. Leave a gap at the top for finishing the knot.
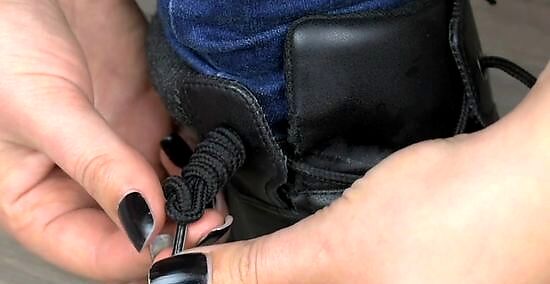
Slide the end of the lace through the gap at the top of the loop. So long as you did not coil the lace all the way up the loop, there should be enough room for you to tuck the end through a small gap. Make sure that the end is held tightly in this hole, and if it feels loose, try to make one more wrap around the loop before tucking. You will be able to see the distinctive barrel shape that the knot forms. If there are gaps between the coils, re-make the knot with tighter coils.
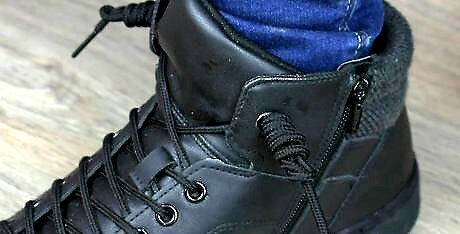
Repeat this method with the other shoelace. A barrel knot only secures one lace at a time, so you will need to follow this procedure again in order to keep both laces out of the way. Once both laces are wrapped, tuck them to the side of the shoe so that they stick outward, rather than touching the other in the middle.


Comments
0 comment