views
- Open and remove the paper tray to check for loose paper. Gently pull the paper out to clear the jam.
- If you don't find jammed paper in the tray, remove the rear access door and remove the paper stuck in the rollers.
- More paper jams may occur if the print carriage cannot move freely.
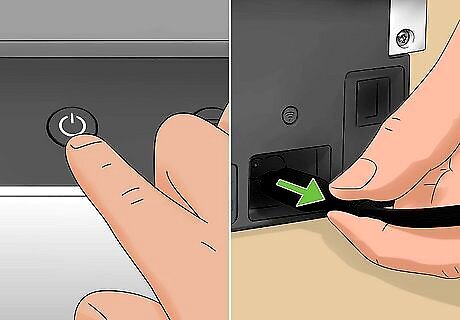
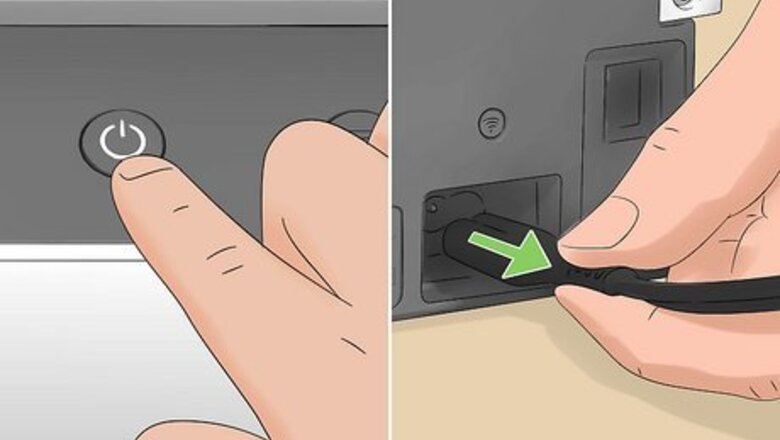
Turn off and disconnect your printer. Before you do anything, press your printer's "Power" button to turn it off, then pull the plug that connects it to power. If your printer is connected via USB to a computer, disconnect that as well. The goal here is to ensure the software starts again once you turn on the printer, so it can check for jams again once you turn it back on.
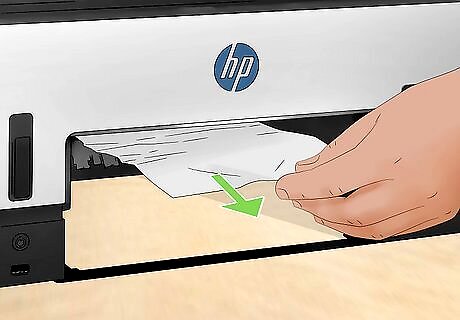
Check the input paper tray. Most paper jams occur as the rollers feed paper into the printer from the paper tray, so that is a good place to look first. You also want to take out any paper in the tray.
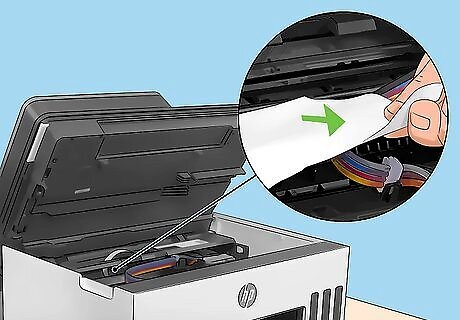
Remove the printer's access door. Depending on your printer's model, you'll find the access door on the printer's top, front, or back. Removing this will allow you to look into the printer to see where paper may be jammed. There should be a knob or a clasp that will release the door and allow you to take it off. If you have a laser printer, remove the ink cartridge as well to get a better view inside.
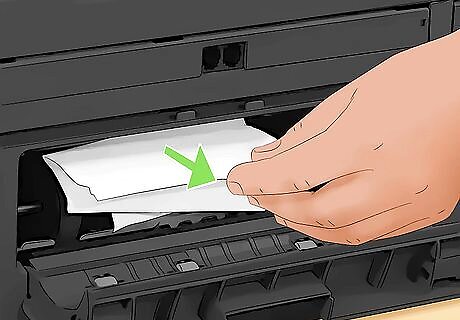
Pull out paper that is stuck in the rollers in the back of the printer. Make sure all the paper has been removed, including any scraps and ripped pieces. To avoid ripping or tearing the paper, move it in the same direction as the rollers. Replace the access door on the printer when you're done. If there is no other paper stuck in the printer, press the Resume button.
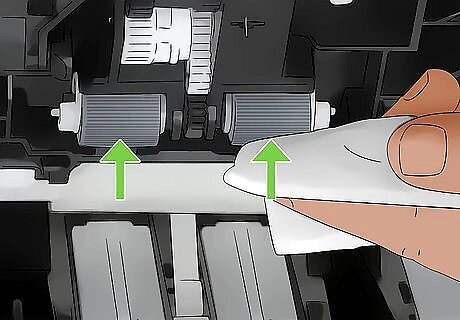
Check the print carriage and rollers to make sure they are working correctly. For some printers, the ink cartridges must be able to move freely from one side of the printer to the other. While looking under the access panel, check that there isn't any dust buildup that can cause a paper jam. If you do see dust and debris, clean them by gently wipe down the rollers with a damp cloth.
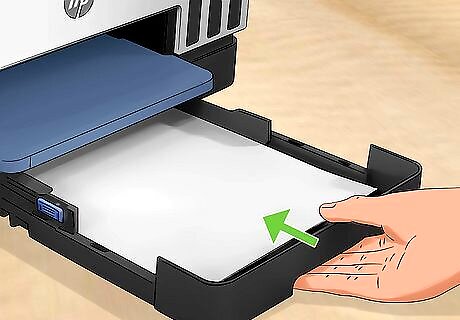
Put your printer back together and turn it on. If you had to remove ink cartridges, put them back, then re-attach the access door. Put paper back into the tray, plug it into the wall, and connect any other cables you disconnected earlier.
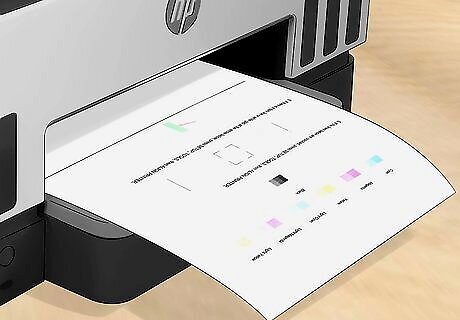
Test the printer to make sure it is printing correctly. Hold the Resume or OK button down until a test page begins to print. If you see that there's still an error, there might be more access doors that you can open to see more of the inside of your printer. Once you power the printer off again and disconnect it from power, remove those other paper jams, then try plugging it in and resuming again. You may need to open different access doors to find the paper jam causing the error, but don't give up! Each door gives you a different view of the inside of your printer, so you should be able to locate the jam quickly.
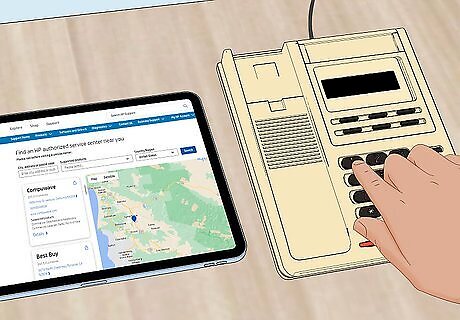
Call HP support. As a last resort, call HP for service if the test page does not print or you continue getting paper jams.


Comments
0 comment