views
- Open the Reel camera in the Instagram app.
- Tap to select a photo or tap the multiple icon to select more than one photo.
- You can have up to 50 photos in a Reel.
Uploading Photos to Reels with Instagram

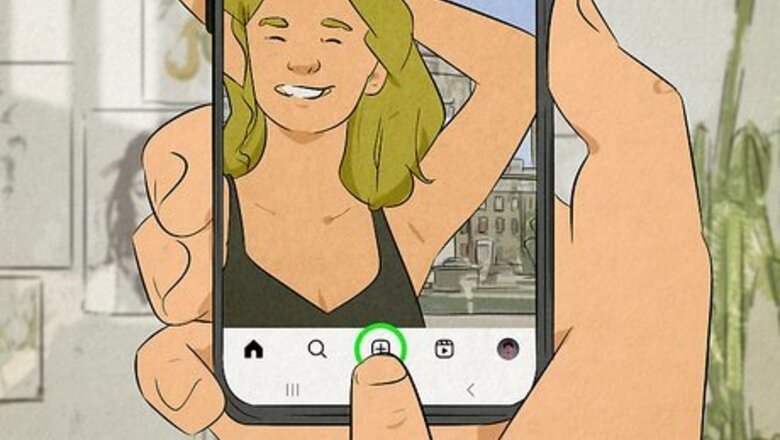
Open Instagram and tap +. Tap the app icon that looks like the front of a camera on a gradient pink to orange background. The plus sign is centered at the bottom of your screen. Use this method to create a Reel with pictures using only the Instagram app. If you want to create a more elaborate and heavily edited Reel with pictures, use another tool like Canva to make your Reel.
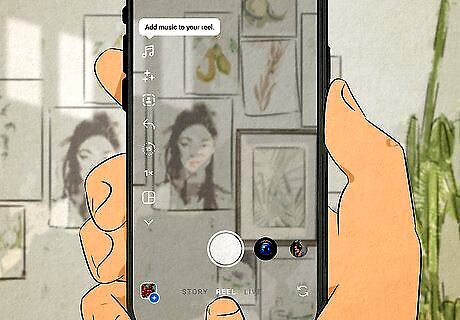
Tap Reel. It's an option in the menu dial at the bottom of your screen.
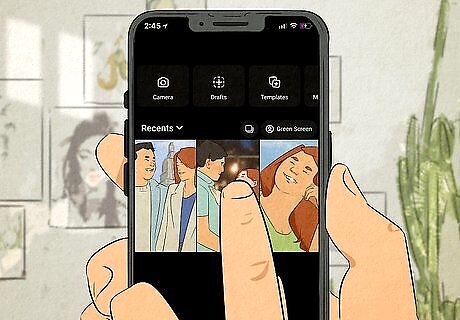
Tap to select your image or tap the multiple icon to use more than 1 photo. You can use up to 50 photos and videos in one Reel. However, remember that each Reel is limited to 90 seconds. Note that Instagram will trim your videos and adjust the timing that each photo is displayed to meet the 90-second maximum requirement.
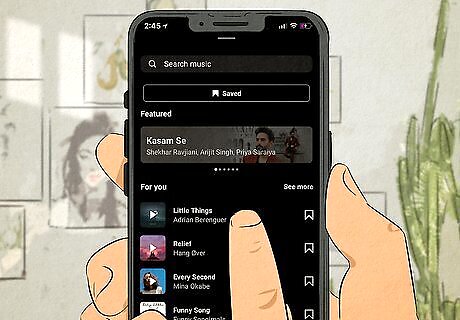
Select audio for your Reel (optional). The order for this changes depending on whether you have one or multiple photos in the Reel. If you have multiple photos selected, tap a song to preview it with your selected photos and your slideshow will sync with the music. Tap Next to continue. If you only have one photo selected, you won't see this option. Instead, tap the music note icon to open the audio selection (if you don't want to add audio, skip this step). You can use a song, create a voice-over, or add sound effects. Music selection is the default, so you can search for or select one that's displayed. You can then choose the part of the song you want to use so it plays the section you want by adjusting the timeline at the bottom of your screen. Want to know which songs are trending on Reels? Tap the search bar and enter "Trending" —if the song is trending, you'll see a small arrow pointing upward next to the song's title. You'll also get a mix of trending and other sounds under the "For You" header. If you're also on TikTok, check TikTok's trending songs for a hint at what's trending (or will soon trend) on Reels. Tap Controls to change your camera's audio, the music track, and the sound effects. You can also use these tools with a Reel consisting of multiple photos. Simply tap the music note icon after you've selected your music from the first screen, or tap Skip. Tap Done or the back button to continue.
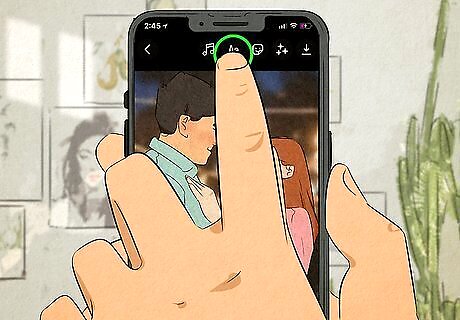
Add more effects (optional). Tap the "Aa", smiley face, or stars icon to add text, stickers, and effects; skip this step if you don't want to add anything else. The "Aa" icon will allow you to add text. Use the buttons here to use text with effects, change the font, the text's color, and positioning. You can even change when different texts appear on screen! The smiley face icon shows you a selection of stickers that you can add to your Reel! You can add polls, quizzes, quick polls (with the smiley face slider), and more. Tap a sticker to use it, then use your finger to drag it around the screen. The star icon lets you add effects. Tap it to see the different effects you can use, like animation or aesthetics, and let it load into the top window to see a preview. If you like the effect, tap the back arrow on your phone to navigate out of that menu. You can save a draft of your Reel at any time during creation and continue editing it later. Simply continue tapping your back button and tap Save as draft to stop editing. To find these drafts again, open your Reels camera again and select the Drafts tile. Tap the download icon (it looks like a downwards-facing arrow) to save your edited Reel on your phone.
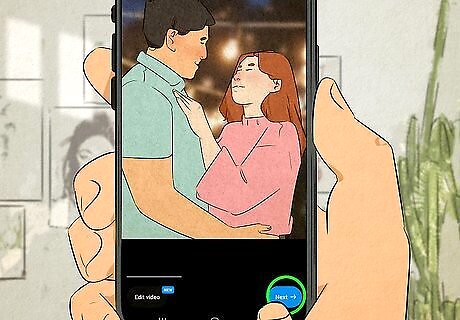
Tap Next to continue. It's a blue button in the bottom right corner.
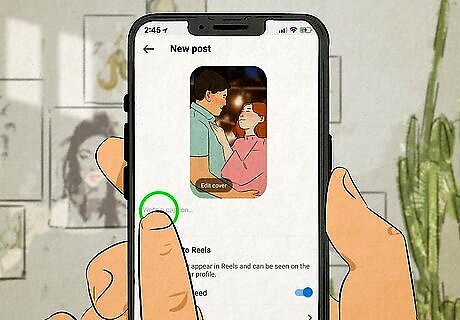
Add your caption and relevant hashtags. Tap the Write a caption field to add your caption the same way you would on a post or Story. You'll also want to add relevant and trending hashtags to make it easy for people with relevant interests to find your Reel. Tap 'Tag people to tag other Instagram accounts you want to mention. For an added boost, tap Add location to geotag the Reel—this makes it so people checking out that location on Instagram will see your Reel on the location's tag page.
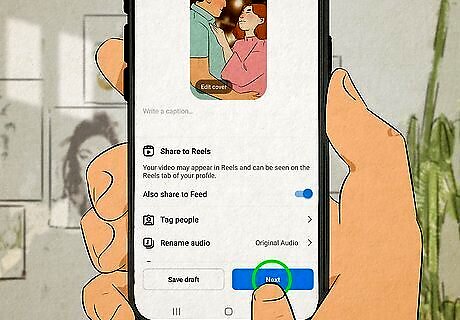
Tap Next/Share to post your Reel. When you share your Reel, it will be added to your profile's Reels tab, and your followers will see it as they scroll through their Instagram feeds. Your Reel will also be shown to relevant users who are exploring their own Reels tabs. The more people who like and interact with your Reel, the broader its reach will be. Popular Reels also appear on the Explore page (the magnifying glass), making them even more likely to be discovered by like-minded people.
Tips for Reel Management

Use more than just your photo. A video is able to capture background sound, voices, and much more than pictures, so don't limit yourself to only uploading your photo as a Reel. Instead, use text, stickers, and music to add to your Reel!
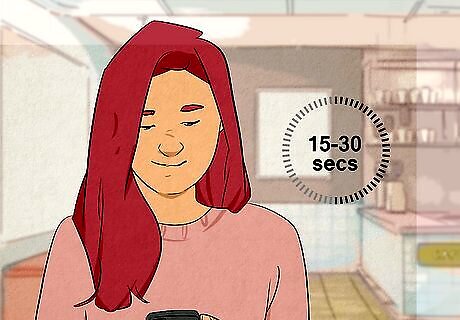
Remember your Reel's length. A longer video requires keeping the audience's attention for more time, so make sure your goal and video length match.

Repost Reels. If there's a Reel that you posted in the past that performed well (got a lot of likes and has a high reach/impression number), then post it again! You can even repost if a Reel didn't do too well to see if posting it at different times of the day increases its popularity.
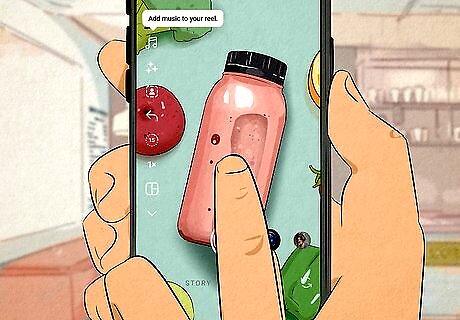
Use a cohesive theme. If you're trying to create a brand, you want to make sure some elements are the same. These can be similar fonts, colors, and layouts. Having them all the same helps your audience see your Reel and recognize the brand behind it. Tools like Canva, which offers built-in themes and templates that you can save to your profile, help you maintain a specific theme and adhere to certain elements that your brand uses. By using something like Canva, you can easy find and use templates that you've used in the past in order to maintain consistency.



Comments
0 comment