views
- Use Ubuntu Software Center or Snap Store to install software from a graphical interface that's similar to your phone or tablet's app store.
- Use apt-get (or its GUI front-end Synaptic) to install DEB packages from a variety of repositories.
- The Snap Store is a handy tool for finding and installing snap packages, which are quick and easy to install and come with all necessary dependencies.
Ubuntu Software
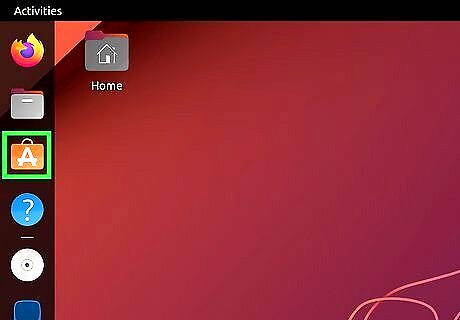
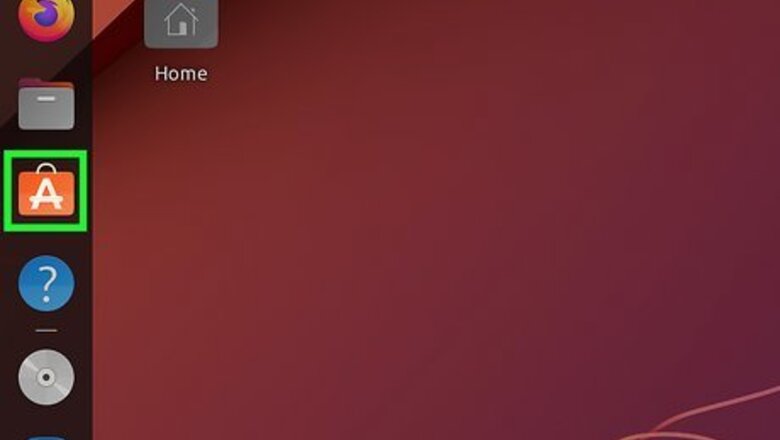
Click the Ubuntu Software icon on the Dock. It's the orange suitcase icon with an "A" inside. You can also open Ubuntu Software by searching for the word software in the Activities search bar. Ubuntu Software is the simplest way to install software, as it has a handy graphical user interface that displays screenshots, space requirements, and even user reviews. If you already have a .deb package that you downloaded from the web, you can install it using Ubuntu Software—just double-click the .deb file to open it in Ubuntu Software, where you'll see an Install button.
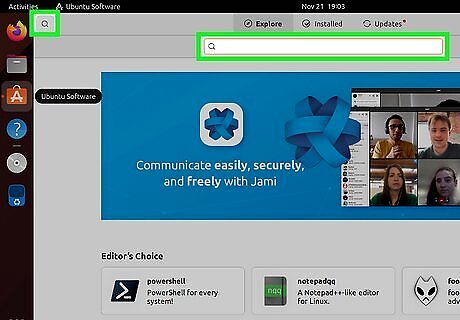
Search or browse for an application. Use the categories to find apps to install, or search for something in particular.
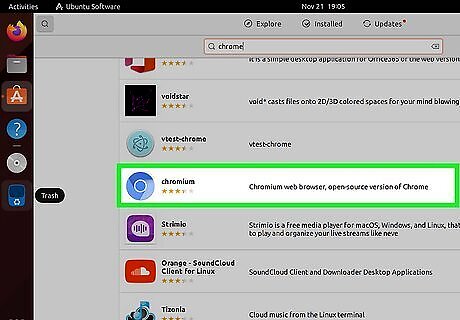
Select an application to learn more about it. You'll see a description of the app, user ratings, the total installation size, screenshots, and other details. If the app is already installed, you'll see a Permissions button at the top, along with a red button that you can use if you'd like to uninstall it.
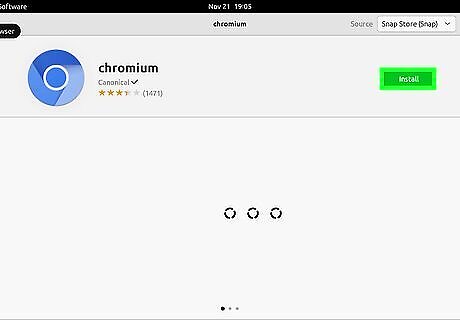
Click Install to install the app. Once you enter your password to confirm, the software will download and install.
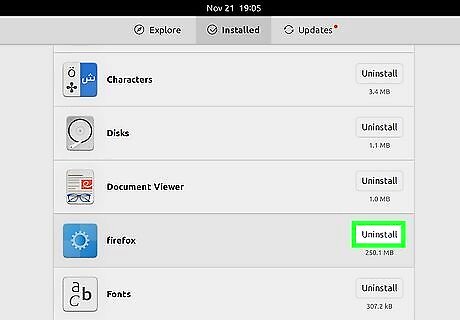
Uninstall with Ubuntu Software. Removing software you installed through Ubuntu Software is just as easy as installing it. Here's how: Open Ubuntu Software and click Installed at the top. Locate the application you want to uninstall. You can use the search box to filter the list or just scroll until you find it. Click the application and select Remove Enter your password to confirm.
Advanced Package Tool (Apt)
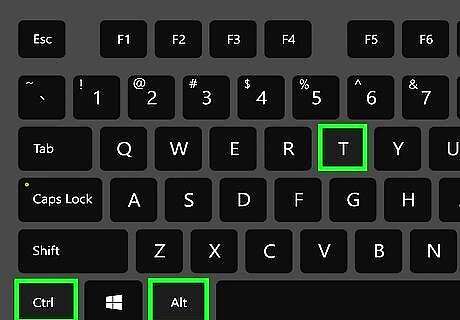
Open a Terminal window. If you know the name or type of software package you want to install, you can easily install it from the command line using the apt-get command. To launch the Terminal, press Ctrl + Alt + T on your keyboard. Apt is a great alternative to Ubuntu Software if you want to make sure you always have the latest versions of your favorite software. With Ubuntu Software, newer versions of the packages you install are not released nearly as often as they are on the various repositories available through Apt. You will need to use the sudo command to install packages with Apt. If you want to install software packages without root access, try the Snap Store.
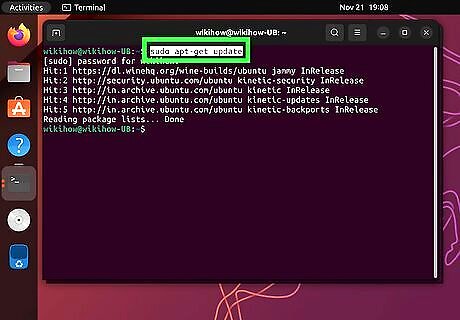
Run sudo apt-get update to update the package index. Before installing a software package, you'll always want to make sure the package index is up to date. If there's a package you're looking for that's only available from a certain repository, you can add the repository using the add-apt-repository command. Check the instructions for the package you want to install for the repository name, public key, and other information.
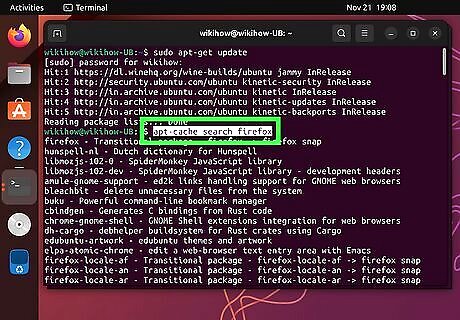
Search for a package to install. If you already know the name of the package you want to install, you can skip this step. If not, you can use the apt-cache search command to search for a specific string of letters in all existing software packages and their descriptions. For example, if you were looking for Firefox, you'd type apt-cache search firefox. All Firefox package names would appear in the search results. It's not necessary to use sudo when searching the package index, as root permissions aren't needed.
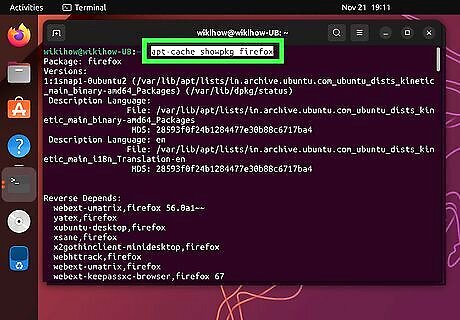
View more information about the package before installing. If you want to know the version number, languages available, and dependencies, you can use the command apt-cache showpkg
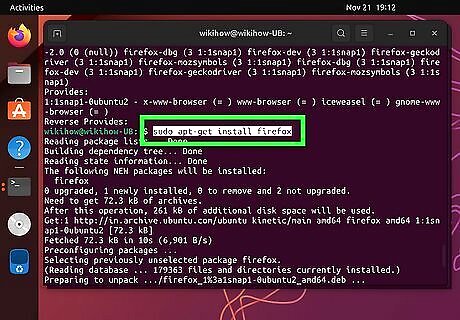
Use sudo apt-get install Update installed software. You can also use Apt to install updates for all installed software or for individual software packages.
First, run sudo apt-get update to update the package databases.
If you just want to see which updates are available but not install them, use sudo apt-get list –upgradable.
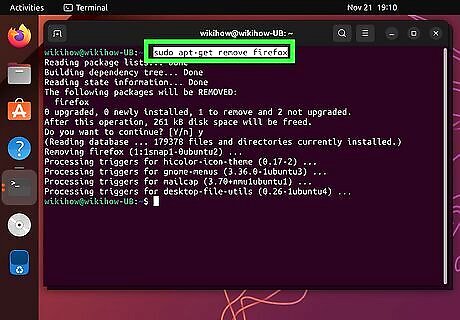
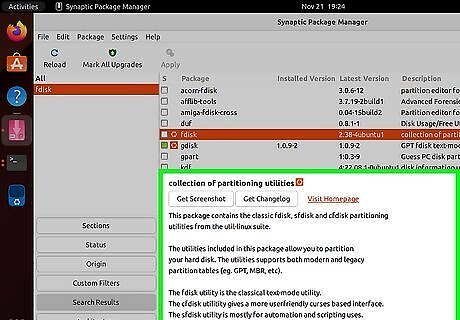
Then, run apt-get upgrade to check for and install updates for all software you've installed through apt-get. Or, if you just want to update one application, use sudo apt-get install Delete a package with apt-get. If you want to uninstall software you installed from the package tool, just use sudo apt-get remove Install Synaptic if you haven't already. Synaptic is a graphical interface for Apt that's great if you don't like to type commands but need more control than what you get with Ubuntu Software. With Synaptic, you can easily browse and manage repositories, install and remove programs, and update individual packages.
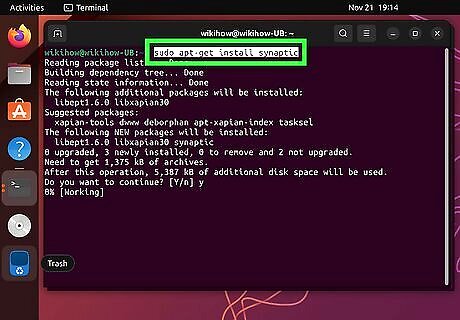
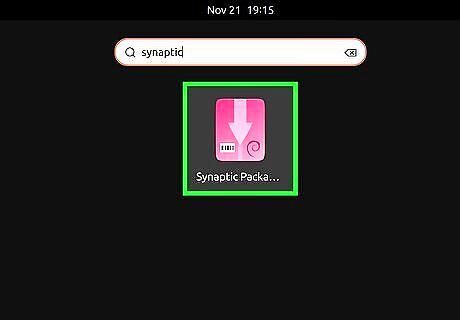
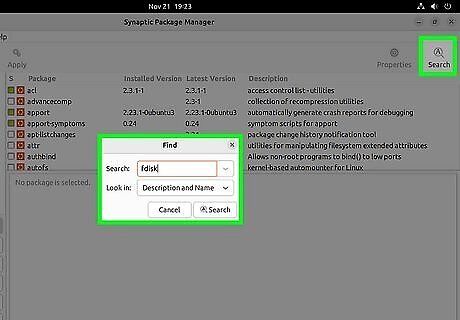
To install Synaptic, you'll need to open a Terminal window and run sudo apt-get install synaptic. Open Synaptic. Once Synaptic is installed, you'll find it in System > Administration > Synaptic Package Manager. Browse or search for packages. You'll see categories in the left panel, which you can click to view packages. You can also search for package names or types by keyword using the Search option at the top of the window.
If you need to add a repository or manage existing repositories, you can do so in Settings > Repositories.
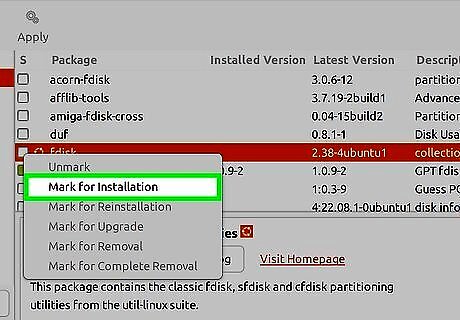
Synaptic shares its repository list with apt, so if you've added repositories to /etc/sources.list or used add-apt-repository in the past, that repository is already available in Synaptic. View info about a package. Select a package and click Properties to view details, including required dependencies, a list of files to be installed, versions, and a description of the software. Mark a package for installation. If you find something you want to install, right-click the package and click Mark for Installation. You can install multiple packages at once by marking them each for installation before you continue.
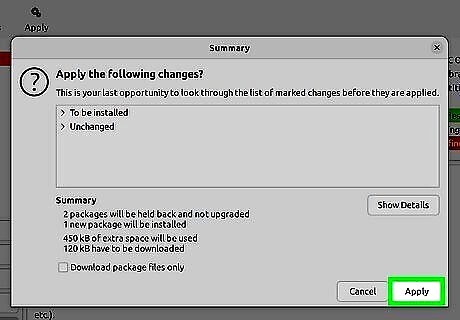
If prompted, click Mark to mark additional changes. Click Apply, and then Apply again to confirm. This installs all of the marked packages on your PC. Update software. Updating packages is super easy with Synaptic:
First, update the repository list by pressing Ctrl + R or clicking Reload.
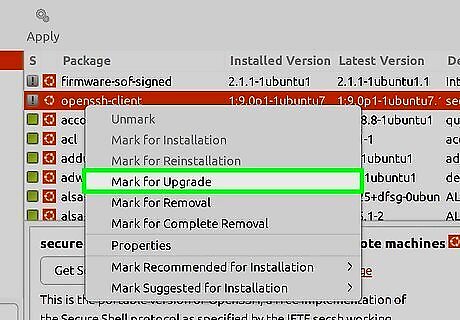
Right-click a package and select Mark for Upgrade.
Mark additional packages for upgrade if desired, then click Apply.
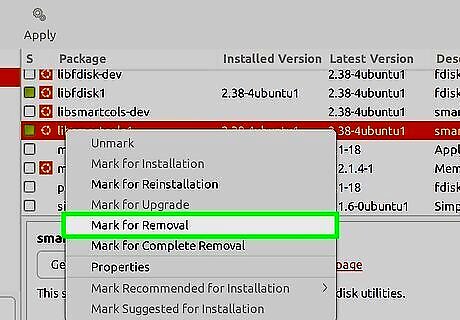
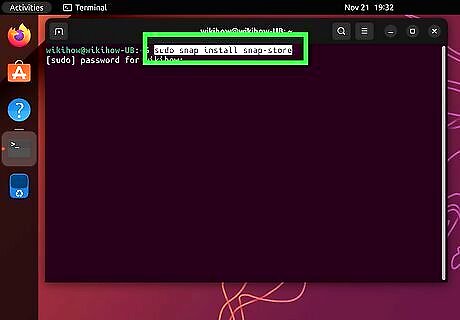
Click Apply again to confirm. Uninstall software. To remove a package you installed with Synaptic or Apt, just right-click the package and select Mark for Removal. Click Apply, and then Apply again to remove the package. Install the Snap Store. The Snap Store is another great place to install Ubuntu apps, especially if you want the most up-to-date versions of apps and don't want to worry about installing dependencies. The Snap package manager comes preinstalled on Ubuntu, but if you want access to the Snap Store, you'll need to install it using the command sudo snap install snap-store in a Terminal window.
Apps like Spotify, Slack, and Chromium can all be installed through the Snap Store.
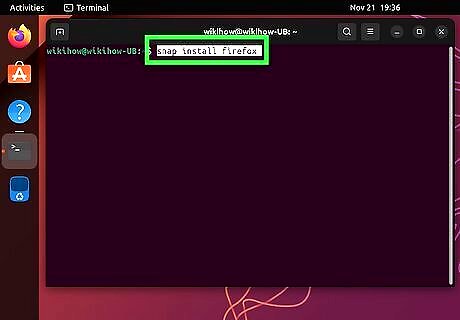
If you have a file that ends with .snap already downloaded, you can install it without the Snap Store. Just run snap install ./filename.snap at the prompt, replacing filename.snap with the name of your file.
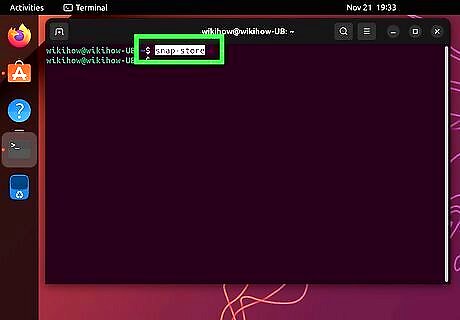
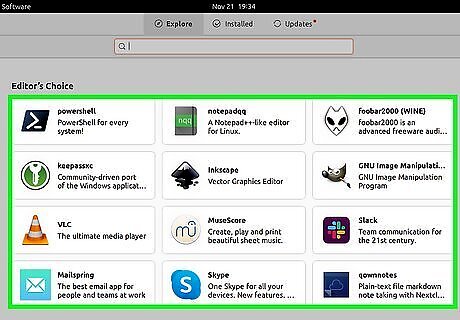
If the file isn't signed, you can add the --dangerous flag to the end of the command to skip the signature verification. Type snap-store into a terminal and press ↵ Enter. This launches the Snap Store interface. Search or browse for an application. The Snap Store is divided into categories, such as Games, Productivity, and Photo and Video. You can also search for an app by name or type by typing keywords into the search field. Click Install to install the app. This downloads and installs the software on your Linux PC.
Software installed from Snap packages update automatically, so there's no need to worry about updating your software. However, if you want to update your software manually, you can run the command snap refresh at the prompt, or run snap refresh --time to find out when the next update is scheduled.
You can also browse for and install Snaps from the command line, similar to using apt-get.
Run the snap command alone to learn how to use it.
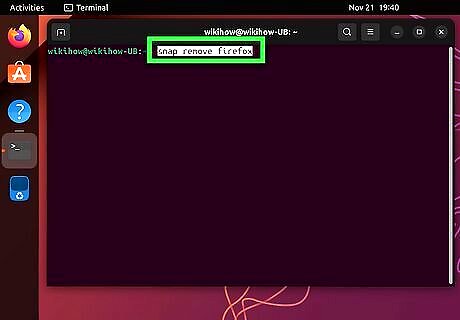
Run snap find Uninstall a snap. To remove software you installed from a Snap, you'll want to use a Terminal.
To see all installed snap packages, run snap list.
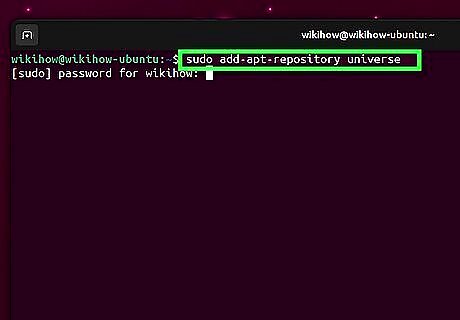
To delete a package, use snap remove Add the Universe repository to your software sources. You can do this easily from the command line by typing sudo add-apt-repository universe and pressing Enter.
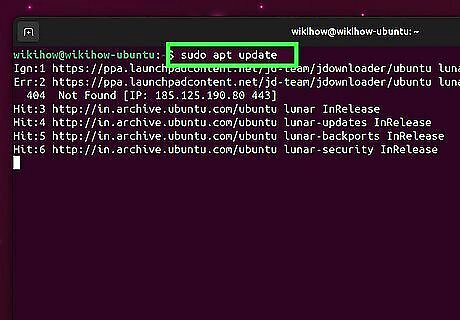
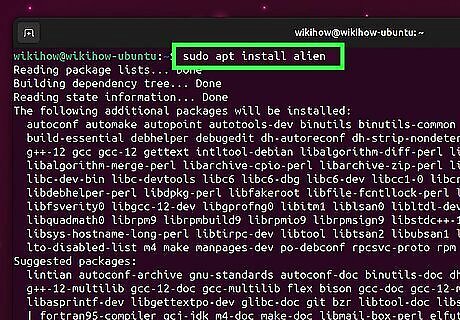
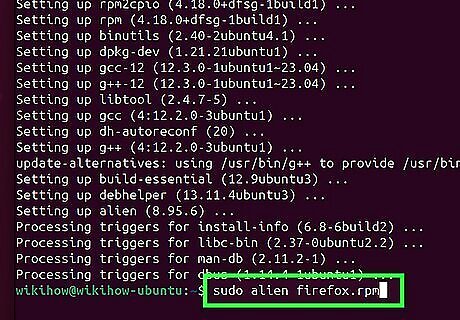
To install software from an RPM in Ubuntu, you'll need a program called Alien. Alien can both install RPMs and convert them to DEB packages. Type sudo apt update and press ↵ Enter. This updates the package list so you can download files from the Universe repository. Type sudo apt install alien and press ↵ Enter. Follow the on-screen instructions to confirm the installation. Use sudo alien package_name.rpm to install Alien. Replace package_name.rpm with the name of the RPM package you're installing.
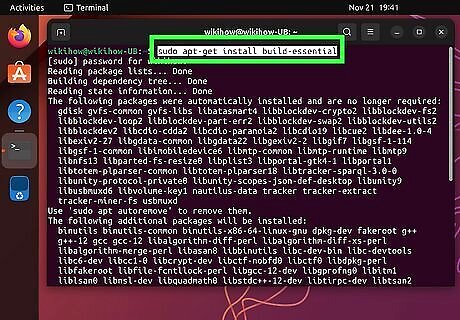
Alternatively, you can convert the RPM to DEB using sudo alien package_name.rpm. Once converted, you can install it with Dpkg using sudo dpkg package_name.rpm. Install the build essential package. Whether you wrote your own program or downloaded software that needs to be compiled (often in the format of a .tgz or .tar.gz file), you'll need to install the build-essential package first. This ensures you have the right tools for compiling from source code.
Open a Terminal window.
Run sudo apt-get update to update the package database.
Run sudo apt-get install build-essential to install the package. Decompress the source code. If you downloaded software from the web, it'll typically be compressed into a tarball ending with the .tar.gz or .tar.bz2 file extension.
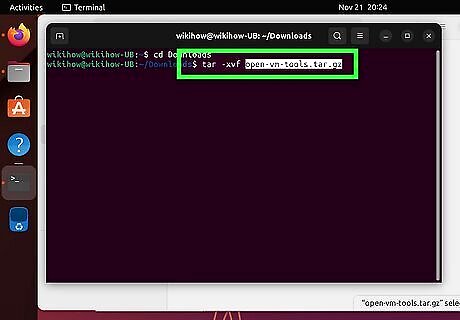
First, use cd to enter the directory to which you saved the file.
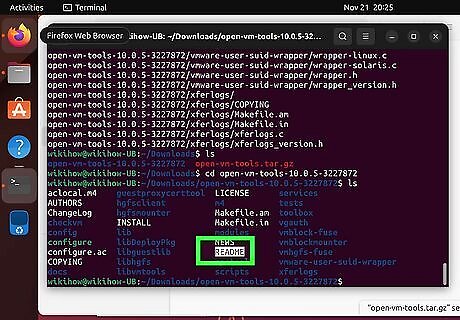
If the file ends with .tgz or .tar.gz, run the command tar -xvf Look for a README and/or INSTALL file that contains instructions. Depending on the software you're building, it may contain a helpful file with special installation instructions. Use the cd command to enter the new directory from your decompressed file, then run ls -a to look for such a file.
If you see a file with instructions, for example, one called README, you can read it using cat README (to display the whole file) or more README (to read it page-by-page).
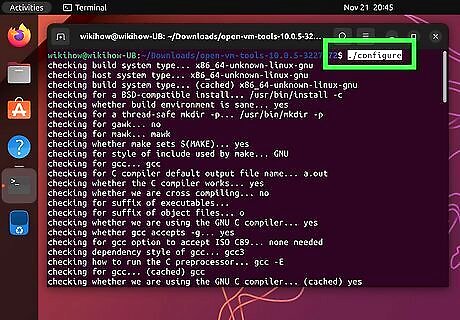
If both files are found, read them both! Run the configure script to prepare the files for compilation. If your installation file tells you to use certain flags or to skip this step, stick to those instructions. Otherwise, run the command ./configure to prepare the installation.
If there isn't a file called configure in this directory, re-read the instructions for installation steps. There may be additional instructions available where you downloaded the file, such as in a GitHub repository.
Sometimes you'll find a script called install.sh instead—if you see this, make it executable using chmod u+x install.sh and then run it using ./install-sh.
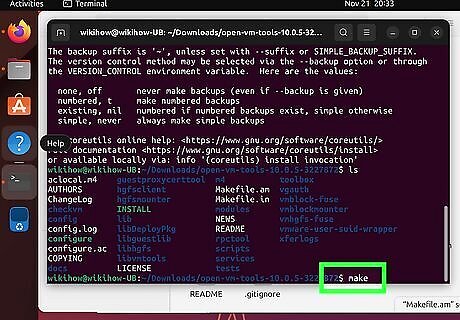
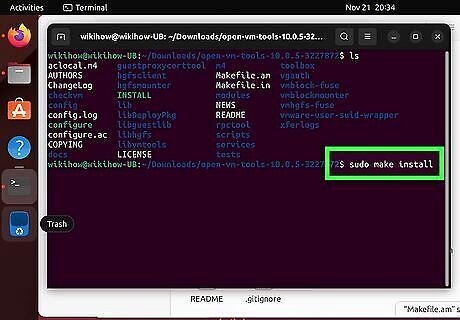
If you get an error about missing dependencies or libraries, you'll need to install whichever dependencies are required before you can compile the software. It'll be easiest to do this using a package manager like #Advanced Package Tool (Apt) rather than downloading and compiling more source code. Once the required packages are installed, re-run the configure script until there are no errors. Run the make command. Just type make and press Enter to compile the source code into an executable program. This step may take a while, depending on the speed of your computer. Run sudo make install to complete the installation. If you're just compiling something that you'll be using in your own home directory, this step isn't necessary. But if you want to add it to a system binary directory, run this command. Once you've done this, the program is installed.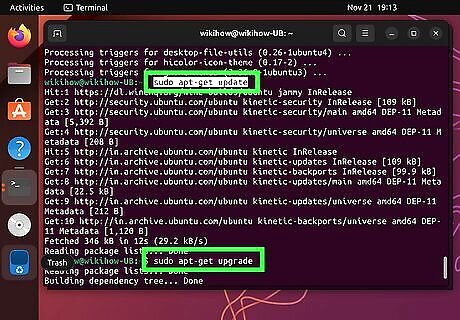
Synaptic
Snap Store
Installing RPMs with Alien
Compiling from Source Code


Comments
0 comment