
Traditional Way to Tie a Taekwondo Belt
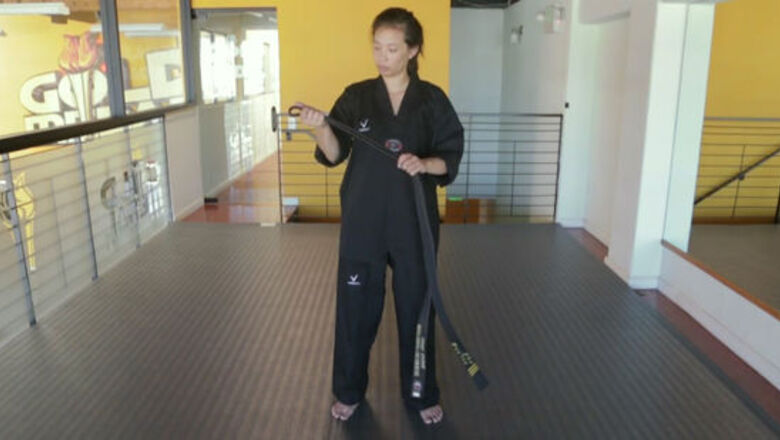
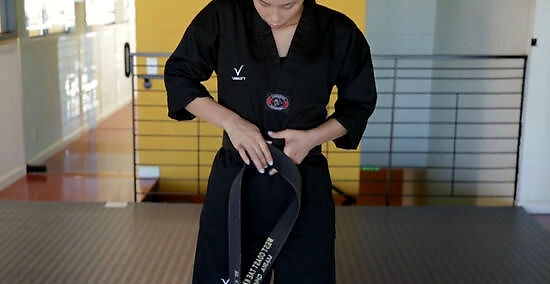
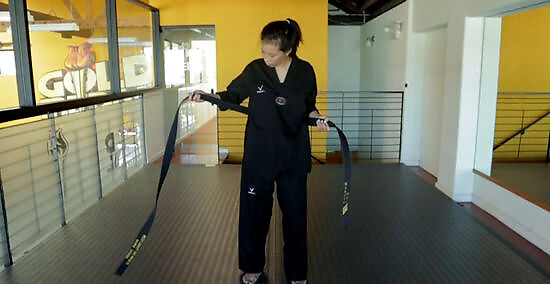
Fold the belt in half to find the center. If you have a new belt, there might be a crease that indicates the halfway point. If not, make sure both ends of the belt are even before folding it in half. According to Taekwondo expert Julee Peck Jones, the ends of the belt should always be even because “it is a representation of the balance of Yin and Yang...and the Korean philosophy that one side represents your mental strength, and one side represents your physical strength.”
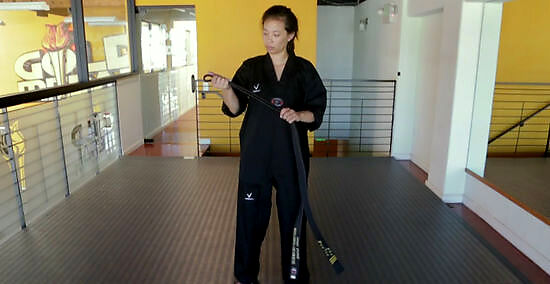
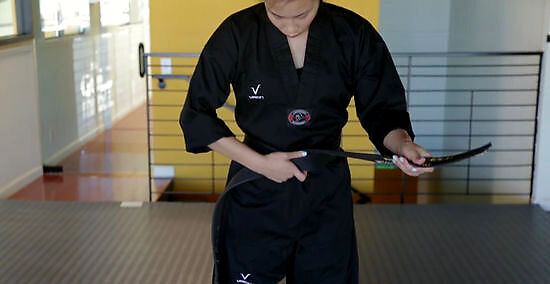
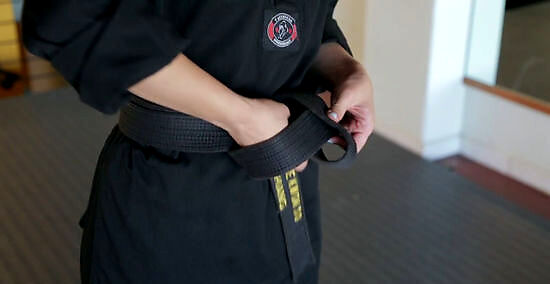
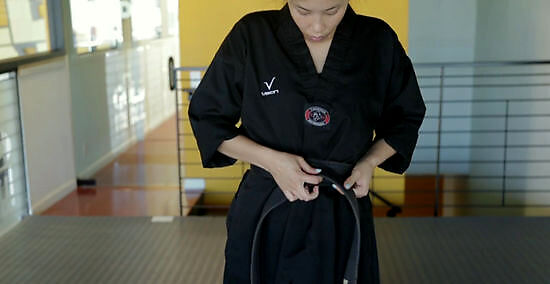
Place the center of the belt underneath your belly button. Position the tape (or label) of the belt on your right side, facing toward your body.
Wrap the 2 ends behind your waist, tucking the right under the left. Take the right side of the belt and wrap it underneath the left side, switching your hands behind your back as you do so. The right side of the belt will become the new left side, and the left side will become the new right. Tuck the new left side under the belt as you bring it around to the front so it looks like a seamless line all the way through.
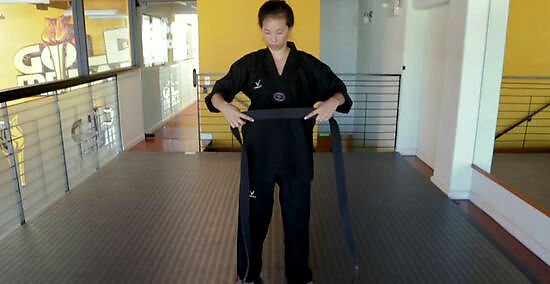
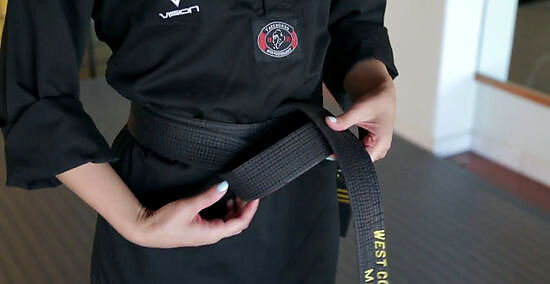
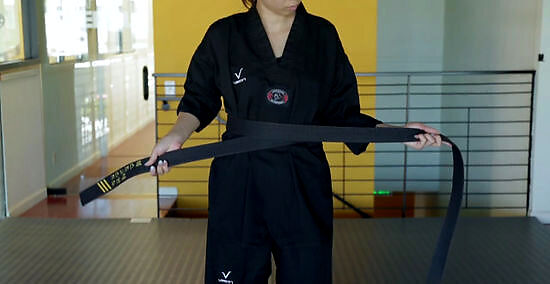
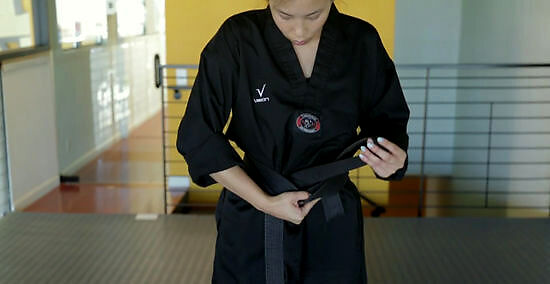
Hold both sides in front of you, making sure they’re the same length. Pull the ends of the belt in front of your body to make sure it’s even on both sides. If the ends are uneven, adjust the belt behind your back so the crossed area is centered perfectly.
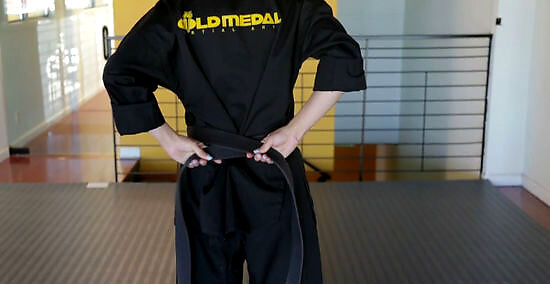
Cross the right side of the belt over the left side. The right side will lay on top of the left side. At this point, the tape (or label) on the belt will be on the right side, facing toward your body.
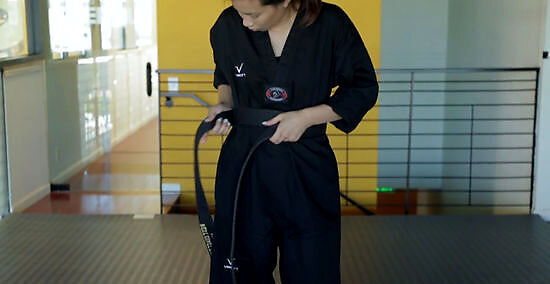
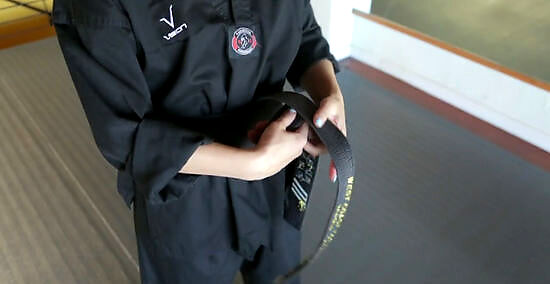
Tuck the left side under both layers of the belt and pull taut. Take the left side that’s sitting on top and tuck it under all the layers of the belt, folding it over. Tug the ends until it’s snug, then make sure both ends are even. According to Taekwondo expert Julie Peck Jones, “your belt should be snug, but you should still be able to breathe comfortably.”
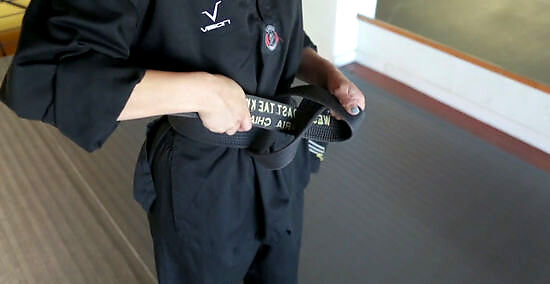
Cross the left side over the right side. Flip the right side of the belt so the tape (or label) is facing upward. Place the left side on top of the right side to make a “X.”
Tuck the left side of the belt underneath and pull it through the center. Reach into the hole you just created and pull the left side of the belt through. Then, pull both ends of the belt to the sides to tighten it. The knot in the center will be open on the left side, and the tape (or label) will be on the left side as well. The ends of the belt will hang down when tied correctly.
Tying a Belt with a Longer Right Side
Hold the belt behind your back, just above your hips. Position the belt so the right side is about 2⁄3 the total length of the belt and the left side is about ⅓ the total length of the belt.
Cross the right side of the belt over the left side. Make sure the belt is crossed in the center of your body, right under your belly button.
Wrap the left side (top layer) of the belt around your body. Continue holding the shorter end of the belt in place as you wrap the longer end over your body. Once you cross the left side of the belt behind your body, it will become the new right side.

Adjust the belt so both sides are equal in length. If the belt has shifted to your belly button or above, adjust the placement and then tighten the belt so it fits comfortably.
Cross the right side of the belt over the left side. The right side of the belt will be crossed on top of the left side, creating an “X” shape.
Tuck the right side of the belt underneath the left side and the existing loop. Take the right side that’s sitting on top and tuck it underneath both layers of belt. Pull both ends until it feels snug, then make sure both ends are even in length.
Cross the left side of the belt over the right side. Put the left side on top of the right side to create the base of the knot.
Pull the left side through to secure the knot. Tuck the left side of the belt underneath and pull it through the hole you just created. Pull both ends sideways to tighten the belt. Just like the traditional tying method, the knot in the center will be open on the left side, and the tape (or label) will be hanging on the left side too.


Comments
0 comment