views
Registry Editor Reset
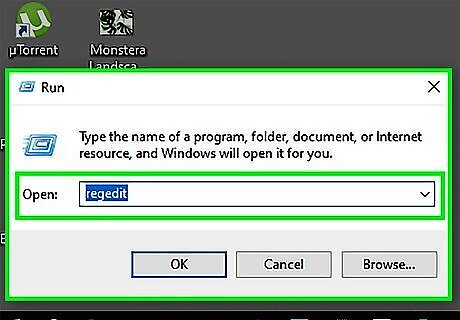
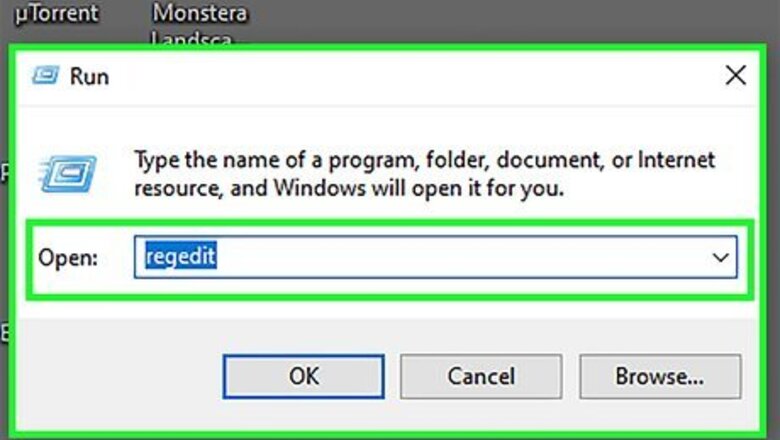
Open the Registry Editor within Windows. It is perhaps most likely you are experiencing this issue with your Night Light greyed out entirely in your settings. If so, you need to reset the feature in the Registry Editor. If you cannot find Registry Editor, considering opening the application "Run" and then typing "regedit" to find it.
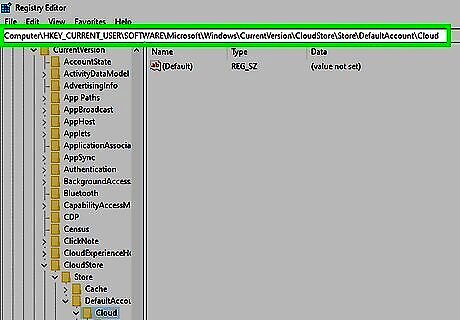
Navigate to the "Cloud" folder. Registry editor can be a tad difficult to navigate, so be sure to click the folders within the program in the following order: HKEY_CURRENT_USER\Software\Microsoft\Windows\CurrentVersion\CloudStore\Store\DefaultAccount\Cloud.
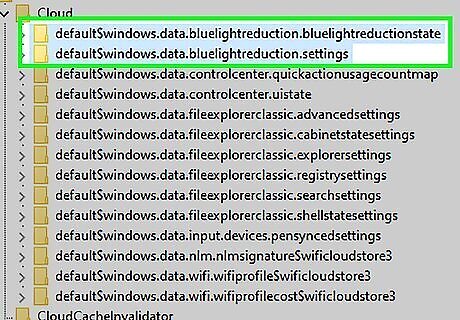
Select the the two "bluelightreduction" folders within the Cloud folder. Highlight the following two folders: "default$windows.data.bluelightreduction.settings" and "default$windows.data.bluelightreduction.bluelightreductionstate." The folders under the Cloud folder may look similar, so be sure to select the right ones. They should be the first two listed.
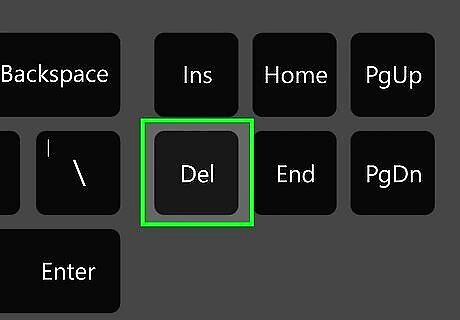
Delete both folders. Highlight the folders and tap the Delete key on your keyboard. Deleting the wrong registry file can potentially damage your computer, so exercise caution when using the Registry Editor.
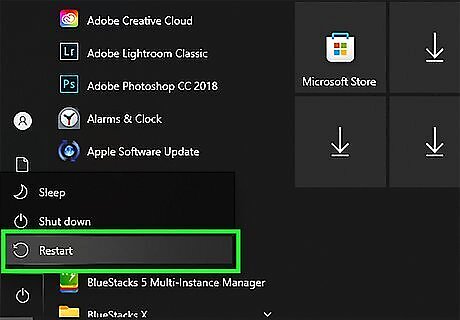
Restart your PC. Close out of the Registry Editor and restart your PC.
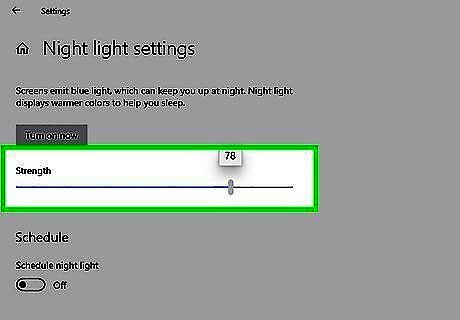
Open Night Light and test the feature. Night Light for Windows is now starting from scratch, with the registry newly restored after rebooting your computer. It should now run properly!
Incorrect Date and Time
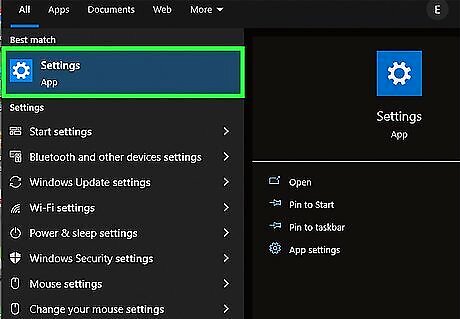
Open your computer's settings. One reason your Night Light may not be working is a rather simple one. Because Night Light works according to the day/night cycle, it is important your device has the correct date and time for your location.
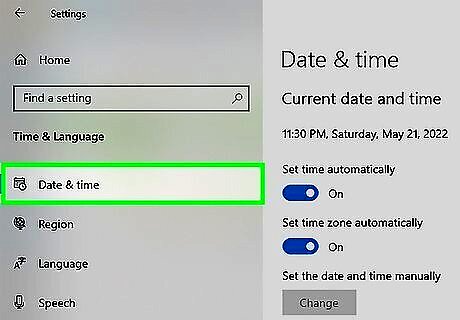
Navigate to "Time & Language" and then "Date & Time." You can also refer to the date and time in the bottom right corner of your screen. If Windows already has the correct date and time, you can likely assume your Night Light issue rests elsewhere.
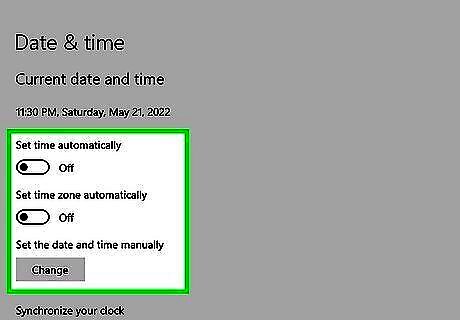
Update your local date and time. Windows likely has your time and time zone set to automatically adjust. You may turn these switches off and set the time manually if you are experiencing issues. Night Light should respond when you need it moving forward!
Outdated Graphics Drivers
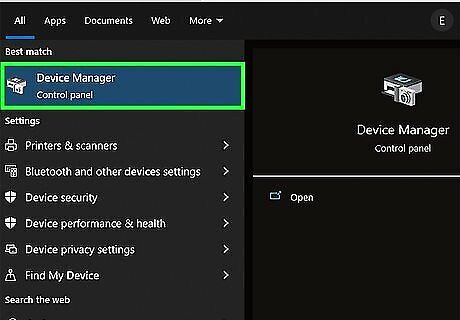
Open your PC's Device Manager. Night Light can become unresponsive if you recently upgraded to Windows 10 or installed an update for it, as these updates can sometimes indirectly affect your graphics drivers. Open Device Manager to check if your drivers are up to date.
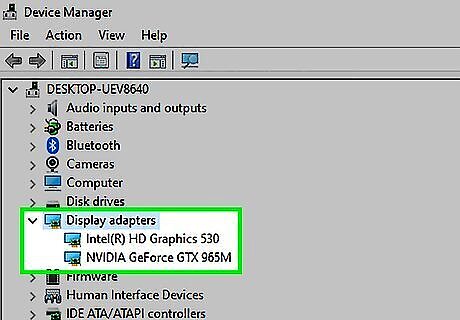
Expand the "Display adapters" tab. This will display all graphics cards on your device. Most Windows computers have a standard Intel graphics card, although high-powered gaming PCs will have an additional graphics card.
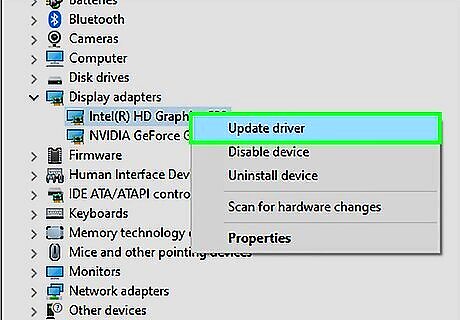
Right-click each graphics card and select "Update driver." Windows will search for any necessary updates for your graphics card(s) and apply them if available. If your drivers are indeed up to date, you can assume your issue lies elsewhere.
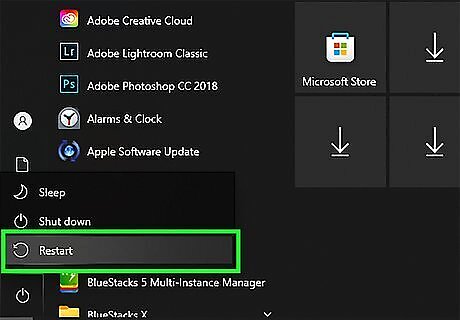
Restart your PC. Windows will need to restart your PC to complete the update of your drivers.
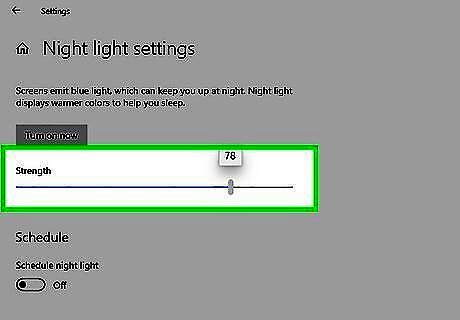
Open Night Light. Night Light should be working properly now!





Comments
0 comment