

Selecting a VPN
Understand why you need a VPN. A VPN, or Virtual Private Network, can hide your computer's IP address from your Internet Service Provider (ISP); your computer's address can then be routed through a server in a different country. This will remove the Internet restrictions imposed by Iran. Another reason you'll need a VPN is that lower-security services, such as proxies, don't protect your IP address from being exposed by a DPI attack from your ISP. VPNs, on the other hand, can make your web traffic look like normal, restricted traffic. If you use a free VPN or a free IP-hiding service, your ISP will often be able to tell that you're using a VPN; this can lead to anything from your Internet being turned off to legal repercussions.
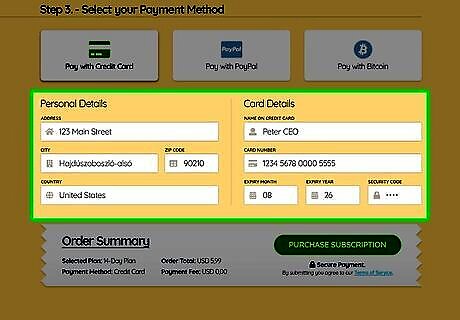
Know how to pay for a VPN. Since Iranian ISPs can track all of your Internet activity—including outgoing payments—consider using the payment details for someone outside of Iran (e.g., a relative or friend) when purchasing your VPN. Given that VPN services are usually hosted in places such as North America, Iranian payment details may not be available if an embargo is in place.
Try to purchase and install your VPN while out of the country. Ultimately, the best way to ensure your VPN purchase isn't caught is by purchasing and setting up your VPN while not in Iran. You can still attempt to install a VPN while in Iran, but do so at your own risk.
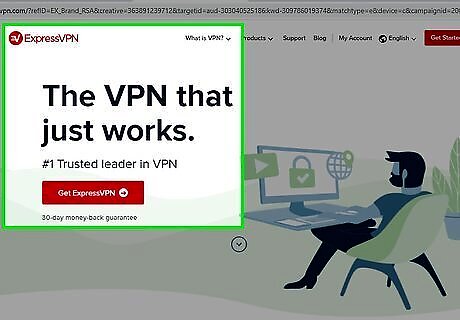
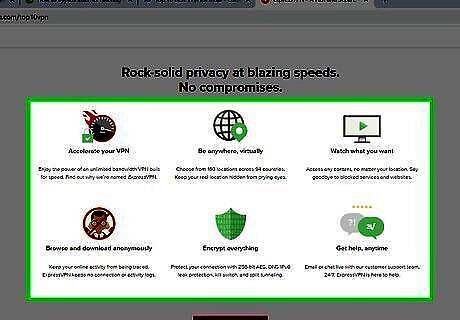
Select a VPN service. As of June 2018, two of the most secure VPN services for Iran users are NordVPN and ExpressVPN, but you can try your luck with different VPNs such as CyberGhost, VyperVPN, and PrivateVPN. When selecting a VPN, make sure that the service includes some form of "IP obfuscation", which is a feature that hides your VPN use from ISPs. Both NordVPN and ExpressVPN offer this feature.
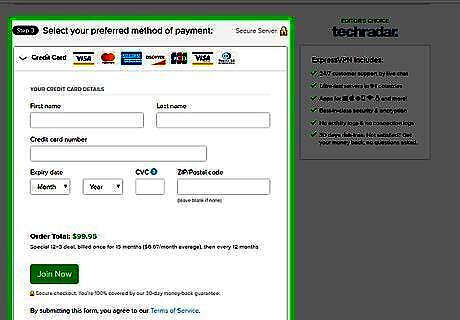
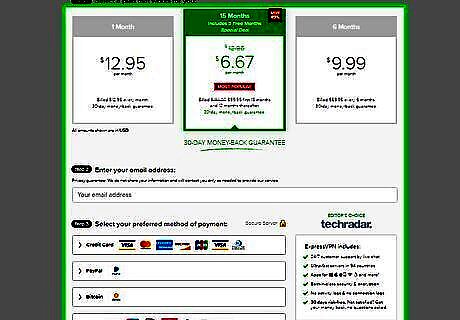
Purchase a VPN subscription. While your selected VPN service will dictate the specific steps used here, you will typically need to do the following: Go to your selected VPN's product page. Select a payment tier. Create an account. Enter your payment details, then check out.
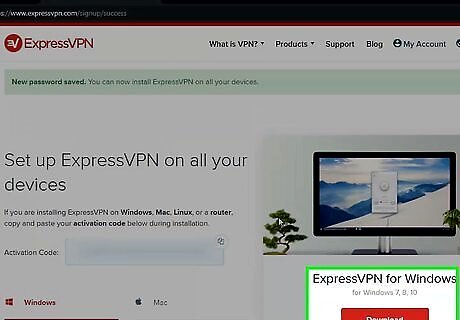
Install your VPN on your computer. Once you've purchased a subscription to the VPN, you should be redirected to a download page from which you can do the following: Download the VPN's setup file for your computer's operating system. Double-click the setup file. Follow the on-screen instructions.
Setting up NordVPN
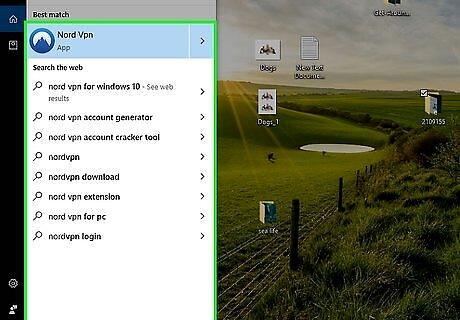
Open NordVPN. Once you've installed NordVPN, you can open it by doing one of the following depending on your computer's operating system: Windows — Open Start, type in nordvpn, and click NordVPN in the resulting options. Mac — Open your Mac's "Applications" folder (or Launchpad), then double-click the NordVPN app icon.
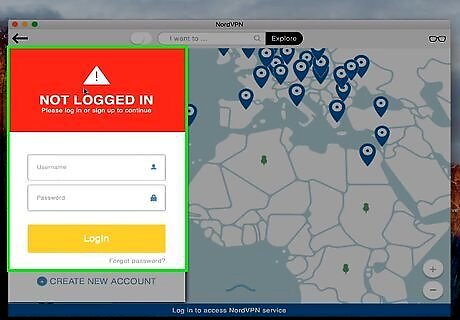
Log into your account. Click Log in on the main page, enter the email address and password you used to create your NordVPN account, and click Log in again.
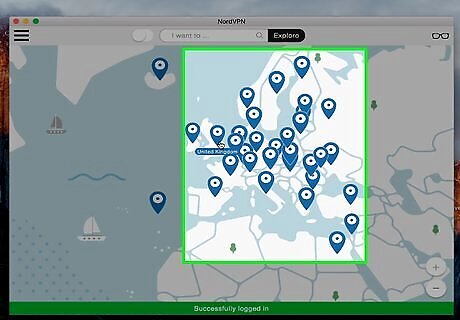
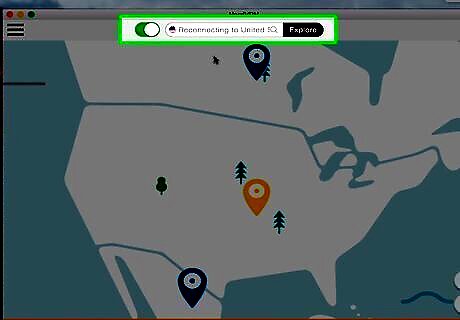
Find a server in a country without Internet censorship. On the NordVPN map, look for blue-and-white pins over countries which you know aren't censored. Common examples include the UK and the US, though you can use other European or North American servers as well. The closer the server is to Iran, the faster your Internet will be.
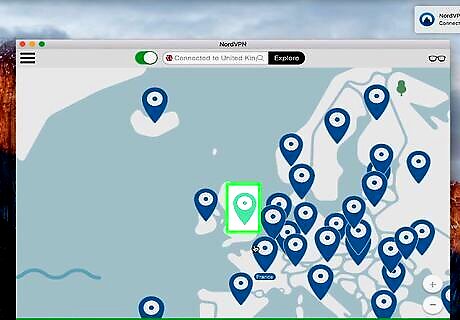
Click the server's icon. This will prompt NordVPN to establish a connection to the server.
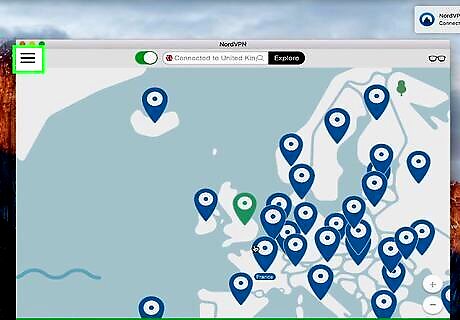
Open the Settings page. Click Settings in the upper-left side of the page (Windows), or click ☰ in the upper-left side of the window (Mac).
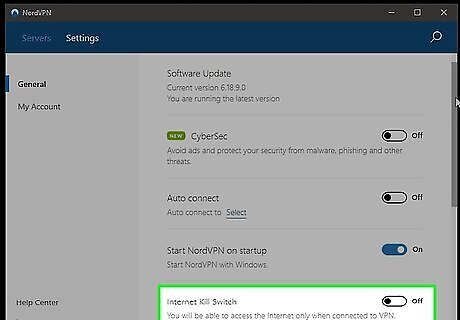
Enable the kill switch. Find the "Kill Switch" heading, then click the white "Off" switch iPhone Switch Off Icon to the right of the "Kill Switch" heading. This will enable the kill switch, which is a feature that disconnects you from the Internet if your VPN ever goes down. This is a very important feature, as failing to enable the kill switch could result in your IP address being recorded on a blacklisted site. You can also add applications to the kill switch list by clicking Add more applications (Windows) or Add apps (Mac) next to the "Kill Switch" heading and then selecting apps (e.g., your preferred browser).
Turn on your VPN. Click the "Connect" switch at the top of the VPN window to do so. Once the switch changes from white to green (or blue), you're connected to your VPN. At this point, you're free to browse unrestricted, though you should still be cautious not to divulge your VPN use to anyone.
Setting up ExpressVPN

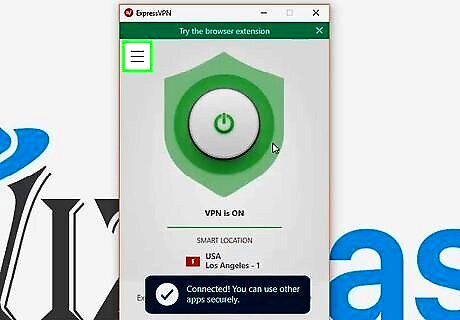
Open ExpressVPN. Once you've installed ExpressVPN, you can open it by doing one of the following depending on your computer's operating system: Windows — Open Start, type in expressvpn, and click ExpressVPN in the resulting options. Mac — Open your Mac's "Applications" folder (or Launchpad), then double-click the ExpressVPN app icon.
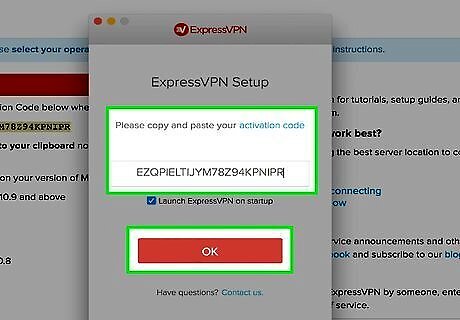
Sign into ExpressVPN. Click Sign In, then copy and paste the activation code you received during your purchase of ExpressVPN into the text box and click Sign In again. On a Mac, you'll just paste in the code, click OK, and then click Start using the app when prompted.
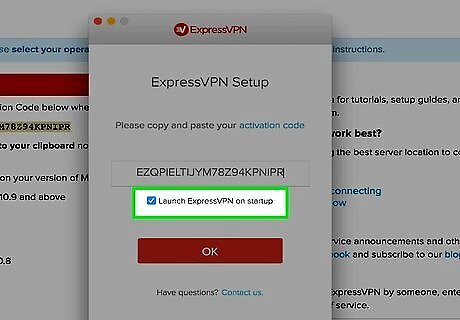
Navigate the initial setup. ExpressVPN will ask if you want it to start up when you turn on your computer along with a few other inquiries; click Allow to enable these features, or click Don't Allow to avoid them. Skip this step on a Mac.
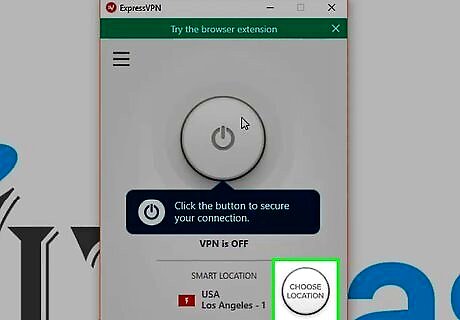
Connect to a server. Examples of locations with no censorship include the UK and the US, though you can use other European or North American servers as well: Click CHOOSE LOCATION. Click the All tab. Click a server you want to use.
Click ☰. It's in the top-left corner of the VPN window. A drop-down menu will appear.
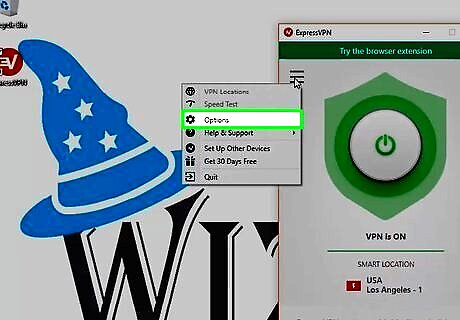
Click Settings. This option is in the drop-down menu. Doing so opens the Settings page. On a Mac, you'll click Preferences here instead.
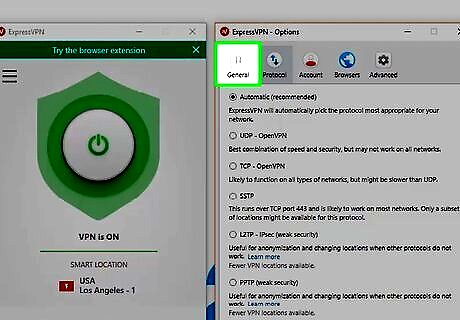
Click the General tab. It's at the top of the Settings page.
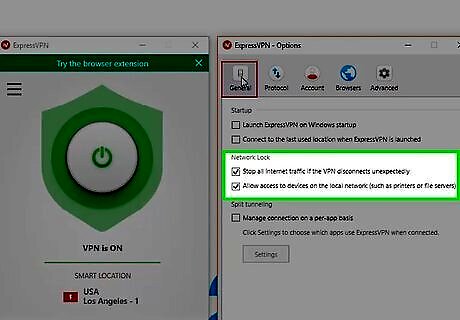
Make sure the "Enable Network Lock" box is checked. If this box isn't checked, click it to check it. This feature prevents your IP address from being leaked if ExpressVPN ever goes down.

Turn on your VPN. Click the "On" Windows Power button in the middle of the VPN window to do so. Once the VPN is connected, you're free to browse unrestricted, though you should still be cautious not to divulge your VPN use to anyone.


Comments
0 comment