
Transferring Your Design onto Wood
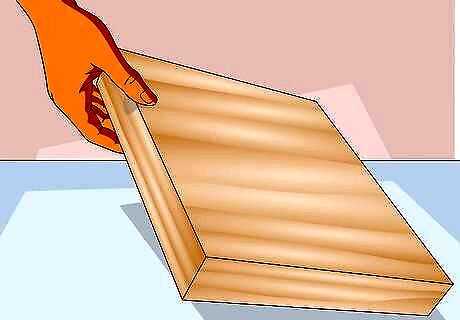
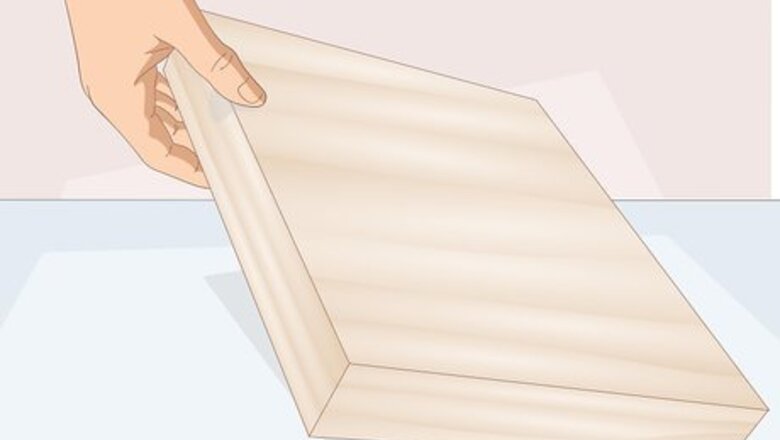
Pick a softwood blank to make carving easier. Softwoods are less likely to chip or break while you’re working with them, making them easier to work with than hardwoods. Look for pieces of wood made from pine, basswood, or butternut when you first start carving with a Dremel so you can get used to the process. Make sure the wood doesn’t have any warps, knots, or defects since they can be more difficult to carve through. If you’ve had experience carving wood before, then you can try using hardwoods, such as oak, maple, or cherry. Hardwoods are more likely to chip, so work slowly to prevent any damage to the design. Make sure the wood is clean and dry before you carve it.Tip: Get a few extra pieces of the wood you plan on carving so you can practice before carving out your design.
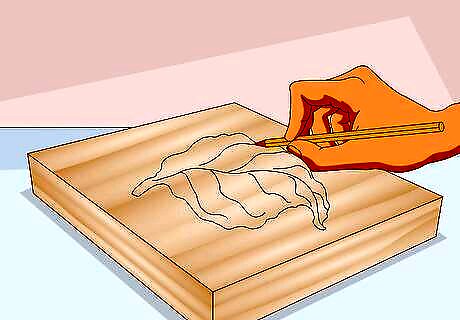
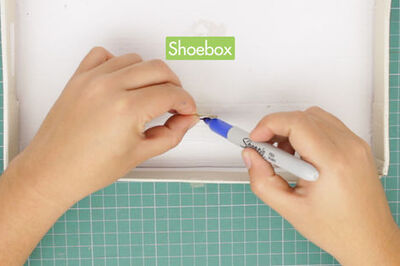
Draw your design directly on the wood if you want to make it freehand. Use a pencil when you draw your design so you can erase any leftover marks when you’re finished. Start by drawing the full outline of your design so you can trace around it while you’re carving. Mark any large areas you want to carve out with slanted lines or X’s so you know what you need to carve later on. Work lightly with your pencil when you first start your design so you can erase the marks and make adjustments if you need to. If you’re working with a dark piece of wood, use a white pencil instead.

Trace the outline on top of carbon paper if you want to transfer the design. Look for a design you want to carve online or make one on your computer, and make it the same size you want for your carving. Print out the design on a sheet of paper and secure it to the light side of a piece of carbon paper with tape. Place the paper on top of your wood so the dark side of the carbon paper is face down. Go around the outline of the design with a pencil to transfer it onto the wood. You can get carbon paper from office supply stores. Don’t rub the paper with your hand, or else you’ll leave smudges on your wood that could make it hard to see your design.
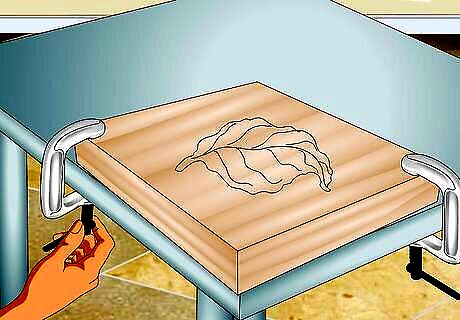
Clamp the wood securely to a well-lit work surface. Set the piece of wood near the edge of a work surface so it lies flat. Secure the wood to the surface with a C-clamp so it isn’t in the way of the design you’re carving. Make sure the wood doesn’t move around while it’s clamped, or else it may shift while you’re working on it. You may need to use multiple clamps depending on the size of your wood.

Put on safety glasses, a dust mask, and work gloves before working. Dremel tools create a lot of sawdust when you work with them and they may cause wood to splinter off of the blank you’re using. Put on safety glasses that completely cover your eyes and a dust mask that goes over your nose and mouth. Wear work gloves to protect your hands in case the wood kicks up or splinters while you’re working with it.
Carving the Design
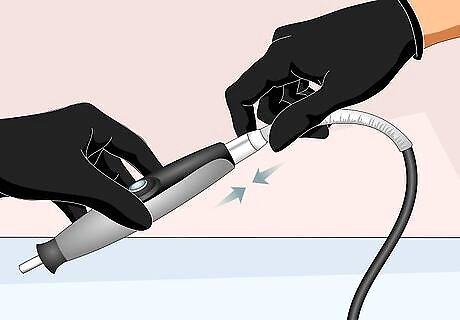
Put a flexible shaft attachment on the tool to make it easier to hold. A flexible shaft attachment has a cord with a spring around it to relieve some of the tool’s weight from your hand. Take the end of the flexible shaft attachment and pull out the rod that’s inside it. Slide the rod into the back end of the Dremel tool and tighten it by rotating it clockwise. Screw the end of the attachment onto the tool to secure it in place. You can buy a flexible shaft attachment from your local hardware store. You don’t need a flexible shaft attachment but they make it easier to put in intricate details.
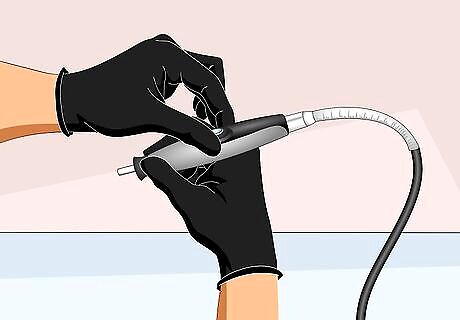
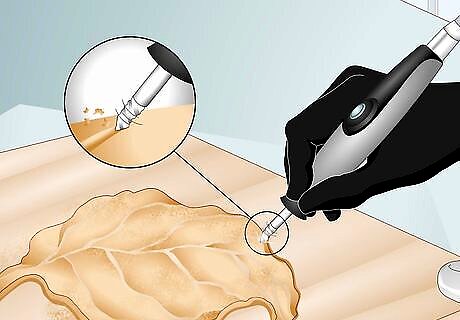
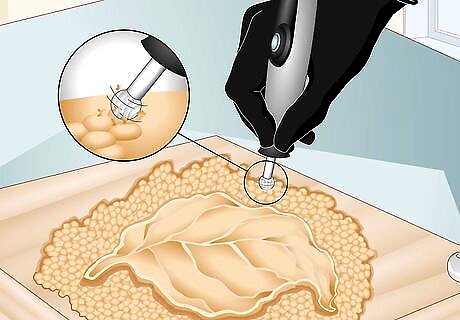
Hold the Dremel tool in your hand like a pencil. Keep your fingers at least 1 inch (2.5 cm) up from the rotating end of the Dremel tool when you hold it. Position the tool in your hand so the power switch faces up so you can easily access it. Hold the tool at a 30- or 45-degree angle to the wood while you’re carving to get the most control. Don’t touch the rotating bit on the Dremel tool while it’s running since you could seriously injure yourself.
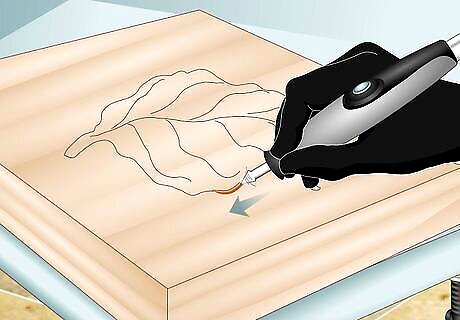
Work in slow, short strokes in the direction of the wood grain. Dremel tools have a small motor, so they cannot carve through wood for a long time, or else they could get damaged. When you use your Dremel tool, press the end lightly into the wood and pull it in the same direction as the wood grain for no longer than 5-10 seconds at a time. Don’t rush your design since it you can easily make a mistake and carve out a section you didn’t intend to. Start by pressing lightly on the wood so you don’t accidentally remove too much of the wood. You can always remove more wood, but you cannot put it back.
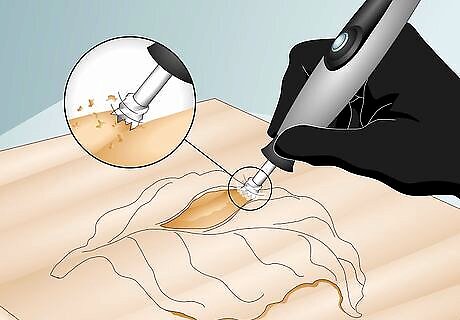
Carve out larger areas of wood with a sabretooth bit. A sabretooth bit has sharp teeth or burrs that can quickly tear through wood and remove material from the blank. Secure the sabretooth bit in the end of your Dremel tool by rotating it clockwise. Turn on the tool and slowly press it into the wood to carve it out. The sabretooth bit will leave a rough finish, but it will shred through the wood very fast so you can carve out large areas. Test the speed while using a sabretooth bit on a scrap piece of wood first so you know what to expect when you use it on your design. Make sure the bits you’re using are meant to cut through wood, or else you could damage the tool.
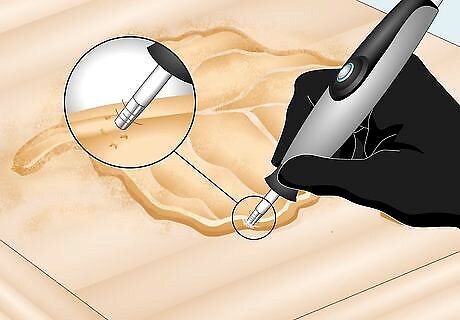
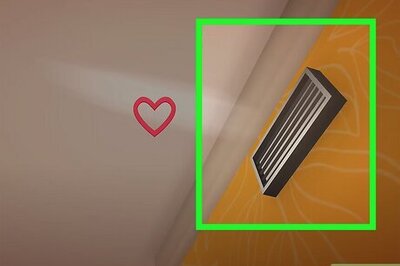
Go around outlines and details with a fluted carbide bit. A fluted carbide bit has small vertical channels with sharp edges around it so it leaves a smooth finish. Put one of your fluted bits into the end of your Dremel tool and lightly press into the wood to carve out your outlines. Follow along the outlines slowly so you don’t accidentally remove too much wood from the design. Work in slow, fluid motions so you’re less likely to make mistakes. Standard Dremel bit kits usually have 3-4 fluted bits you can try while carving. Use larger fluted bits to carve out big areas of wood and smaller bits when you need to add intricate lines and details. Choosing a Bit Shape to Use Cylindrical bits work well for making flat edges and V-shaped channels.Ball-shaped bits work best for making rounded edges.Tapered or pointed bits allow you to make detailed lines as well as carve rounded lines.
Use a diamond bit to sand edges and smooth your cuts. A diamond bit has a rough texture like sandpaper and works well to soften any sharp edges in the design. Secure the diamond bit of your choice in the tool and turn it on. Work slowly and carefully around the edges of your design to clean up any rough areas and smooth them out. You may be able to carve designs using only diamond bits if you’re working with softwood, but it may wear out the bit faster.
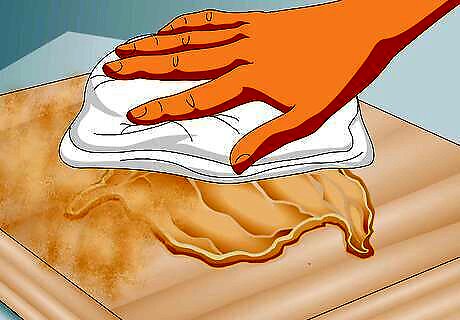
Take breaks to wipe away sawdust from your design. Working with a Dremel tool can create a lot of sawdust, which makes it difficult to see your design and what you already carved. Stop the Dremel tool every 5 minutes and wipe the wood clean with a dry cloth so you can see which areas you still need to work on. Tap the back of the wood piece to knock any sawdust loose from any crevices and tight areas. Avoid blowing the sawdust off of your design since the sawdust will get airborne.
Sanding and Finishing the Design
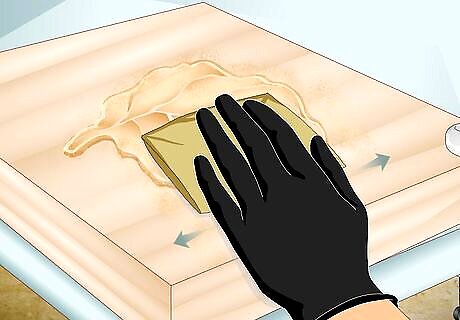
Sand around your carving with 150-grit sandpaper to smooth sharp edges. Once you’ve carved out your design, fold a piece of 150-grit sandpaper and rub it over the surface of your wood. Focus on any areas that still have sharp points or rough textures that you want to get rid of. The sandpaper will leave a smooth texture on the wood when you’re finished. You may not need to use sandpaper if you used a diamond bit in your Dremel tool.
Add texture to the wood with a fluted ball bit if you want. Many people who carve wood create a pitted or textured background to make the design more visually interesting. Use a ball-shaped fluted bit in your tool and lightly press the bit into a recessed area to leave a circular mark. Continue pressing the bit into the background of your design in a random configuration for the background. You don’t need to texture the background if you want your design to have a clean, smooth finish.
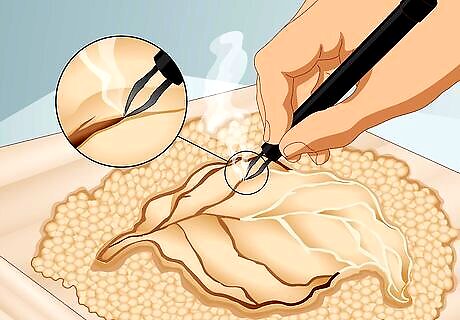
Use a wood burner if you want to darken areas of the wood. A wood burner has a heated iron on the end to leave burn and singe marks on wood to make it look more interesting. If you have specific areas that you want to darken, plug in the wood burner and allow it to heat up completely. Press the hot end of the burner into the wood and slowly pull it in the direction you want to make your marks. You can buy a wood burner from your local hardware store. Don’t touch the end of a wood burner while it’s running since it can cause severe burns. Once you leave a burn mark on the wood, you will not be able to remove it.

Apply a coat of stain to the wood if you want to recolor the wood. Choose a stain color that you want to use for the entire piece of wood. Use a natural-bristle paintbrush or rag to spread the stain on the surface of the wood in a thin layer. Leave the stain on the wood for about 15 minutes before wiping it off with a clean rag to check the color. Let the stain dry for 4 hours before adding any additional coats. The stain may look darker in areas you carved out and lighter on raised edges.

Put clear coat or finish on the design to help preserve it. Look for a polyurethane finish or another type of clear coat to use on your wood. Mix the clear coat with a stir stick to make sure it’s thoroughly combined. Use a natural-bristle brush to paint a thin layer of the clear coat onto your design. Leave the clear coat to dry for 24 hours so it has time to set. Don’t shake clear coat before applying it since you could get bubbles in it that will leave an uneven finish.


Comments
0 comment