
views
Building a Custom Stick

Decide where you want to purchase your custom hockey stick. There are many online retailers, such as Bauer and Warrior, that will build a customized hockey stick for you. However, you could also visit a shop if there is 1 in your area. Ask your fellow players and coaches for a recommendation to ensure that you will be getting a quality product. If you are trying to decide between a few different retailers, visit their websites and look to see what they offer. Some things to consider might include: Options available. Does the company provide the customization options you are looking for? Price. Is the custom stick in your budget? Do other retailers offer a better price on the same stick or do they cost the same? (Keep in mind that custom sticks are usually upwards of $100.) Timeline. How soon do you need the stick? How long will it take for the company to make and ship your custom hockey stick?
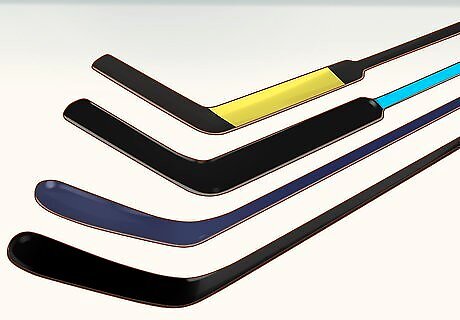
Choose the stick model you want based on your performance needs. There are many different stick models available from different stick manufacturers. You might want to choose a model that you have played with before and found effective, or one that a coach or fellow player has recommended to you. You can also check with different hockey stick manufacturers to find a hockey stick type that suits your needs. For example, Bauer has a different type of stick depending on whether your player preference is for power, accuracy, or quick release of the puck. You might prefer a stick that favors 1 quality over another depending on the position you play, or your strengths as a player.

Specify your stick length based on your height and preferences. Stick length is a combination of your height and player preferences, so consider these before you choose. To find the right stick length for you, you can try playing with hockey sticks of different lengths and see which one suits you best. For example, you may choose a long stick because you are tall or because you do not like to bend over too much while you are playing hockey. But you may also prefer a longer stick for defensive plays, such as poke checking and blocking shots. You may opt for a shorter stick if it suits your height better, or if you like to bend over and keep the puck closer to your body for improved puck handling during games.
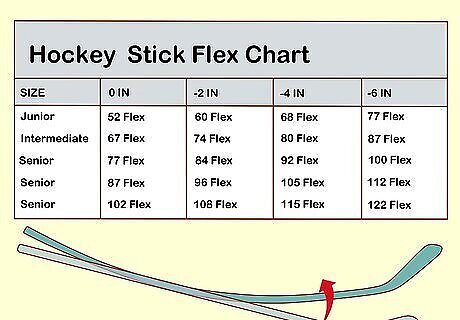
Determine how much flex you want your stick to have. The flex of a hockey stick can range from very flexible to very stiff. Most hockey sticks have a moderate amount of flex, but you can decide if your stick will have more or less flex based on your preference. Flex is rated with numbers, usually from 40 to 110. The higher the number, the stiffer your stick will be. The lower the number, the more flexible your stick will be. The advantage of a stiffer stick is that your shots will have more power behind them, but your stick may also be more likely to break if you put too much pressure on it.
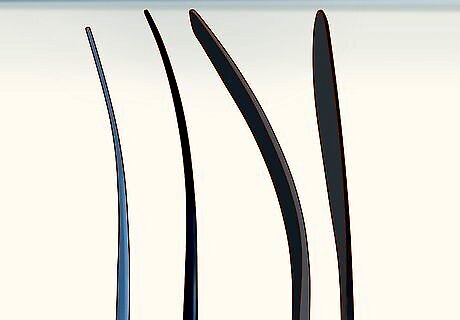
Decide if you want a curved blade. A curved blade helps to improve your control of the puck and it may also result in more consistent passes and shots. You can also add spin to your puck passes and shots using a curved blade. If this is important to you, then opt for a curved blade when choosing your customization options. Keep in mind that the National Hockey League places limits on how much curve you can add to a blade. The blade may not have more than a 0.75 in (1.9 cm) curve on it. Check with your hockey league or association to see if there are any restrictions on adding a curve to your blade.
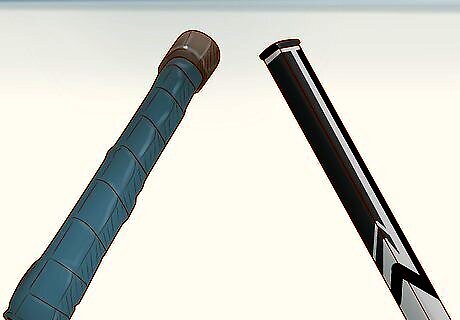
Select the grip or specify that you do not want grip. The grip on a hockey stick is a special type of material that is added onto the handle of the stick. This can help make it easier for you to keep a firm hold on your stick, and it can also make holding the stick more comfortable. You can choose from different textures, such as a barber pole or pig skin grip. Keep in mind that you can also add your own grip tape to your custom stick if you select “no grip.”
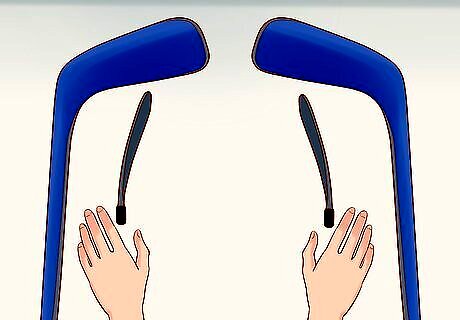
Indicate if you are right or left handed. Stick manufacturers can make your stick with your dominant hand in mind, so make sure to indicate this on your order form. However, keep in mind that not all stick manufacturers will take this into account when making your stick. If customizing your stick for your dominant hand is important to you, choose a manufacturer who offers this option. Choosing a right or left handed stick may be especially important if you add a curve or grip to your stick.
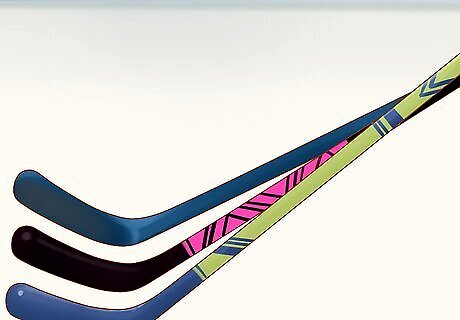
Choose the color and designs you want. Part of the fun of building a custom stick is getting to choose how it will look. You can usually choose 1 or more colors for the stick, and some companies will even add your team’s logo, your name, and your player number. Make sure to check with your hockey league or association to ensure that you can customize your stick the way you want. There may be restrictions on the colors or designs that are allowed.
Decorating Your Hockey Stick
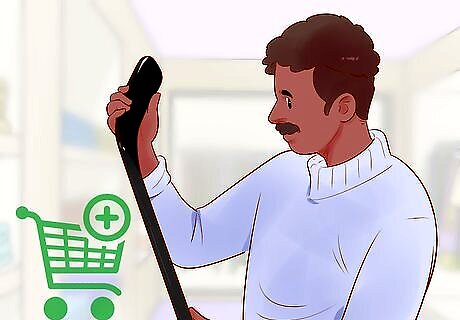
Purchase a basic stick to decorate. If you do not already have a hockey stick to decorate, then you can buy 1 new or used. Check your local big box store, such as Walmart or Target, to find an inexpensive new hockey stick, or visit a thrift shop to find a used one. Decorating a hockey stick is a cheaper option than purchasing a customized stick. Make sure to choose a stick that suits your needs as a player, since you will not be able to customize the features of the stick yourself by decorating it.
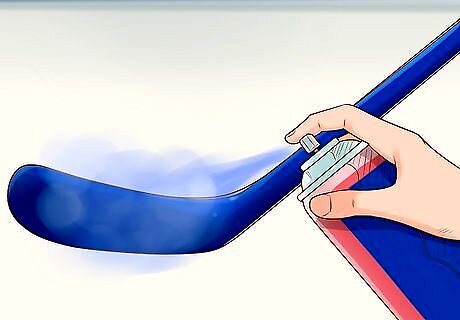
Paint your stick. You can use spray paint to paint a hockey stick in the color of your choice. Choose the color of spray paint you want to use. Then, place your hockey stick outside on a surface that is either covered or that you don’t mind getting paint onto, such as grass or gravel. Spray the stick evenly on the first side and let it dry completely on this side before touching it. When the paint is dry, turn it over and spray paint the other side. Hold the can of spray paint 10 to 12 inches (25 to 30 cm) from the hockey stick and use a back and forth sweeping motion to cover the surface in paint. Make sure to check with your hockey league or association to see if it is okay for you to use a stick that you have painted. You may want to spray paint a hockey stick in your team’s colors to show your team spirit. Or, you might want to spray paint a stick for a special event, such as pink for a breast cancer awareness night at your hockey arena. You can also use stencils to help you spray paint specific letters or numbers onto the stick.
Add decals to indicate your team, name or initials, and player number. Many hockey stick manufacturers will customize a stick with your team logo, your name, and your player number, but you can also do this yourself. You can use decals to add a team logo, letters, or numbers to your hockey stick. Place these on your stick to give it some extra flair and differentiate it from your teammates’ sticks. For example, you could add a decal with your team logo, plus your initials and player number to the shaft or blade.
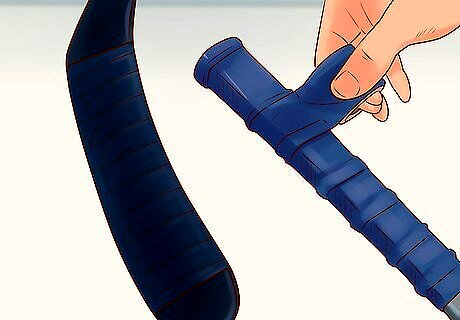
Wrap the handle or blade in grip tape. You can get grip tape in a variety of colors and use the tape to give your stick some extra flair and also to enhance its performance. Try wrapping your hockey stick with grip tape around the handle to improve your grip or around the blade to improve puck handling. Many players tape up their sticks before a game as part of their pre-game ritual, so you might try doing this as a way to customize your stick before each game.


Comments
0 comment