
Preparing Materials
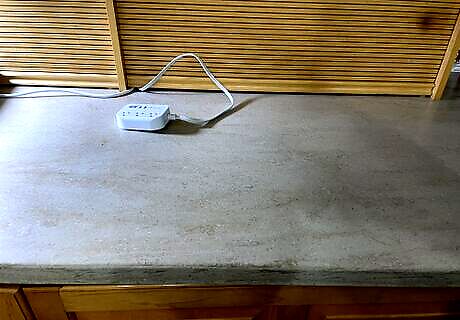
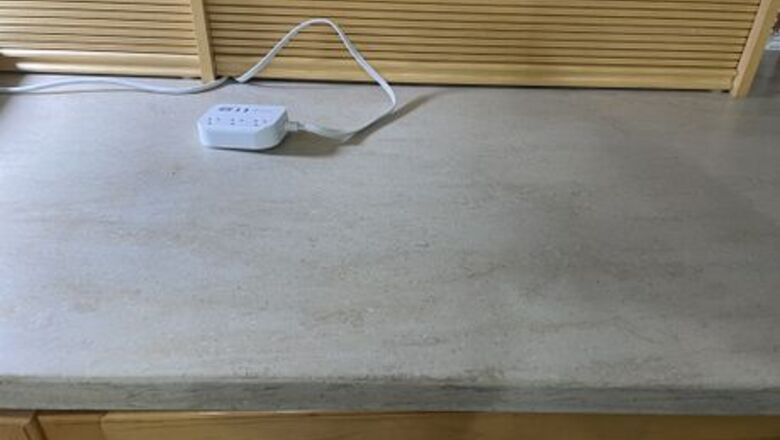
Choose a conducive location that is near a power supply and away from people. A quiet location is necessary for multiple reasons. Once you have assembled all of the components of your glue tank, you do not want to run the risk of it being bumped or jostled. Additionally, fumes are created by the superglue tank that you will not want others exposed to. You will also want a location near an electrical outlet as most heat sources will function off of electrical power. An extra bedroom, closet, or unused bathroom would work well for this location. Due to fumes, you might also consider a location such as a garage, outbuilding, or outdoors if power access is available in these locations.
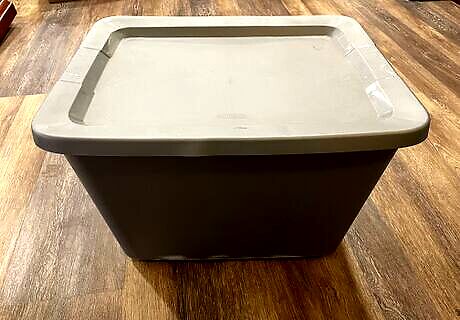
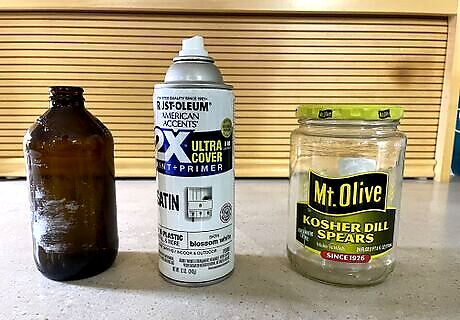
Choose a tank that is an appropriate size and can be closed up to keep fumes contained. Forensics labs use large glass tanks that can be sealed for this process. An aquarium or glass tank with a lid to seal it off could work effectively at home. However, most people choose to use a simple plastic storage tote with a lid, some will even create a structure covered in a plastic bag that looks similar to a tiny greenhouse. Size of your tote/chamber should be considered. A larger tote will take longer to fill with superglue fumes. However, a smaller tote will limit the size of items that you can place inside of the chamber to develop latent prints.
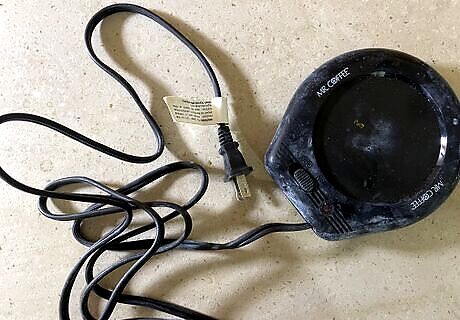
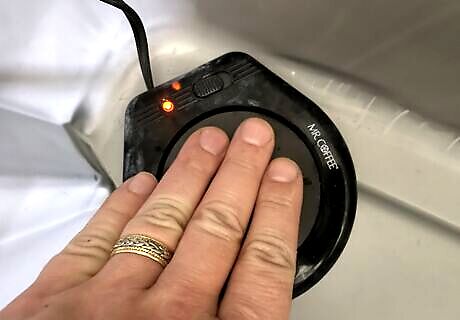
Obtain a heat source that will be used to heat the super glue. It is necessary to heat the glue inside of the chamber to convert it into vapor. This means you will need to choose a heat source. Since the chamber will be sealed, heaters with open flames are not recommended. Heaters using electrical current and heat element seem to work the best inside of the chamber. Any such heater – a coffee pot warmer, hot pot, etc. can be used, but it is important to remember that this item will be subject to super glue fumes inside of the chamber and you will likely not want to use it for other purposes after. An easy and economic option is an electric mug warmer, the small hot plates made to sit on your desk and keep your cup of coffee warm.

Build a glue tray out of metal or tinfoil. Superglue trays can be purchased from forensic supply companies but are very simple to create out of thin metal or aluminum foil. This tray will sit on your heat source and contain the mess of the superglue while it is heated, protecting your heat source. When creating your tray try to end with a product that is approximately the size of a silver dollar.
Choose an item to develop with superglue inside of the chamber. This will be the item of interest that you are trying to determine if someone has touched. You will be attempting to develop latent prints on this item. Remember, that the size of glue chamber needed will be directly affected by the size of this item. Also, be aware that this item will be exposed to the superglue process and will have a film on it when completed. This could damage items of value.
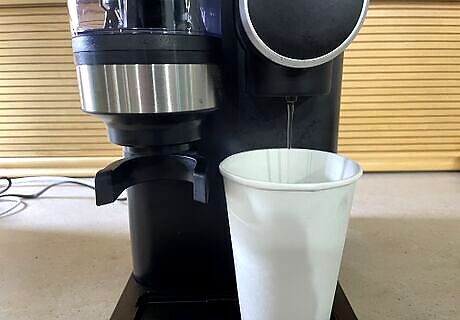
Obtain a glass of hot or boiling water to be placed inside of your chamber. The process of using superglue vapor to develop latent prints works because the superglue vapor naturally clings to the oils and moisture left behind by the skin in a fingerprint. This is similar to the concept of dusting for fingerprints, where fingerprint powders adhere to the natural oils left behind by human skin. This process is enhanced by humidity within the environment of the chamber and will help to develop robust fingerprints that can be seen more clearly. The higher the temperature of the water the more moisture that will be released into the air. Boiling water or using a single cup coffee brewer is preferred, but even a glass of hot tap water will be beneficial to the process.
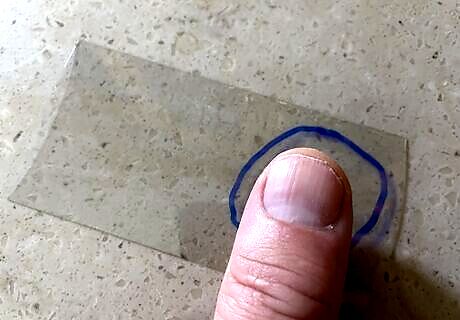
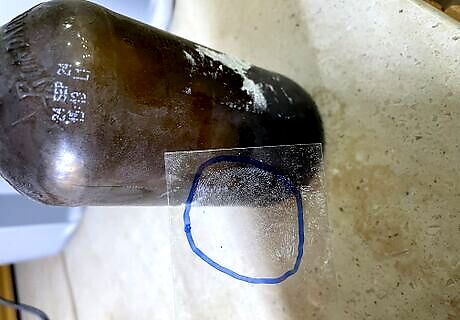
Create a control item to test your progress. Just like in a scientific study or experiment, a control subject will allow you to monitor and track your progress throughout this process and will indicate if something is not right or of the process is not working. It is important to remember that superglue fuming will develop latent prints that are visible in a milky-white color. Choosing a control subject that is clear or dark in color will allow you the greatest opportunity to track the progress within the superglue chamber. Once you have chosen your object to be used, roll a finger or thumb across the surface to create a perfect latent print. You might want to even mark the area of the latent print.
Using the Materials
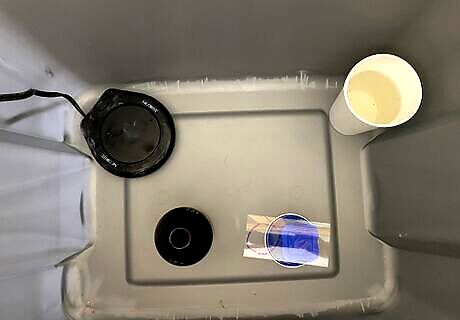
Assemble all items into your tank to prepare for super glue vapor. Place your heating element inside of the tank in a corner. If utilizing an electrical element, you will need to run the electrical cord up and out of the side of the tank on the side closest to the electrical outlet. Place your hot/boiling water in a separate corner of the tank. Place your item of interest in the middle open space. Position your control element near your item of interest.
Add Power to your heating element and confirm that you have heat. Plug in your heater and turn on any power switches. If using a different form of heat, activate your heat source. Take a moment and confirm that you are feeling heat from your heat source. The superglue will not vaporize effectively without sufficient heat.

Put glue in glue tray, place it on the heat source, and close tank. Put super glue in glue tray until you have a small puddle of glue about the size of a dime or nickel inside the tray. Place the tray on the heat source. Carefully close lid to your chamber without disturbing any of the contents.

Wait for the superglue to vaporize and latent prints to develop. Time is now needed for finger prints to develop. It will take time for the glue to be heated and then for the vapor to fill the chamber, which will begin to develop the latent prints. The timeline of this process will be affected by several factors such as the temperature of the chamber, level of humidity, amount of glue utilized and temperature of the heating element.
Open the chamber and inspect your control item and item of interest to determine level of development. Somewhere around 10 minutes into the process will be a good time to make your first check. Remember that the chamber will be full of glue vapor. Be very careful to open the chamber without breathing the fumes. Step back and allow the fumes to dissipate. Inspect both your item of interest and your control item to see how much the latent prints have developed. You will see them faintly when they are underdeveloped. However, you do not want them to over develop or the glue will start filling in the space between the ridges which will make the fingerprints useless.

Place items back into tank and seal if they are not fully developed. If items need further development, put the item of interest and control items back in the glue tank. Seal the tank or place the lid back. Wait for further development. The level of latent development will determine the amount of time that you choose to wait. Continue checking and developing until your items are developed to a point that is acceptable.

Remove all of your items from the tank. If you are choosing to develop additional items of interest, you can repeat the process. Otherwise pack up all items neatly to be used in the future.
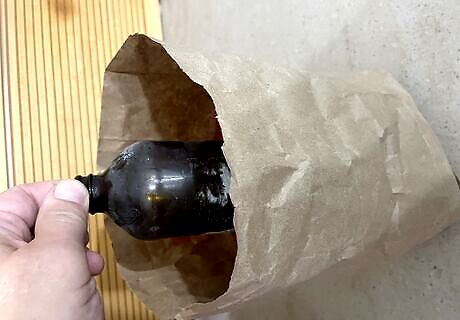
Package or preserve your prints however you decide. Many evidence technicians would package evidence at this stage in sealed bags to preserve the prints for further analysis at a crime lab. However, other options exist for further development of the latent prints. The item of interest can be dusted with standard finger print powder, to enhance the latent development. Additionally, the superglue development can be dyed to enhance the ridge characteristics.


Comments
0 comment