

Entering the Volcano

Speak to Cosmo. Once you spawn into the adventure, you'll be surrounded by the snowy area of the base of the volcano. After a brief cutscene of the volcano itself, Cosmo will inform you that Graham, the monkey alpha (first introduced in this adventure) is at the top of the volcano.
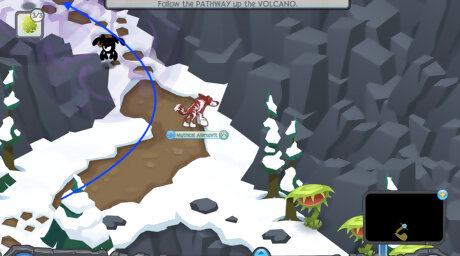
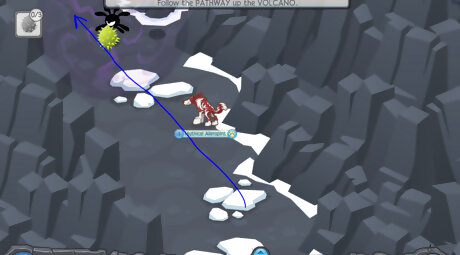
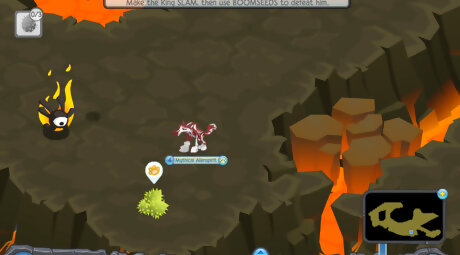
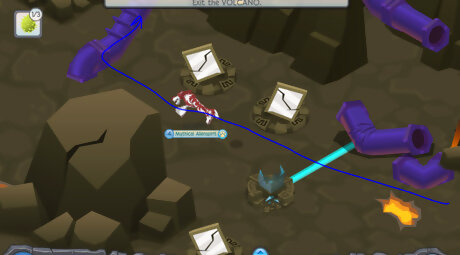
Begin up the pathway. You will be given boomseeds and as you advance up the volcano, you'll find more boomseeds as well as chomper plants to help you destroy the phantoms infesting the area. Move to the left from Cosmo and then up and you'll find the beginning of a spiraling pathway up the volcano. When you go up, the path will split left and right - go left. There'll be two phantoms blocking the way. Destroy them and continue along the path. In more secluded areas, such as the one shown in the image, you'll find boomseeds if you need any. Screen Shot 2020 01 28 at 7.30.33 AM.png
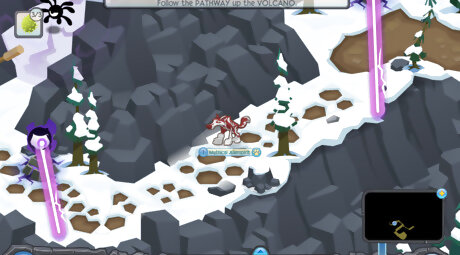
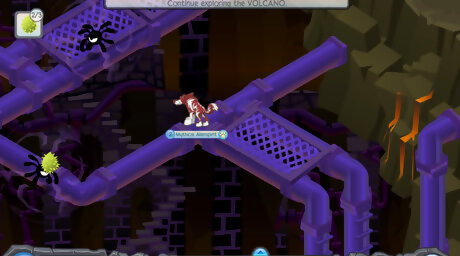
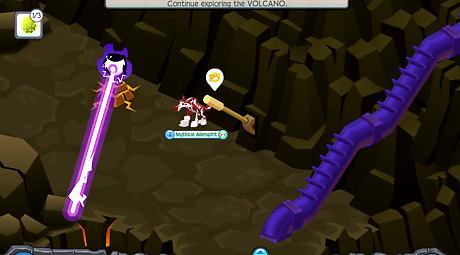
Sneak past the phantom watcher. When the phantom watcher moves all the way to right, sneak past it and continue along the pathway. You'll come across another phantom watcher. When its laser runs into the mountain (or it moves to the right), sneak past it, quickly trap the phantom, and click on the lever to turn off the watchers. Continue moving up the path. You can also sneak past the second phantom watcher when it's moved all the way to the left. You can easily run through the now unblocked pathway to the zios checkpoint, where the watcher can't reach you. Then you can destroy the phantom with a boomseed from there, wait for the watcher to move out of the way, and turn it off with the lever. Screen Shot 2020 01 28 at 7.35.24 AM.png
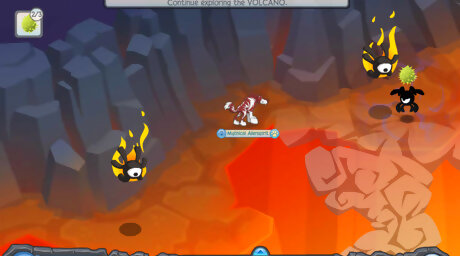
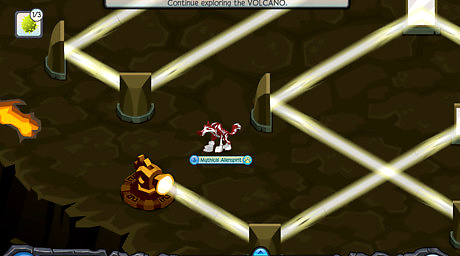
Sneak past the next phantom watcher. Continue up the path. When it's moved to the left, into the mountain wall, it should give you a clear path you can move towards quickly. Dodge the second phantom watcher when it's moved all the way to the left once again, giving you another clear path. Then click on the lever nearby to turn the watchers off. On this level of the mountain, you will begin to encounter falling phantoms. They each remove half a life if you get hit by one. One way you can dodge falling phantoms is by looking for their shadows. The shadows will become more prominent as they fall closer. Avoid the range of these shadows and even if a falling phantom skims your animal, you should be fine. If you're directly beneath a shadow and you don't move, you will get hit and lose half a life.Falling phantoms.png
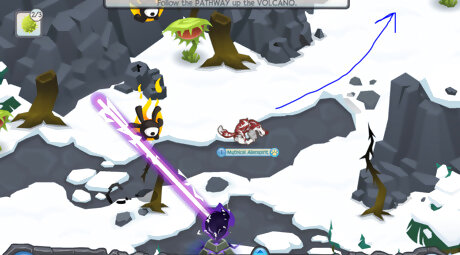
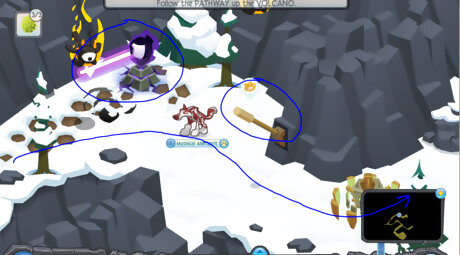
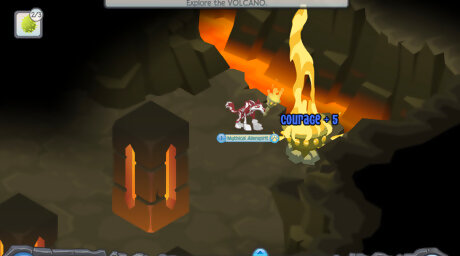
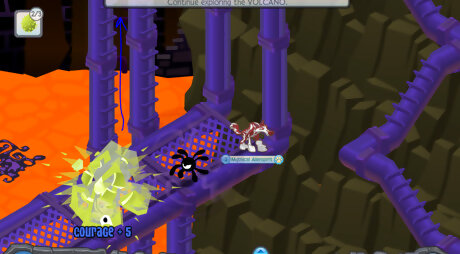
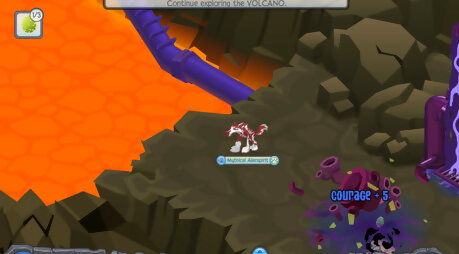
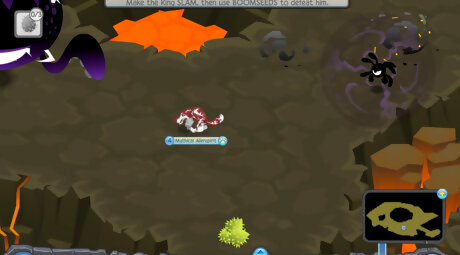
Continue along the pathway right. Encounter falling phantoms as well as a circling phantom watcher surrounded by two phantoms. Avoid falling phantoms by getting away from the range of their shadows and destroy the phantoms with boomseeds. You can easily do this while staying out of the laser's range. Wait for each phantom to come into view within your screen and drop a boomseed on them at the right moment. If you wasted a boomseed, chomper plants are nearby that you can use as backups. Escape around the first phantom watcher easily and then follow the pathway upwards. Encounter another circling phantom watcher which you can also easily dodge in the top right direction, and click on the lever to turn the watchers off. At this point, if you go directly right from the circling phantom watcher and phantoms you encounter instead of following the upper path, you'll find a chest as well as a possible area that a clump of boomseeds can appear. The chest contains 50 gems in easy mode. Chest1.png
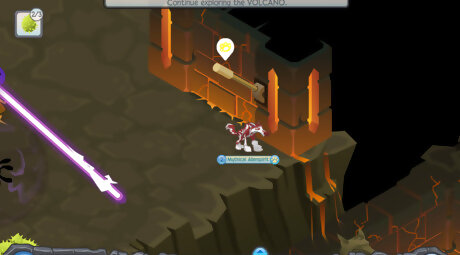
Continue along the pathway left. Destroy the phantoms in your way with boomseeds or chomper plants. The path will become stone and slightly snow-covered, meaning you are nearing the top of the volcano. At this point you'll also find a large pile of boomseeds and a Zios checkpoint. From there, the path will become more lava patched. Destroy the phantoms past the Zios checkpoint as you continue along the path left and up. Then follow the path as it curves right to a more open area. Eventually, the path will move right and open into a larger area with boomseeds in the bottom left corner and a phantom. Destroy it and move right.The phantom.png
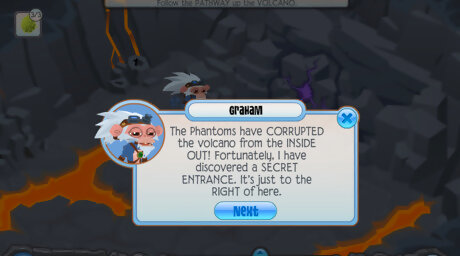
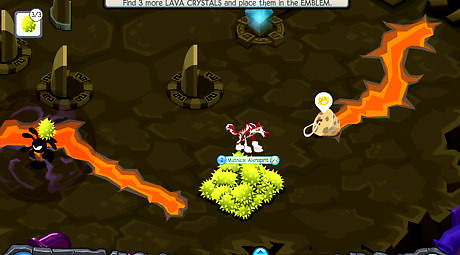
Speak to Graham. Move right. The falling phantoms will disappear. Reach the cave blocked off by a boulder and speak to Graham, the monkey alpha who makes his first appearance in this adventure. He will inform you that he's discovered a secret entrance which will allow you to stop the eruption of the corrupted volcano. He will also give you a new invention of his that he calls the spotbright, which will help you once you enter the volcano.
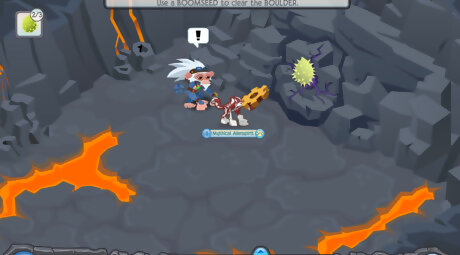
Enter the volcano. Destroy the boulder with a boomseed and enter the volcano.
Finding the Lava Crystals
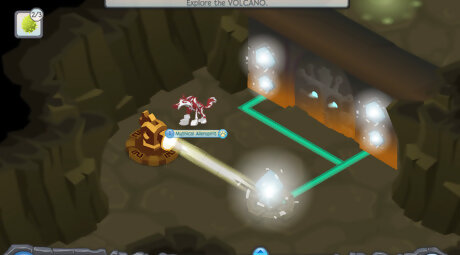
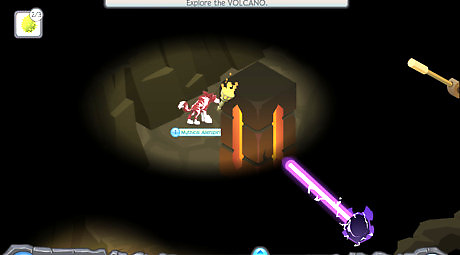
Plug the spotbright into the machine. As soon as you enter the volcano, a gate will need to be opened by shining light into a blue crystal. The broken golden machine at the left needs the spotbright to emit light and illuminate the crystal, which will unlock the gate for you. Click on the hovering icon above the spotbright. Then click on the adjust icon to turn the spotbright three times. The crystal will shine and the gate will unlock.
Continue through the volcano. Grab a torch along the way as well as boomseeds if you need any from the pile at the bottom. Phantoms will appear suddenly as you advance, so move carefully. Destroy phantoms with boomseeds if needed. Once you destroy the two phantoms, light the fire drum you come across. A mushroom bridge will appear. Go over it.
Turn off the phantom watcher. The next platform of rock contains a phantom watcher and a stone pillar. Use the pillar to protect yourself from the laser if need be. Then head to the lever quickly at the right moment and turn off the watcher. Light the fire drum at the right and go over the bridge.
Enter the platform with the fire emblem. After going over the bridge, climb up the purple tube. Do this slowly as there is a phantom watcher at the top as well as two more surrounding the area. A lever is at the very right of the main platform containing the fire emblem. Click on it to turn off the watchers.
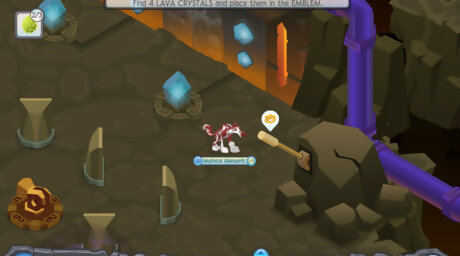
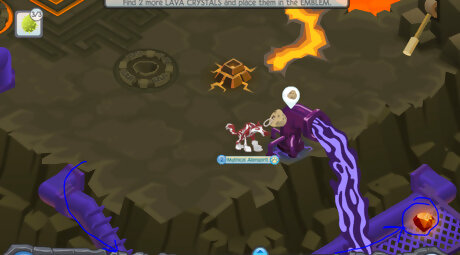
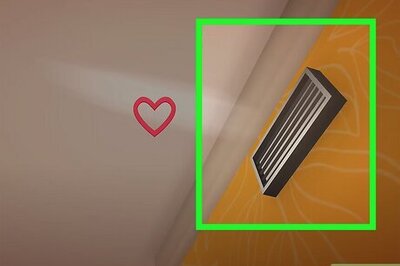
Find the first lava crystal. Move to the purple tube bridge that's at the top left of the fire gate. Before you go up it, you'll be able to see the first crystal, but to get it, you need a cork to plug in the phantom pipe so you can have access to it. Go up the purple tube and avoid the phantom watchers as well as the phantoms. Go up, and you should find a smaller mirror gate. The lever will be there. Click on it to turn off the phantom watchers. Then destroy the phantoms with boomseeds. A pile will be in that area for you to get boomseeds from if needed. When you destroy the four phantoms infesting the area, three will each drop a spotbright. Near the center of the platform, two broken machines are available for you to place two spotbrights into. You'll still need all three spotbrights however. One machine will be to the right, closer to the gate, and the other to the left. You do not need to adjust any mirrors - only the now-repaired machines. Click on the machine that's to the right two times. Click on the machine on the left two times as well. A crystal to the right of the room will light up, unlocking a gate with a third machine. Plug the third spotbright into it.Spotbright3.png Turn the newly unlocked machine three times. This will unlock a different blue crystal. Go back down to the first two machines you found. Click on the right one once. Click on the left one twice. The main gate should unlock. Use the labels in the image if you need help with turning the machines. The gate will reveal a cork. Grab it and go back near the bottom of the room where you should have seen the first phantom pipe. Plug the pipe and go through the now unblocked bridge to the first lava crystal. Grab it and plug it into the emblem. Guiide.png
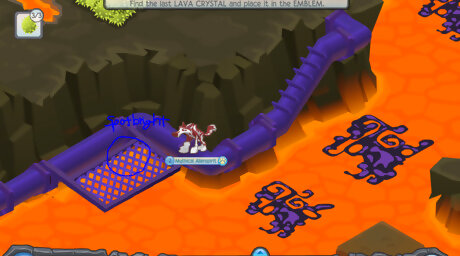
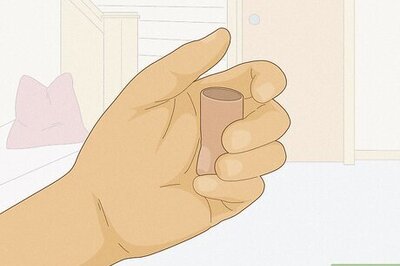
Find the second lava crystal. Move to the bottom of the room. Go down the straight tube downwards. You'll arrive on a large wide open area much like the one where you found the cork for the first crystal. Again, avoid phantoms and use boomseeds to destroy them. A pile of boomseeds near the bottom will assist you. There are no phantom watchers this time. Destroy all phantoms in the area. When you've done so, each phantom should drop a cork. Grab a cork. Move to the bottom right of the area. Go down the purple tube you find. You'll find a spotbright - don't grab it yet. Plug in the phantom pipes with two of the three corks that were dropped. This will give you access to the second lava crystal when you move along the purple tube once again. Before solving the mirror puzzle on this level, grab this crystal and plug it into the fire emblem. Crystal2.png
Find the third lava crystal. Go back to the area you found the second crystal in. Grab the third cork - three phantoms were in this area, and when you destroy each of them a cork will be dropped. Two corks were needed for the second crystal, so grab the third one. Go back up the tube to the main platform with the emblem on it and move to the very right of the room. Plug the phantom pipe you find there. Then go through the now unblocked phantom tube below that pipe and grab the third lava crystal. Place it into the emblem.
Find the fourth lava crystal. Go back to the platform you found the second crystal in. Once again, go down the tube at the bottom of this platform that you went along to grab the second crystal. Now, grab the spotbright you should have seen earlier as you did so. Put it into the one broken machine around the left of the platform. A complicated puzzle must be solved to light the one crystal that will unlock the gate. This gate will reveal the final cork which must be used to obtain the fourth and final crystal. Notice that both the machine and mirrors are adjustable. If a mirror is not adjustable, it means it's already in the correct position as part of the adventure itself. Solve the mirror puzzle. Turn the machine three times. There is a group of five mirrors near it, not including the mirror to its left. Ignore all those mirrors. Turn the mirror that's to the left of the machine so that it directs light to the mirror directly across from it. Turn the mirror that the light should reach at that point three times. Be sure that that mirror is now reflecting the light that's to the right of it and click that mirror thrice. Mirrors1.png Click the mirror the light then reflects to three times. The light will reflect to a mirror ahead of that one. Then click the adjustable mirror beside the mirror the light reaches thrice. Click the mirror the light reaches then three times. The crystal will shine and the cork will be revealed to you. This can get extremely complicated and repetitive - if you're having a hard time, refer to the images. Simply turn the mirrors until they match how they appear in the provided screenshots. Mirrors2.png Get the lava crystal. Get back to the main platform and go all the way to the bottom left. Plug in the phantom pipe, go through the unblocked tube, and grab the fourth lava crystal. Place it into the emblem. Crystal4.png
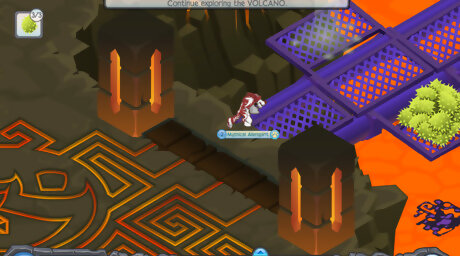
Go through the fire gate. Once you place four crystals into the emblem, go through the fire gate that will become unlocked to you.
Deeper Into the Volcano
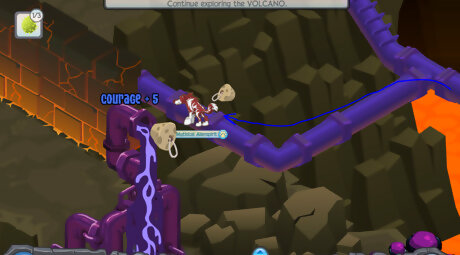
Advance through the volcano. Grab boomseeds if needed as you advance along the purple bridge. Destroy phantoms along the way as you continue deeper into the volcano. They will appear suddenly when you reach the middle of the platform. Quickly destroy them with boomseeds. You may be able to destroy two at once with one seed. Grab seeds in the process and afterwards if you need any. Then go up the tube as it leads upwards. Near the end of the bridge, before it moves up, there is a purple ladder that leads down from the bridge. Go down it and you'll find a chest full of 100 gems.Chest44.png
Destroy phantoms you encounter. Phantoms will be right at the top of the tube. Be ready to destroy them. Move carefully so you don't run into them. Destroy three more phantoms as you continue along the tube path. Go up the ladder once you reach it and then through the lit entrance at the top.
Get through the edge of the cliff within the volcano. Grab boomseeds and dodge the falling phantoms along the way till you reach the exit of the cliff edge. Along the way, you'll find a view of Jamaa. Phantoms will appear along the way - destroy them if needed. Continue advancing along the cliff edge and then go through the exit through the mouth of a cave.
Get past the phantom watchers and phantoms. Arrive in an area with a watcher and two phantoms. At the bottom right of the room, click on the lever to turn off the watcher. Then destroy the phantoms with boomseeds. At this point, there's an area at the right of the room which leads to a Wolves Only passage which you can obtain rares from. Woolves.png
Go down the purple tube at the bottom of the room. It will split left and right - go left. You'll arrive in an area with a phantom sprout - destroy it and any phantoms that come out of it quickly. Grab the cork in the room. Go back up the tube and this time go through the path that splits right. Plug in the phantom tube.
Go back down to the area where the phantom sprout was. Sneak around the laser and turn it off using the lever. Go up the purple tube to your right and then up the ladder you reach.
Solve the mirror puzzle. You'll reach another room with some phantoms and a mirror puzzle which has to be solved to open a gate. Destroy the phantoms with boomseeds. Two of three with drop spotbrights - use them to plug in the broken machines at the top and bottom of the room at the left side. No mirrors will be adjustable - turn the machine at the top three times. Turn the one at the bottom three times as well. Go through the now unlocked gate. At the top left corner of this room, there is a boulder which can be destroyed with a boomseed. A chest will be revealed full of 100 gems.Chest5.png

Destroy the phantoms and sprouter once you enter the gate. A sprouter will appear as well as two circling phantoms. Destroy the obstacles quickly and any other phantoms that come out of the sprouter. Then go down the purple tube to the right. It will split left and right - continue right.
Grab the cork at the end of the tube. Go back up and this time, go through the tube when it splits left. Plug in the phantom pipe. The phantom goop will stop spilling, allowing you to enter the blocked gate in the room with the mirror puzzle. Go back to that room and enter the now unblocked gate at the right.
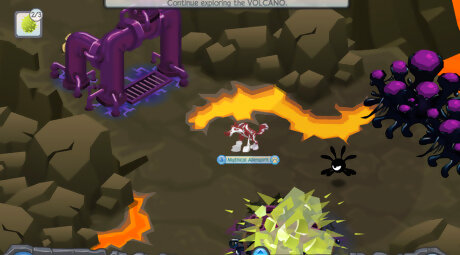
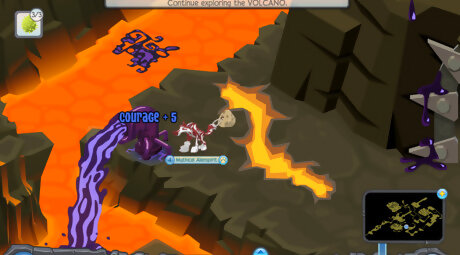
Destroy the phantom sprouters. As you continue along the wide rock path, several phantoms and sprouters will appear - destroy them quickly. The path will move down then left. Destroy sprouters along the way as well as phantoms you encounter. Try destroying the sprouters as the first phantom appears so you can destroy both of them at once with one boomseed. Otherwise, you'll use more boomseeds than you really need to and you'll have to keep going back to the boomseed pile again and again. For a more effective way of destroying phantom sprouters, use your arrow keys to move while you hold a boomseed at the ready just in case with your mouse. This way, even while you're moving, you can hold a boomseed in the direction of where the phantom sprouters will be and drop them quickly so that can you destroy them faster and increase your chances of destroying it before a phantom even emerges and lessens your chance of being put to sleep. Advance.png If you want more courage, try luring out all the phantoms in the sprouter and kill them all while you're out of their range, such as behind a rock so the phantoms can't get to you. Do this for as long as you want or until the sprouter stops spawning phantoms. Better.png Continue along the wide stone pathway down and then left. Again, destroy phantom sprouters along the way. Destroy two more phantom sprouters and then go down the purple tube. Encounter a platform with another phantom sprouter and then go down the purple tube. Reach the heat platforms. Paathway.png
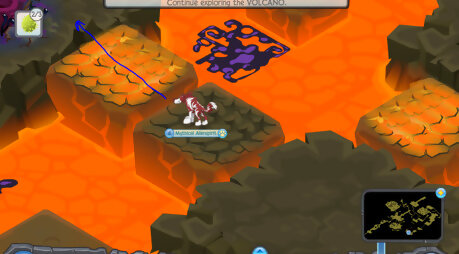
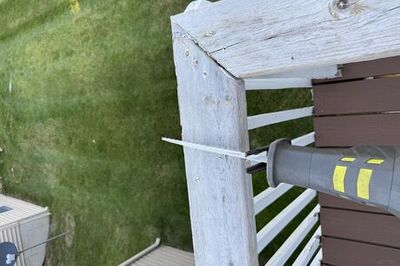
Reach the heat platforms. Once you finish the wide stone path and you reach a rough appearing platform that lights up with orange lava every now and then, you'll have arrived to the heat platforms. These platforms are the final obstacle before you reach the cavern where the Phantom King will be. The platforms will alternate between a heat platform, which you must cross when it isn't lit up or you'll lose lives, and a normal stone platform with a phantom sprout on it. Pass through these platforms, avoiding them when lit and destroying phantom sprouts along the way as well. Cross a total of four heat patches and destroy two phantom sprouters. If possible, destroy the sprouter before you even cross the heat platform. For example, when you first reach these obstacles, if you go all the way to the bottom of the harmless platform with the Zios checkpoint on it, you can catch a slight shred of the phantom sprouter that's on the platform after the heat patch. Destroy it with a boomseed while your animal is safely far from any danger. Then cross the heat platform quickly when it's not lit and you won't have to deal with the sprouter or any phantoms. Use this method to destroy phantom sprouters in advance anywhere throughout the adventure or even in other adventures as shown in the image. Secrety.png
Plug in the phantom pipes. Once you cross the last heat patch, arrive in an area with a large wolf statue which is spilling phantom goop from its jaws. The goop is blocking the way to the Phantom King. Destroy the two phantoms in the area and grab the corks that each one drops. Plug in the pipe at the right and at the left of the area. The goop will stop spilling and the entrance to the King will be unlocked to you. Be careful, as if the phantoms put you in a deep sleep at this point, you'll have to deal with the heat patches once more.
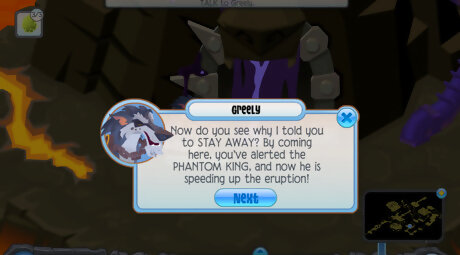
Speak to Greely. Move to the wolf statue's jaws and Greely will appear. He will scold you for exploring the volcano and then tell you that he's been busy discovering the phantoms' secrets. He'll also inform you that the Phantom King is speeding up the eruption and that he has no choice but to let you keep the Phantom King busy while he tries to prevent the eruption from happening. Once he performs his Alpha magic to try to stop the volcano, enter the Phantom door and face the Phantom King.
Defeating the Phantom King
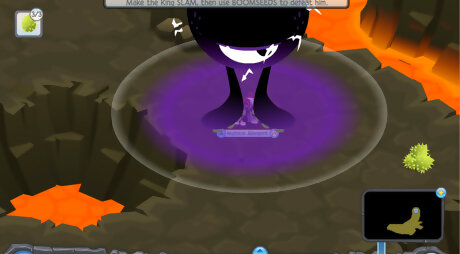
Go underneath the phantom king. After watching the animation, you'll be spawned on a large stone platform surrounded with lava and with a hole full of lava in the center. Move underneath the Phantom King. He will begin to stretch his legs as he prepares to slam down on the ground. Phantoms will also be falling, so try to avoid them by getting out from under their smaller shadows in the process.
Get out from underneath the Phantom King's range. Just before the Phantom King slams down on the ground, you'll see a circle around him which indicates his range. If you are inside that range or very close to it when he slams down on the ground, you'll lose one and a half lives. When you go underneath him and he notices, get out as quickly as you can and far enough out of his range to still be close to the Phantom King.
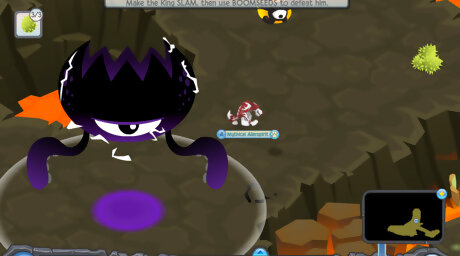
Drop a boomseed underneath the Phantom King. After the Phantom King slams down on the ground, he will become disoriented for about 10 seconds. In this time, drag a boomseed from the icon at the top left and drop it right underneath the Phantom King. You'll need to hit the Phantom King with boomseeds a total of 10 times to defeat him. Make sure you don't place the boomseed above the Phantom King's body or it won't affect him.
Kill any phantoms throughout the battle. Every two times you hit the Phantom King with a boomseed, he will summon phantoms to assist him. Each time, he will summon more and more phantoms. If you don't kill the phantoms, you'll run into them as you try to defeat the Phantom King throughout the battle, which will put you into a deep sleep several times. So when the Phantom King summons phantoms, it is better to kill all of them first and then continue with the battle. This also gives you more courage points.
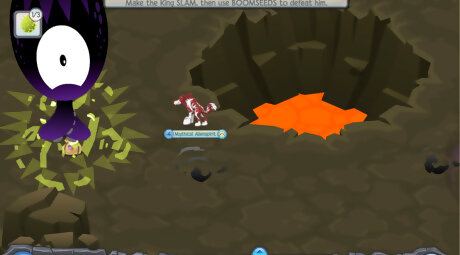
Pick up boomseeds if you need any. There will be clumps of three boomseeds that randomly appear on the stone platform throughout the battle. Possible places that clumps of boomseeds can appear in are at the top, bottom, left, and right corners of the stone platform.
Stay between the sides and the center of the platform as you battle the Phantom King. Though boomseeds only appear in the corners of the platform, it's better to stay between the center and the edges of the platform since it is easier to navigate the battlefield from the center, and if any boomseeds do appear, you'll still be able to easily grab them. Be sure not to stay in the edges or the corners of the platform either. If you aren't pressing against the edges or corners, you'll be able to pick up boomseeds more easily and staying around the center will make it easier for you to navigate. If you stay somewhere in a corner, phantoms or even the Phantom King may corner you, which will lead you into losing lives more easily.
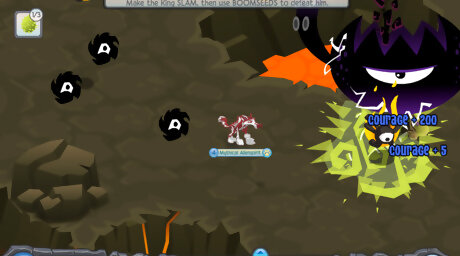
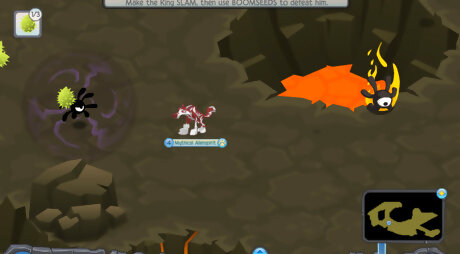
Repeat the process. Keep dodging the Phantom King and dropping boomseeds underneath him when he is disoriented. Kill any phantoms that he summons as well. You'll need to drop boomseeds on him 10 times and then he will disappear in defeat. You will also gain 200 courage points once you've finished. If you didn't kill any phantoms, but you hit the Phantom King with boomseeds 10 times, those phantoms will also automatically disappear.
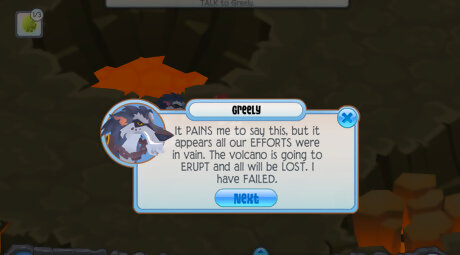
Speak to Greely. Once the Phantom King disappears, Greely will appear near the center of the platform. He'll tell you that he was unable to stop the eruption, however, he can stop the volcano long enough for you to escape.
Exit the volcano. When you emerge from the gate you entered to deal with phantom king, rubble will be lying around. At the very left of the gate, there will be a broken phantom tube, allowing you a bridge. Go left through a platform full of broken mirrors and crystals and up the tube that goes up to the fire emblem. Go left and along another phantom tube till you reach the glowing entrance to the outside. You'll watch a short cutscene of the volcano erupting.

Claim your prize. After the cutscene, you'll find Graham, Cosmo, and Liza waiting outside. Cosmo will tell you that if it weren't for Greely, Jamaa would have been destroyed, but they had found no sign of him since the volcano erupted. Then claim your prize. The prizes for easy mode are shown in the image.


Comments
0 comment