
Securing Indoor Posts
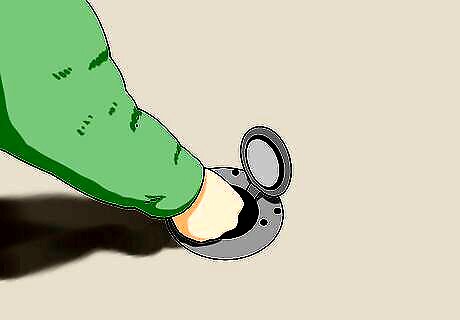
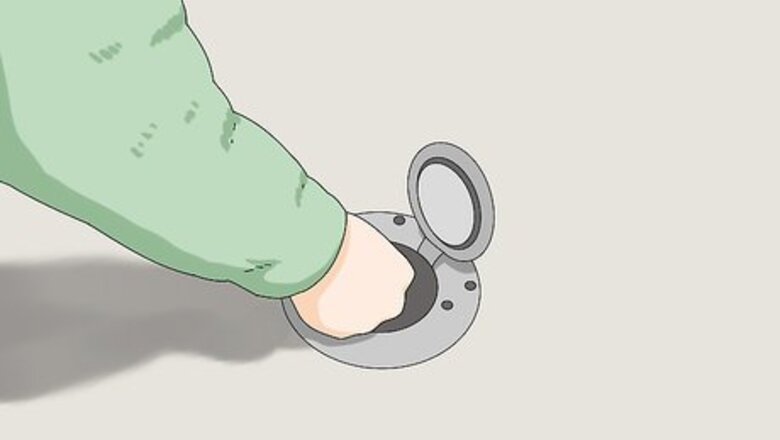
Remove the floor plates with an Allen wrench. Most volleyball nets are secured to the ground through floor plates. Locate the holes in each floor plate, insert your Allen wrench, and twist the wrench until you pry the plate loose. You can buy an Allen wrench from most sports supply stores or online.
Place the poles into the ground. Lift the pole up and insert it into the hole, holding it upright as you do so. As you lower the pole into the ground, it should click into place and stay upright without holding it. Repeat this process with both poles. If the pole does not secure into the ground, the hole may be dirty or blocked. Remove the post and check for obstructions, removing any dust or debris as needed.
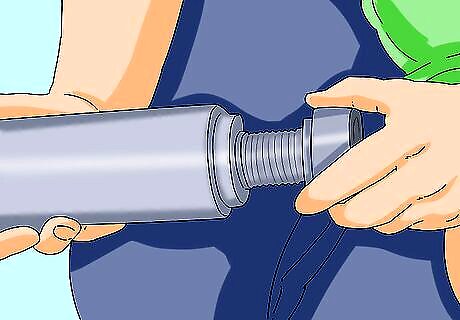
Adjust the volleyball poles to the required height. Twist the volleyball poles at the bottom of the feet to raise or lower its height. If you need to make the poles higher than they can naturally go or your poles don't have adjustable feet, insert volleyball pole spacers at the bottom. The regulated net height for the following volleyball teams are: Co-ed, standing disabled, or men's volleyball: 7 ft 11 inches (2.41 meters). Women's volleyball: 7 ft 4 inches (2.23 meters) Sitting or wheelchair volleyball: 4 ft 11 inches (1.5 meters) Senior volleyball: 7 ft 2 inches (2.1 meters) Children's volleyball: 6 ft 6 inches (1.98 meters) -7 ft 4 inches (2.23 meters)

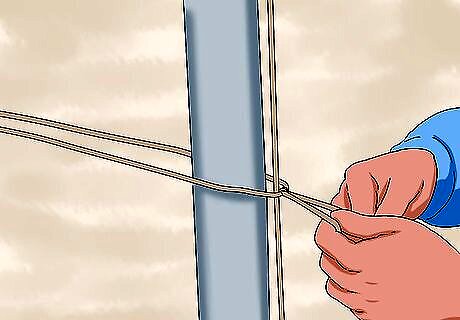
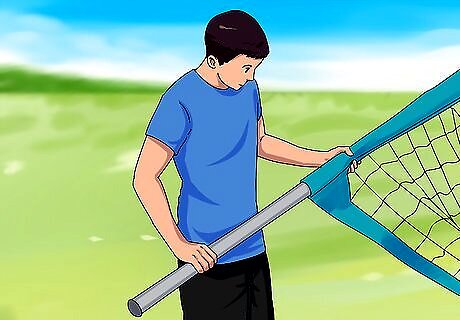
Attach the net rope to both poles. Locate the post hook on the lower half of each volleyball pole. Tie each side of the net rope to the post hook in a knot and thread the rope through the winch leader strap, a strap with a metal connector that hangs on the volleyball pole's side.
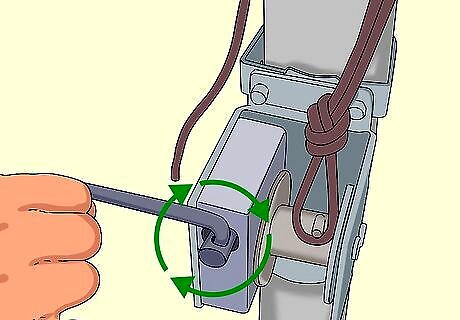
Tighten the winch to secure the net. Grab the winch, the handle jutting out of the pole's side, and turn it until the center of the net reaches the desired height. The center height should be match the regulation requirement for men's, women's, co-ed, or other volleyball groups. If you cannot reach the desired net height, try tightening the winch further or adjusting the pole height again.
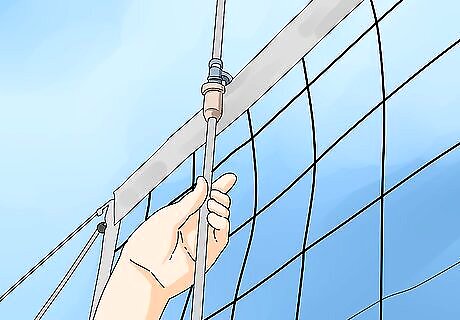
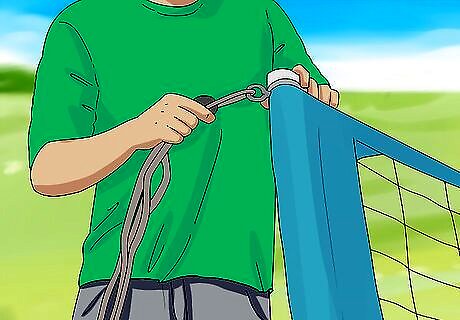
Attach and tighten the net straps. The volleyball net should have 2 additional net straps: 1 in the middle and 1 on the bottom. Grab the net straps and secure them to the hooks on each pole until the straps are horizontal and parallel to the ground.
Tie the ropes off to the end posts. If you notice any excess rope from the net straps or net rope, loop it over the ropes and tie it in place. This will prevent tripping and injuries caused by the ropes while you play volleyball. Hold the ropes in place with loose knots to make removing the ropes simpler later on.
Attach volleyball antennas to the net to spot fouls easier. Volleyball antennas mark the out-of-bound lines and help observers call fouls. Position the volleyball antenna over the net's top and secure it in place with a clip or other object, depending on the manufacturer. Although not necessary to play, volleyball antennas can keep the game fair.
Setting Up Outdoor Volleyball Posts

Measure and mark the spot for your volleyball poles. If you're playing on an outdoor sand pit, your poles should be in the middle of the court. Mark the spot for a volleyball pole on both sides of the court with stakes or another small object. If you're playing on an open field, the length should be about 60 feet (18 m) and the width should be 30 feet (9.1 m). Place the volleyball poles in the middle on each side. Set up your volleyball net on level ground to prevent tripping or field injuries
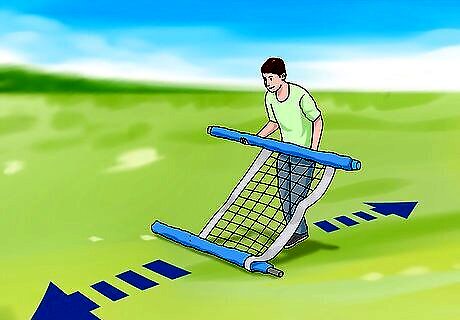
Unroll the net in the middle of the court. Position the net so that it completely spans across the middle of the court. Lay your posts down on each side of the net to set up while you work. Keep in mind that every outdoor volleyball net is different—read the specific instructions while you work to make sure you set it up correctly.
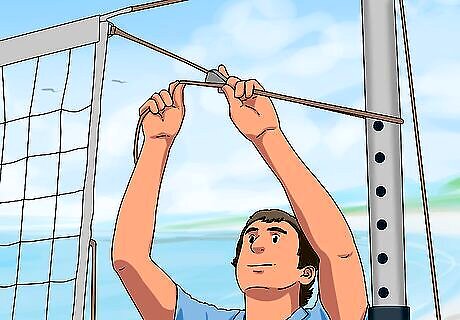
Adjust the post height to the desired setting. Inspect each post for a button or switch that allows you to raise or lower its height. Adjust both post's heights to the desired length depending on your preference or one of the following regulation volleyball net heights. Co-ed, standing disabled, or men's volleyball: 7 ft 11 inches (2.41 meters). Women's volleyball: 7 ft 4 inches (2.23 meters) Sitting or wheelchair volleyball: 4 ft 11 inches (1.5 meters) Senior volleyball: 7 ft 2 inches (2.1 meters) Children's volleyball: 6 ft 6 inches (1.98 meters) -7 ft 4 inches (2.23 meters)
Connect the swivel clip and extend the guylines. Open the top of the swivel clip and hook it through the top net hook. Extend the guidelines connected to the clip out out and away from the field, laying each guidelines about 8–10 feet (2.4–3.0 m) apart. The swivel clip is the metallic hook attached to the guylines, which should be 2 strong and thick ropes.
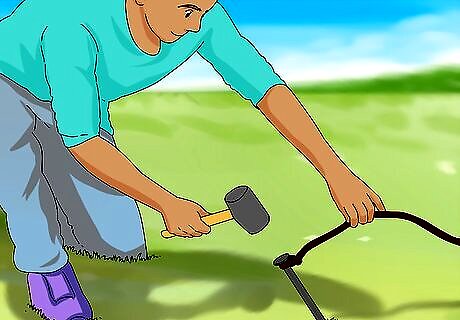
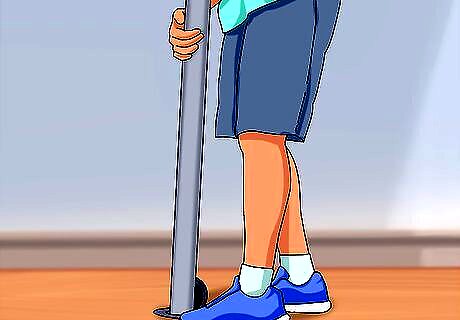
Dig the ground stakes through the guyline. Each guyline should have a loop around the end. Insert the ground stakes through the guyline's end loops and into the dirt using your hands or a mallet. Insert the ground stakes at an angle, towards the court, for added support.
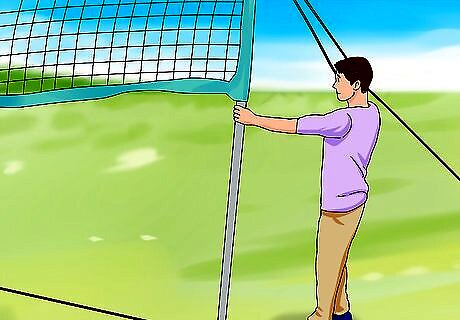
Set the pole upright. Grab the pole and position it upright, using the guylines as support. If the pole falls over or the lines go slack, remove the ground stakes and reposition them further away from the post. To further support the posts and keep them upright during the game, pull down on each guylines until they tighten.


Comments
0 comment