
Cutting the T-Shirts
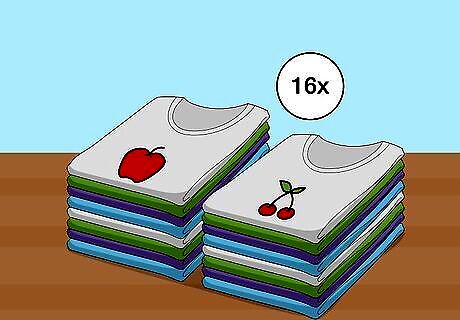
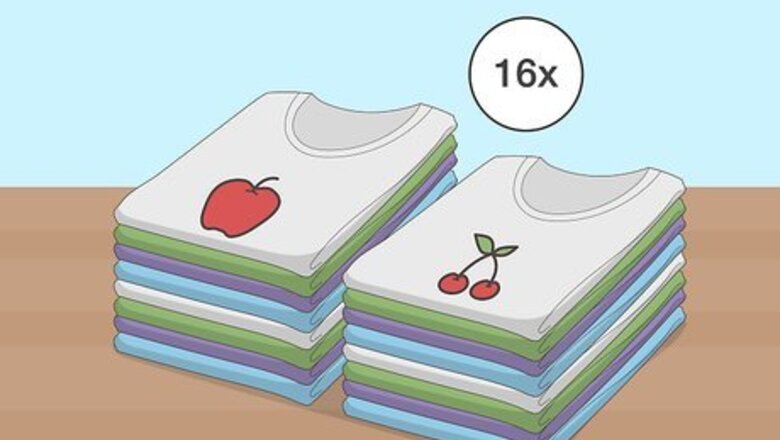
Gather 16 T-shirts. Look for T-shirts that have sentimental value that you want to use in the quilt. It's fine if the edges of the shirts are fraying, since you'll only be using the center of the shirts. If you'd like a larger quilt, gather more shirts and remember to scale up in an equivalent ratio. For a monochromatic quilt, choose T-shirts in the same color. If you prefer, use any shirts with sentimental value to make a vibrantly colored quilt. 16 T-shirts are needed to make a quilt that's 4 blocks by 4 blocks [12 by 12 inches (30 cm × 30 cm)] in size.
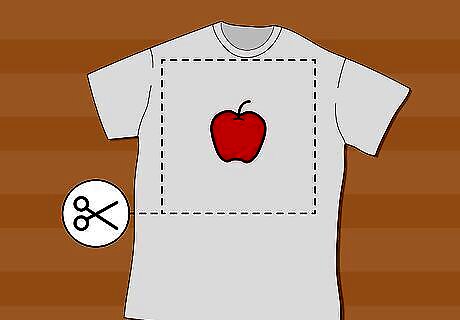
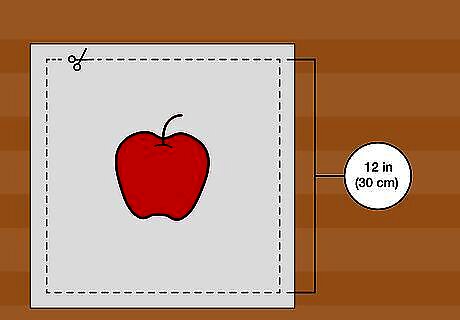
Cut out the center of each shirt into a rough square. Take sharp scissors and cut the main image you want to use from each T-shirt. The square should be at least 12 inches (30 cm) or larger. For example, if you want to include a list of team names from the back of a shirt, cut a large square from the back. The squares don't need to be completely straight or smooth because you'll be cutting them again later.
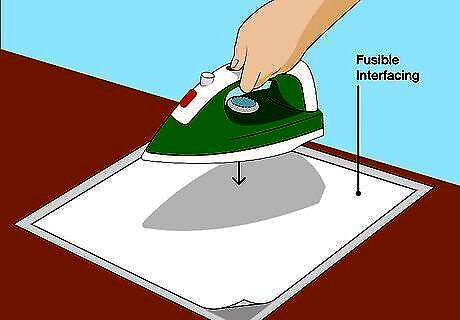
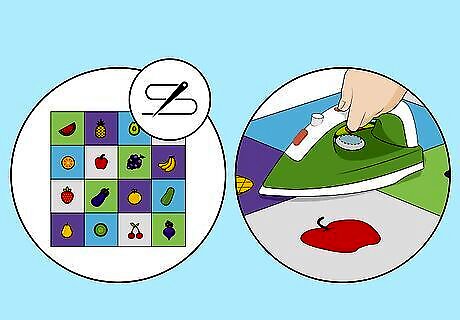
Iron fusible interfacing to the back of each T-shirt square. To stabilize the T-shirt squares, lay your squares face-down on an ironing board. Lay a piece of fusible interfacing over the square and iron it with low heat. This should fuse the interfacing to the back of the T-shirt square. Repeat this for each T-shirt square. The fusible interfacing will make your T-shirts easier to work with since they'll prevent the knit fabric from stretching or sagging a lot. Read and follow the manufacturer's instructions for specific directions about fusing the interfacing. You'll need to place the bumpy, fusible adhesive side so it faces the fabric.
Trim each T-shirt to a 12 in (30 cm) square. Slide a cutting mat under the T-shirt square and place a ruler or clear template over the T-shirt. Center the image and then mark around the edges to make a 12 in (30 cm) square. Use scissors or a rotary cutter to trim the fabric so you get a tidy square. If you want, make your squares larger or smaller. Keep in mind that you can adjust the overall size of the quilt too. Repeat this for each block so every T-shirt square is uniform in size.
Designing the Layout
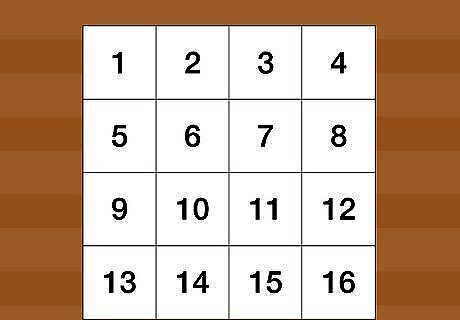
Decide the dimensions of the quilt. Since you have 16 T-shirt squares to work with, decide how many blocks you want in each row. For a square quilt, you'll have 4 rows with 4 blocks in each row. If you'd like a rectangular quilt, plan on 5 rows with 3 blocks in each. If you're using more blocks, you can make larger or longer rows.

Lay each T-shirt square where you'd like it to be in the quilt. Once you've chosen how many blocks you want in each row of your quilt, spread the squares out. Place the squares where you'll eventually want to sew them in place. This will allow you to see how the quilt should end up looking. Play around with moving the squares to determine what looks best to you. For a chronological quilt, place squares that have years on them from the earliest date to latest.
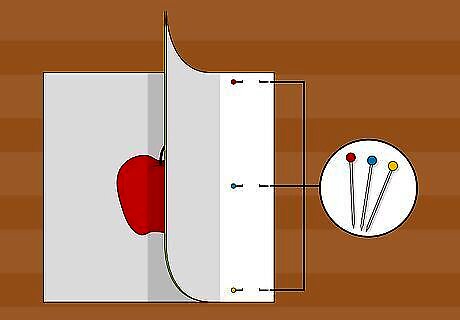
Pin the edges of the blocks together to hold them in place. To make it easier to sew the squares together, take the sewing pins and pin the edges of the squares together so the front sides of each square face each other. Keep in mind that these aren't supposed to secure the squares permanently. They'll just keep them organized while you're sewing the squares together. Work two blocks at a time so you can focus on one shared edge at a time.
Sewing and Quilting the Squares
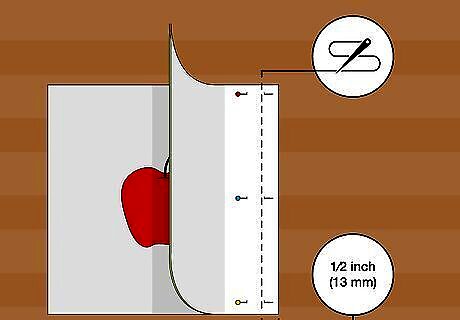
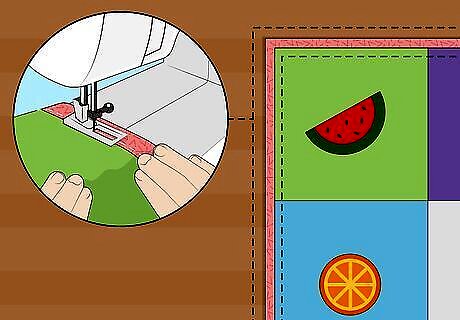
Leave a ⁄2 inch (13 mm) allowance and sew the blocks together. Hold the block edges in place and use a sewing machine to sew the fabric together to make a row. Once you've finished a row, set it aside and sew the blocks for another row. If you have a walking foot for your sewing machine, attach it to make it easier to sew.
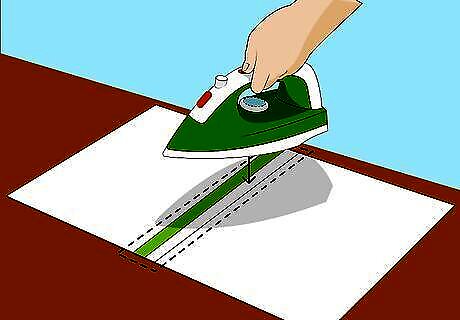
Press the seams open and iron them flat. Lay a sewed row on your ironing board so the T-shirt squares are facing down. Pull the seams open between the squares you sewed. Then take a warm iron and run it over the seams to flatten them. Ironing the seams flat will make it easier to quilt the material.
Sew the rows of T-shirt squares together and iron the T-shirt top. To make them easier to sew, pin the edges of the rows together. Remember to leave a ⁄2 inch (13 mm) seam allowance as you sew the rows together. Once you've sewn all the T-shirt squares together, iron them so they lie completely flat. Keep the seams open as you sew across them. This will ensure that they stay flat. EXPERT TIP Sarah Stearns Sarah Stearns DIY Specialist Sarah Stearns is a DIY Specialist, Artist, Maker, Blogger, and the Founder of SarahMaker.com. With over ten years of experience, she specializes in fun, approachable crafts like crocheting, making polymer clay jewelry, quilting, and creating Cricut projects. Her work has been featured in several publications, such as Scientific American, Good Housekeeping, Vox, and Apartment Therapy. Sarah holds a BA in Psychology from Vanderbilt University. Sarah Stearns Sarah Stearns DIY Specialist Begin quilting with simple, large blocks. For quilting newcomers, it's best to start with simple patterns made with basic squares and rectangles in larger sizes, rather than ones that use tiny intricate pieces. Following a pattern with clear instructions and photos will make your first quilting project go smoothly.
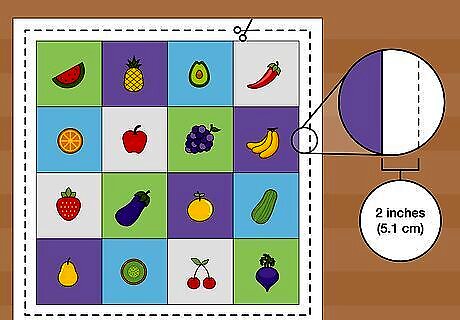
Cut the backing to be 2 inches (5.1 cm) larger on every side. Take your backing and measure it so it's as large as the T-shirt top that you just sewed. Add 2 inches (5.1 cm) to each edge and then use scissors to cut the large piece of backing. For example, if you're making a quilt that's 4 blocks of 12 inches (30 cm) by 4, the blanket will be about 45 by 45 inches (110 cm × 110 cm), taking seam allowances into account. To add 2 inches (5.1 cm), you'll need a piece of backing that's 52 by 52 inches (130 cm × 130 cm).
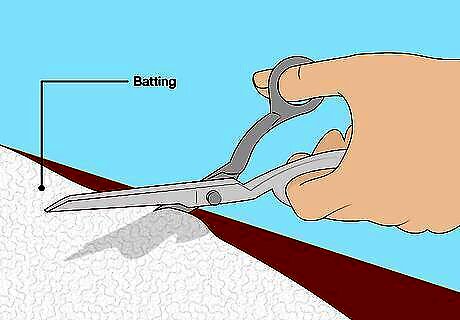
Cut a large piece of batting. Measure your quilt top and then use scissors to cut a piece of batting that's the same size as the quilt top. You'll use this to fill the quilt, which is why it's important that the size is the same. If you want a very thin quilt, leave out the batting entirely.
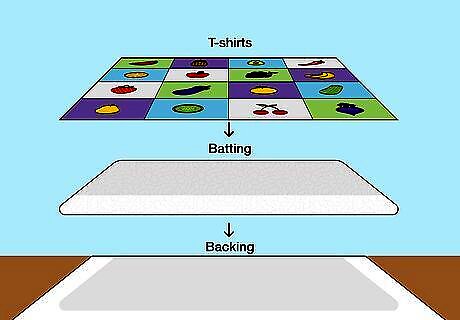
Lay the batting and T-shirt top face up on the backing. Spread the backing on your work surface and place the batting on the backing. Then put the T-shirt top on the batting so the images are facing up. The batting will make the quilt fluffier and will insulate it. For a thicker quilt, add an extra layer of batting.
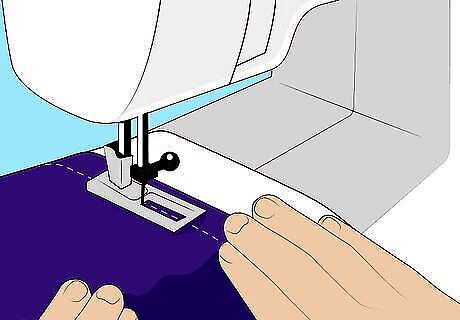
Pin the quilt layers and machine stitch the quilt together. Take sewing pins and insert them through the backing, batting, and T-shirt top. Put at least 1 sewing pin in each square to secure the layers as you handle the quilt. Then start in the center of the blanket and sew along the edges of every T-shirt block. For the simplest way to quilt, sew it back and forth in straight lines.
Trimming and Binding the Quilt
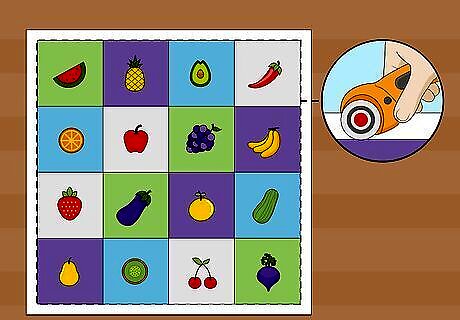
Use a rotary cutter to trim off the edges of the quilt. Lay your quilt flat on a work surface and slide a cutting mat under one edge of the quilt. Take your rotary cutter and cut away the excess batting and backing from the edge. Do this for every edge of the quilt. You should only see a neatly trimmed T-shirt topping once you've trimmed off the excess from the edges.
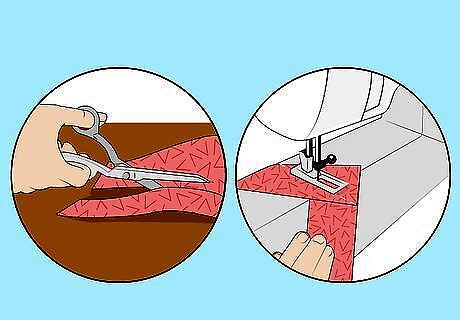
Cut and sew the binding fabric into a large square. Take the decorative binding fabric that you want to use to finish your quilt and cut it into strips that are twice as wide as you'd like and as long as the quilt. Sew the pieces together to create sharp corners that lie flat. Then fold the binding in half and iron it until it's smooth. For a 48 by 48 inches (120 cm × 120 cm) quilt, consider cutting the binding into 2 ⁄4 inches (5.7 cm) strips.
Sew the binding to the edges of the quilt. Pin the binding in place and hold the open edge of the binding along the edge of the quilt. Sew along the edges and leave a ⁄4 inch (6.4 mm) seam allowance as you go. Then fold the binding over and sew the binding shut along the edges. Then remove any pins and enjoy your quilt. Trim the end and fold it under the binding just before you finish sewing the last edge.


Comments
0 comment