views
Checking the Oil Level
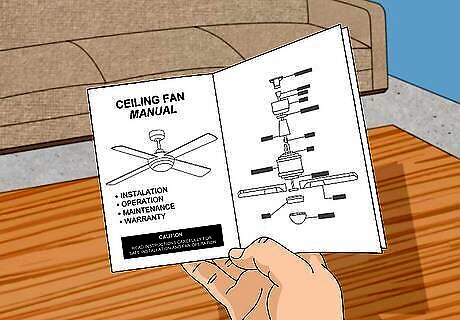
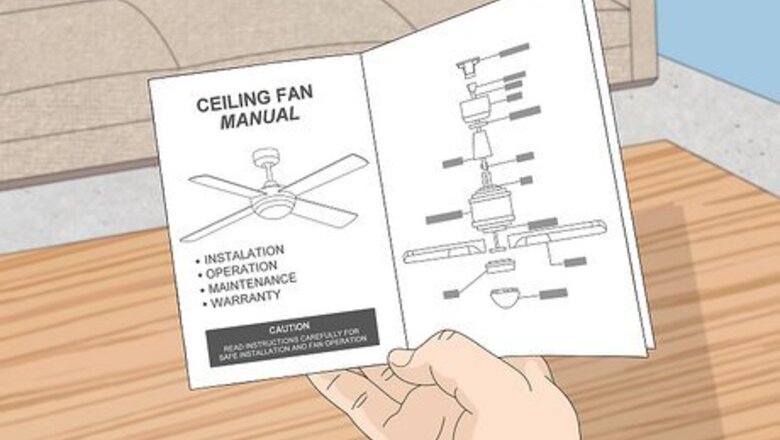
Reference your fan’s owner manual. Check to be sure your fan requires oil, because some models do not. Read through the instructions about how to oil it. Look for instructions about checking oil levels. Your model may require a specific kind of oil, oiling at a certain frequency (like once a year), or may require no oil at all. Therefore it is important to follow the care instructions for your specific model. If you have lost your owner’s manual, you could visit the maker’s website or call them to inquire about care instructions. To find the website, locate the company’s name on your fan and do a Google search.
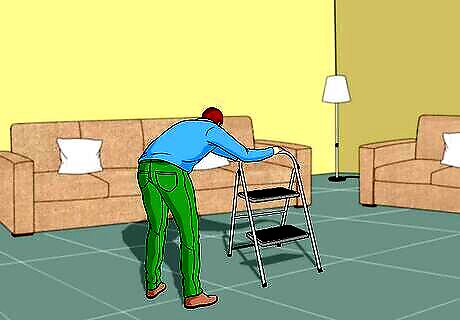
Set up a stepladder. A stepladder will allow you to check the oil while your fan is still installed in the ceiling. Be sure to follow all safety instructions for your ladder, to lock it in place, and to place it on level ground.
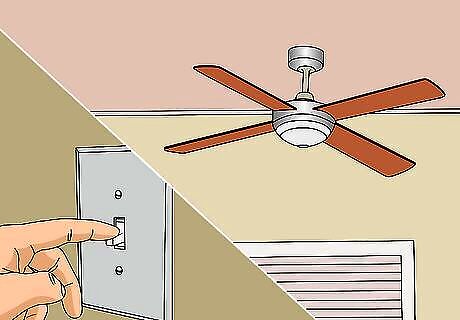
Turn off the power to your ceiling fan. Make sure your fan is powered off. If your fan has lights, make sure they are off too so that you don't burn yourself by touching a hot bulb. Your ceiling fan should not be operating at all while you work on it. If it is hard to see with your fan’s lights off, use a flashlight.
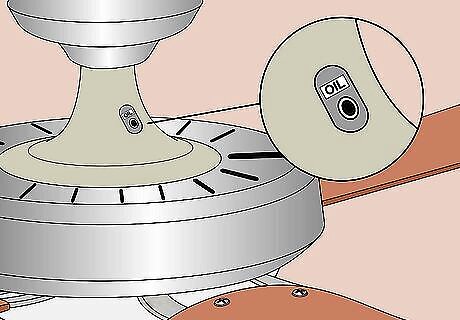
Locate your fan’s oil hole. It will likely be on top of the motor, near the downrod. It is a small hole and will likely be labeled “oil hole.” If you are unable to locate the oil hole, your fan probably does not need oiling. A fan’s downrod is what connects the housing of the motor to the mounting hardware. It is the narrow tube that connects the fan to the ceiling.
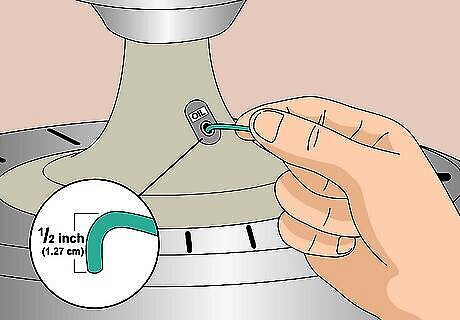
Insert a pipe cleaner into the oil hole. This will allow you to test the fan’s oil level. Fold the pipe cleaner over half an inch (1.27 cm) to form a hook. Then, stick the 1/2 inch hook into the oil hole to use as a dipstick. If the pipe cleaner comes out with oil on it, then oiling the fan will not solve your problem. If the pipe cleaner is inserted and it doesn’t touch oil in the reservoir, you should oil your fan.
Adding Oil
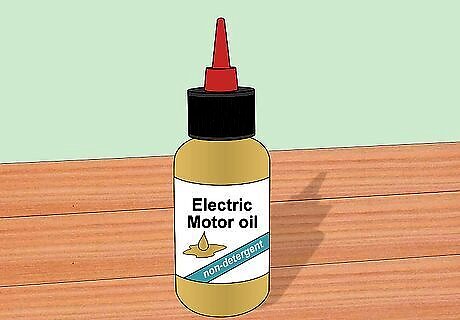
Buy non-detergent electric motor oil. This is the kind of oil that works well for fans. It is important not to just use any oil, because certain forms of oil are combustible and can cause fires with an electric motor. If your fan’s owner manual recommends a specific kind of oil, purchase that type. You will need a 10, 15, or 20 weight oil. Do not use 3-in-1 oil or an oil with detergents. Try Hunter oil for fans. This is a specific fan oil that will work well for most models. Don’t use WD-40. WD-40 is not a motor oil. It can be used for cleaning dirty bearings on your fan, but is not sufficient to protect moving parts.
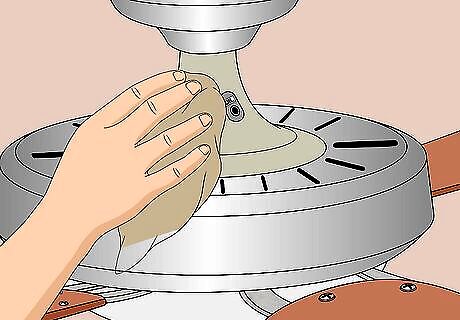
Clean the oil hole and fan. Use a rag to clean off your fan with an all-purpose cleaner. Make sure there isn’t any dust or grime. Wipe it clean before oiling it so that dirt won’t clog the oil hole. Clean out the oil hole with a pipe cleaner. Keeping your fan clean is important for it to continue operating properly. To clean your fan’s motor, do not use all-purpose cleaner. Simply wipe it with a rag.
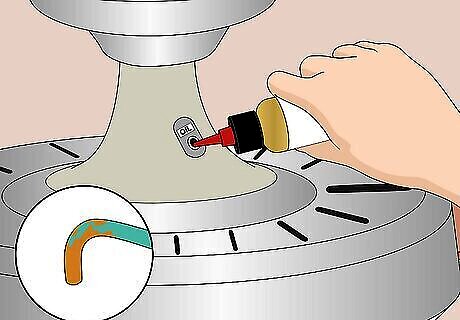
Fill the oil hole with 1-2 ounces of oil. Slowly pour oil into the fan’s oil hole. Test it periodically with your 1/2” pipe cleaner hook and stop filling it as soon as the pipe cleaner touches the oil. If your fan has not been oiled in a very long time, it might require more than 1-2 ounces of oil. Fill it until it reaches the level of your 1/2” pipe cleaner hook.
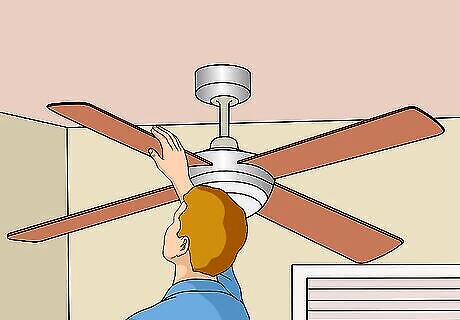
Test your fan. Turn your fan on a slow setting and listen for any squeaks or grinding sounds. The oil should allow your fan to run smoothly. If it still is having problems, then low oil was not the cause of the issue. Don’t keep adding oil. There is something else wrong. Instead of turning on the fan, you could also slowly spin the blades around with your hand while the power is off. You will still be able to hear if there are problems.
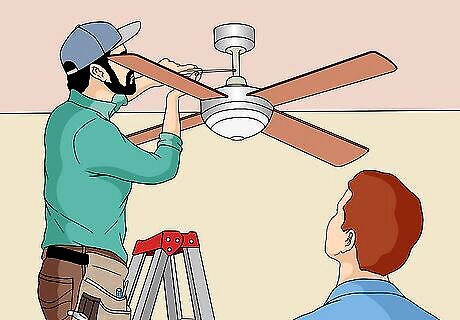
Get help if there are still problems. If oiling your fan was not the solution, it is time to contact a professional who can troubleshoot the issues with your fan. There are professionals who specialize in ceiling fans. It is best to find someone with this expertise rather than a general handyman. You could find someone at a fan store, at a fan department of a larger home improvement store, or online by doing a Google search for fan repair in your city.
Detaching the Fan if Necessary
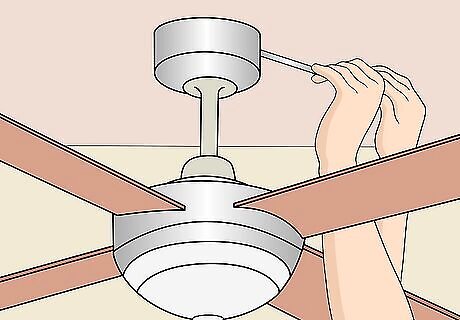
Make sure your ceiling fan needs removal. You should only remove your ceiling fan if absolutely necessary. Many models can be oiled while still attached to the ceiling. If you are simply unable to access the oil hole, then you will need to remove the fan from the ceiling, which is a bit more complicated! But it is necessary if your fan has sealed bearings.
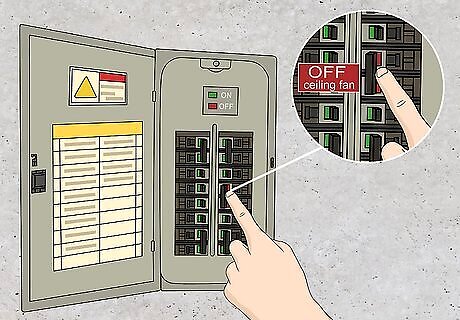
Turn off the power to the room your fan is in. Find your house’s breaker box and turn the appropriate switch off so that there is no power going to your fan. It should turn off the power to the whole room that your fan is in. To make sure you turned off the right switch, test the fan and make sure it doesn’t turn on. This is a very important step so that you will not be in danger of electrocution. You can also use a handheld circuit tester to be sure that no power is going to the wires. You can buy one on Amazon or at your local home improvement store.
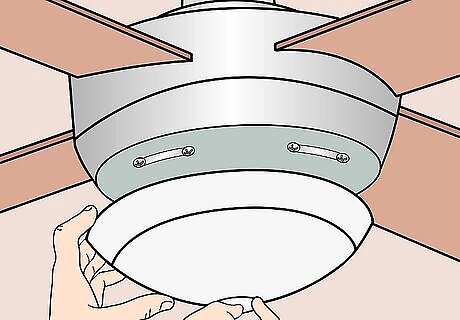
Remove the fan’s lighting unit. If you fan comes with lights, remove them first. You will need a Philips-head screwdriver and a stepladder. Climb your ladder and unscrew the lighting unit from the fan. Start by removing the screws from the top of the lighting unit by turning them counterclockwise. Be sure to support the lighting unit as you remove it so that it doesn’t crash to the ground. You will also need to remove protective wire nuts on the lighting unit. Find an appropriate wrench that will allow you to twist these off. Once these are removed, you should be able to detach the lighting unit from the fan by gently pulling it off. Once the lighting unit is removed, set it out of the way.
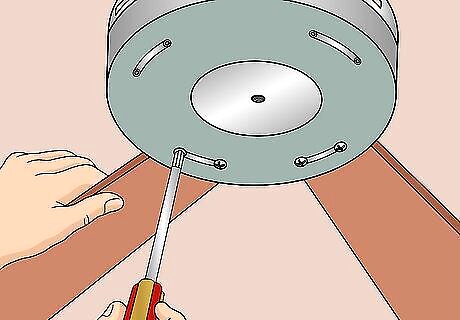
Remove the fan’s blades. Use your Philips-head screwdriver to turn the screws counterclockwise to remove them. Make sure you are removing the screws that attach the blades to the fan. The screws should be on the part of the fan that is still attached to the ceiling and not on the blades themselves (these can stay on). As you remove the blade from the fan, set the blade down on the ground or on a table. You may need help from a friend to hold the fan blades as you take them down. You can use an electric screwdriver to unscrew the blades more easily.
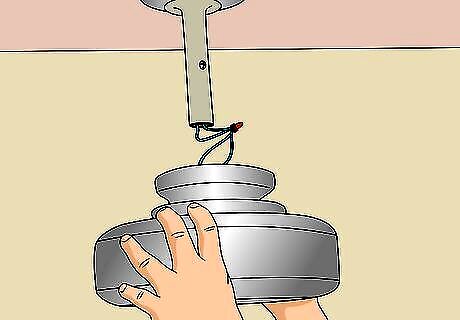
Remove the fan’s motor. Disconnect the ceiling fan from the ceiling by removing the covering around the motor. Unscrew the screws that are holding the fan's canopy (it is the part over the motor). There will probably be four screws to remove. Remove them with one hand while supporting the fan with your other hand. Once these screws have been removed, your fan should be able to lower from the ceiling. If you can’t find the screws that are holding the motor’s cover in place, they may be covered by a decorative ring.
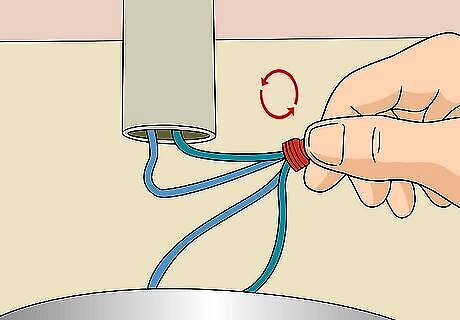
Disconnect the fan’s wires. With your motor lowered, there should be wires connecting the fan to the ceiling. Look for where they connect with a plastic cap. This is where you can disconnect them by unwrapping the caps counterclockwise. Once they are disconnected, you can set your fan’s motor right-side-up on a table. Cover the wires that are hanging down from the ceiling with black electrical tape.
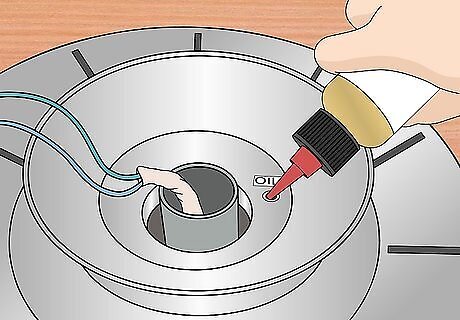
Oil the motor. Find the bearings at the top and the bottom of the motor. You are looking for where the rotating parts meet the stationary parts. There should be a small seam, which is the edge of the bearing. Drip three to four drops of non-detergent electric motor oil into the top bearing. Then, spin the motor around about 10 times so that the oil works into the bearings. Repeat this for the bottom bearings. Turn the motor upside down and add a few drops of oil where the blades connect to the motor. Turn the bottom section of the motor 10 times to work the oil into the bearings.
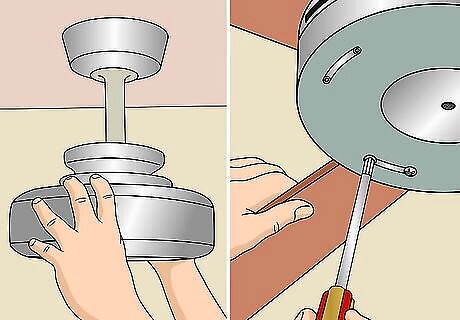
Reconnect your motor to the ceiling. Reverse your steps to reassemble the fan, or follow your fan’s instruction manual for installation. Start by reconnecting the electrical wiring. Then screw in the canopy. Then reconnect the fan's blades one at a time. To attach the screws, you will turn them clockwise.
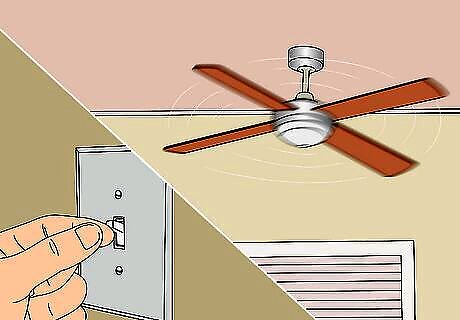
Test your fan. Once reinstalled, test your fan on a slow setting to ensure it’s properly connected and balanced. Turn on the power to the room by switching back the breaker so that you can test the fan. Your fan should be working well now. If you are still having problems, you will need to hire a professional.


Comments
0 comment