views
Removing a Nail
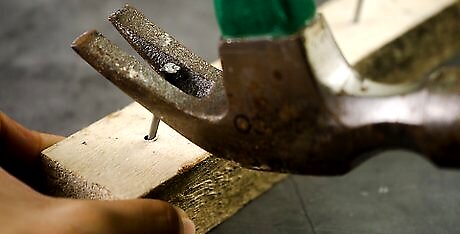
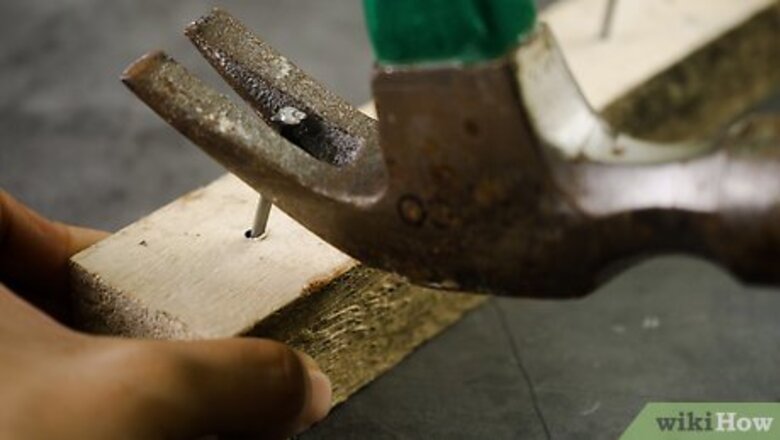
Use the claw on the back of a hammer to rip standard nails out. If there’s at least 0.25–0.5 in (0.64–1.27 cm) of space between the head of the nail and the surface that it’s embedded in, you can probably use a hammer to remove it. Flip the hammer around to use the claw, which is the end with 2 mental prongs on it. Slide the prongs around the nail and press the hammer into the surface and against the head of the nail. Pull the nail out by applying pressure to the handle in the opposite direction that the claw is pointing. This way, the claw will use the surface of your material to apply pressure to the nail.Tip: Use a piece scrap wood or a putty knife if you want to protect the surface that you’re pressing the hammer into. To do this, slide the wood or putty knife in between the head of the hammer and the surface material as you’re applying pressure. Wear protective eyewear to protect yourself. In some cases, the nail will pop out and go flying when you do this. This will work on all surfaces, but it’s best on hard wood, metals, and masonry. Avoid doing this on drywall without a strip of wood or putty knife under the head of the hammer.
Opt to use a cat’s paw for longer or tougher nails. A cat’s paw is a specialized tool with 2 slots on each side for removing nails. To use a cat’s paw, slide the L-shaped end under the head of a nail. Then, pull the cat’s paw away from the nail to pop it out of its slot. This is an especially good option for longer or tougher nails since a cat’s paw is really strong and the claws tend to be bigger than a hammer’s. You can use a cat’s paw to reach nails that are flush with the surface they’re embedded by striking the L-shaped end with a hammer while holding the flat end next to the nail at an angle. This will work on any surface, but it will damage drywall. Cat's paws could leave marks or damage behind after you use them.
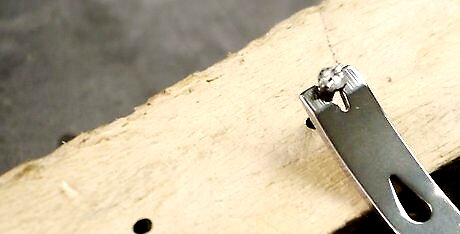
Select a pry bar if the nail won’t come out. A pry bar is a heavy-duty tool for extremely tough nails. It looks like an L-shaped length of metal with a flat chisel on one end. To use a prying bar, press the flat end of the straight side under the head of the nail. Hold the bar in the middle using your nondominant hand. Then, hammer the bar down on the opposite end to pop the nail out of the slot. Wear protective eyewear when doing this to ensure that the nail doesn’t shoot up and hit you in the eye. Pry bars look a lot like cat’s paws but they tend to be longer and thicker. They’re also designed to handle strikes from a hammer. This process will work on hard wood, metal, or masonry. It will absolutely destroy drywall, though. Pry bars are often marketed as bear claws. Some pry bars have a handle on the end instead of an L-shaped length.

Pop nails out using a specialized nail puller to make things easy. A nail puller is a specialized tool with 2 claws and a hand pump on it. To use a nail puller, place the jaws around the head of the nail. Keep the handle directly above the nail. Then, grip the movable length of the handle and pump it up and down to compress the jaws. Once you feel resistance in the pump, use the jaws to pull the nail up or pry the nail out an angle to remove it. Nail pullers are really easy to use, but they’re a specialized tool that most people don’t have access to. You can pick one up online or at a construction supply store.
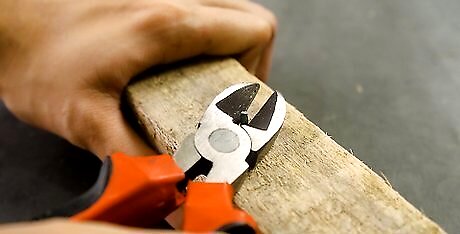
Pull the nail out from the backside using nippers. If you have access to the backside of the surface and the nail is on the smaller side, grab a pair of nippers. Open the jaws around the nail and squeeze them together to grip the nail. Then, pull upwards to rip the nail out of the surface. This is a great choice if you don’t want to take the time to pry the nail out. This will only work on wood and soft metals. It’s not a great choice for masonry, though. You may accidentally cut the nail if you squeeze too hard, so don’t use all of your force at first.
Exposing the Head of a Nail
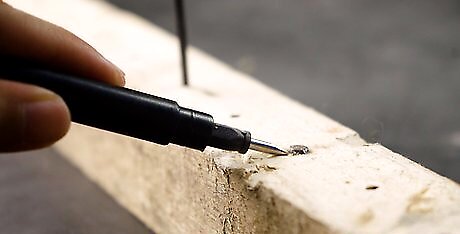
Position a flathead screwdriver near the head of the nail. If the nail is flush with the surface that it is embedded in, get a flathead screwdriver. Place the tip of the screwdriver flat against the surface 0.25–0.5 inches (0.64–1.27 cm) next to the head of the nail. Then, raise the angle of the screwdriver so that it rests at a 45-degree angle against the surface material. If the nail is especially big and you aren’t particularly worried about damaging the surface of your material, feel free to use a chisel or cat’s paw instead of a screwdriver. A cat’s paw is an L-shaped bar with a chisel on each end. You can use a putty knife, which is a flat blade used for joint compound, instead of a screwdriver if the nail head is really thin and you’re trying to avoid damaging the material that the nail is embedded in. A putty knife will only work if the nail is barely sticking up, though.
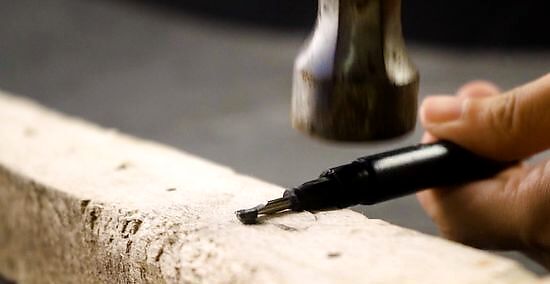
Grip the handle near the shank and strike the back of it with a hammer. Adjust your grip so that your nondominant hand is holding the top of the handle where it meets the shank, which is the metal rod with the tip on it. Then, grip a hammer in your dominant hand. Gently strike the back of the screwdriver 5-10 times to push the flathead into the surface material. If the screwdriver slides off of the surface, slide it back into place and continue hitting the screwdriver with the hammer.Warning: Work slowly and carefully. If you miss the bottom of the handle, you may hit your hand with the hammer. This can be kind of dangerous, so don’t do it if you’re struggling to keep the screwdriver steady. This process will work on wood, soft metal, and masonry. Don’t strike the screwdriver hard—you only need to dig directly under the head of the nail to remove it. This shouldn’t require a ton of force. If you’re using a cat’s paw, strike the L-shaped handle with the hammer. If you’re using a putty knife, strike the handle very gently to get it in between the head of the nail and the surface.
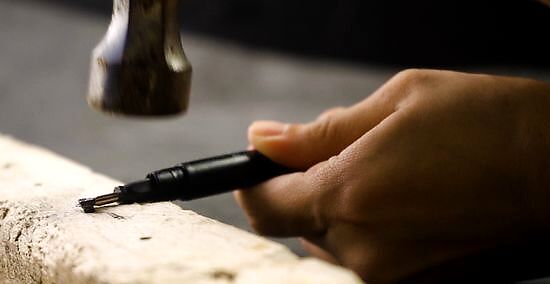
Lower the angle of your screwdriver as you keep striking the hammer. As your flathead drives into the surface next to the nail, lower the angle of the handle so that the screwdriver is closer to the surface of the nail. Continue to tap the back of your screwdriver with the hammer until the tip of the screwdriver is pinned under the head of the nail. If you can’t move the head of the screwdriver, try pressing down on the handle at the same time that you’re tapping it with the hammer.
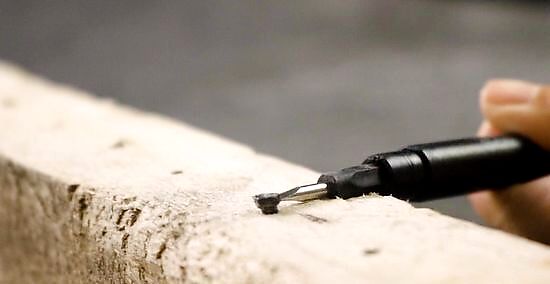
Press down lightly to expose a small portion of the nail’s head. Once the head of the screwdriver is pressed underneath the head of the nail, press down lightly on the screwdriver. This should pull the nail up 0.15–0.25 in (0.38–0.64 cm), which should be more than enough space to pry the nail out. You may need to apply some moderate pressure if your nail won’t move at all, but avoid pressing too hard. Many flathead screwdrivers will crack or break if you press down too hard on them. If you can’t get the nail up at all, you may need to repeat this process 3-4 times. If you do, repeat the process next to the first location where you tried to raise the nail to create enough space for another tool to get the nail out. If you’re using a putty knife, press up and down against the surface and the head of the nail, respectively. This will create a gap for your tool.
Ripping Damaged Nails Out
Grip a nail with pliers and pull it out if it’s bent at an odd angle. For nails that are bent or damaged, grab a set of pliers. Wrap the jaws of the pliers around the exposed section of your nail. Squeeze hard and lift the nail out of its slot. If it’s bent, shake your pliers back and forth until you find the angle where the nail has some room to move. Once you find this angle, rip the nail out by pulling it hard until it is removed. This process may require 3-5 minutes of work. It may not be easy if your nail is really bent. You may be able to use needle-nose pliers on thinner nails, but you’ll generally have more luck with slip-joint or lineman’s pliers. This is the best choice for drywall. It will work on any surface, though.

Punch nails out using a pneumatic nail remover. To break down reclaimed wood or pallets quickly, use a pneumatic nail remover to make the process simple. Hook up an air compressor to the nail remover by screwing the hose into the base of the gun. Turn the air compressor on to the lowest setting and slide the head of the nail remover over the pointy end of the nail. Pull the trigger to punch the nail out through the other side of the wood.Warning: Always wear protective eyewear when using a pneumatic nail remover. Point the nail away from hard surfaces when you pull the trigger to avoid sending it all over the place when you remove it. You cannot use a pneumatic nail remover if you can’t access the sharp end of the nail. Pneumatic nail removers cost $50-200 depending on the brand and model you get.
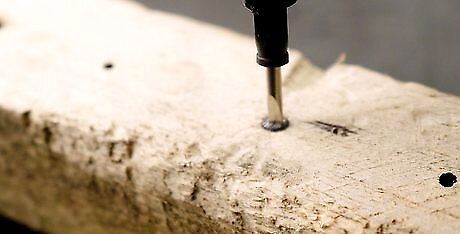
Use a screwdriver to drive embedded nails all the way through wood. If you can’t access the other end of the nail but don’t mind puncturing the wood, grab a flathead screwdriver. Set the flathead against the head of the nail so that the screwdriver and the nail are on the same vertical line. Brace the screwdriver with your nondominant hand and strike the head of the screwdriver with a mallet. Hit it as many times as necessary to drive the nail all the way through your wood to the other side. This process is not recommended if your nail is embedded in plastic or metal. The nail is extremely likely to get stuck in these materials if you attempt this. You can use a hammer if you prefer, but you’ll need to strike the screwdriver accurately. A mallet is preferable since it distributes weight evenly as it strikes a surface.
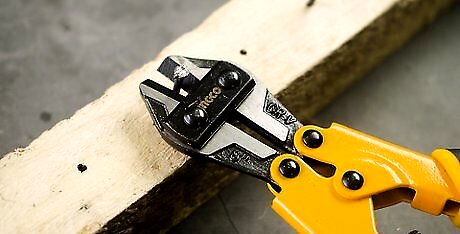
Cut the head of the nail off and rip it through the back if it won’t move. If you can’t get the nail out, use bolt cutters or nippers to cut the head of the nail off. Then, use your nippers to gently grab the length of the nail from the other side and pull it out. Without the head of the nail, you’ll have an easier time sliding the remaining length of the nail off. You can also use a reciprocating blade, but this is largely unnecessary unless you have an extremely strong nail.


Comments
0 comment