views
Choosing Your Trim
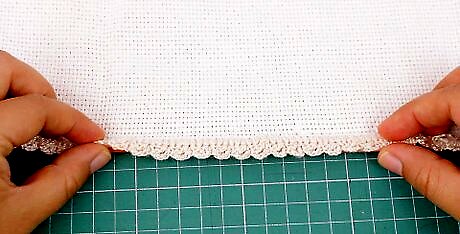
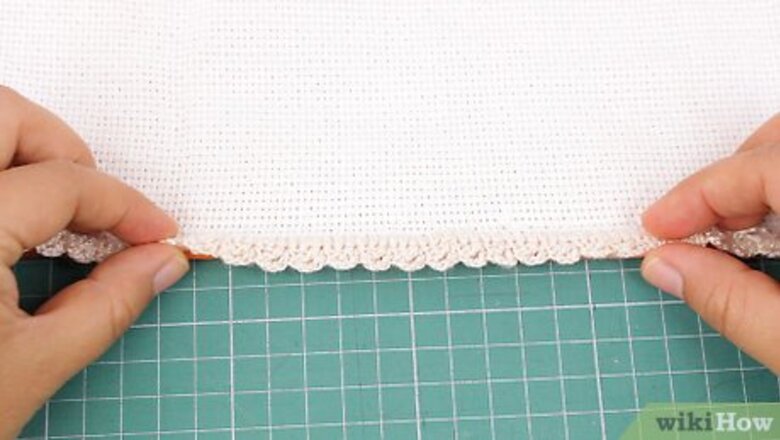
Go with a braided trim for a luxurious look. There are many different types of braided trims. You can find thick, narrow, and intricate braided trims. Choose 1 that will look good with your pillow’s fabric. For example, you could use a black braided trim with a green jacquard fabric. Since braids are more intricate trims, you may not want to use it with detailed print fabrics. For example, a braided trim might be too much for a pillow with a picture of a landscape on it.
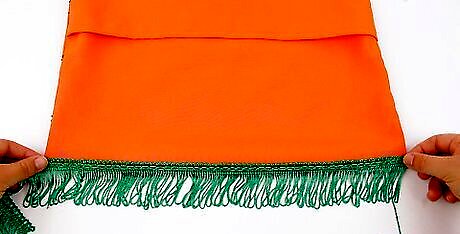
Try fringe for a luxurious trim. You can add a fringe trim to give your pillow some dimension and make it look more luxurious. Fringe comes in different types as well, including flat fringe, tasseled fringe, and pom pom fringe. Choose fringe in a color that will compliment your pillow’s fabric. For example, if your pillow has a pink floral print with a teal background, then opt for a teal fringe to make the background color pop.
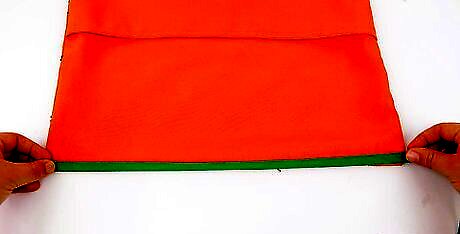
Opt for ribbon or bias tape for a colorful accent. If you are just looking for something to add a pop of color, go with a bias tape or ribbon trim. You can choose a solid color of ribbon or bias tape, or something with a print. Choose a ribbon or bias tape that is about 1 to 3 inches (2.5 to 7.6 cm) wide depending on how wide you want the trim to be. Make sure the ribbon or bias tape is a color that will compliment your pillow, such as a light pink ribbon for a white pillow or black ribbon for a leopard print pillow. Look for ribbons in different textures, such as satin, mesh, and lace. Adding a textured ribbon around the edges of a pillow can make a basic, solid color or print pillow into something special and romantic.
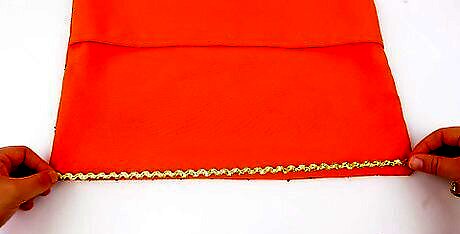
Use rick rack for a vintage look. Rick rack is a wavy trim that is similar to ribbon and it can make your pillow look like it was crafted in the 60’s or 70’s. However, rick rack will not wrap around the edges of your pillow because of the waves. Instead, you can sew the rick rack onto the edges of the pillow on 1 or both sides. Choose a rick rack color that will make your pillow fabric pop. Such as a hot pink rick rack for a lime green pillow, or white rick rack with a red print fabric.
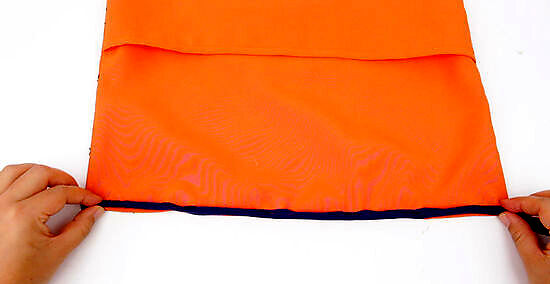
Sew piping onto the edges of your pillow for a classic finish. Get enough cording and bias tape to cover the edges of your pillow. Wrap the bias tape around the cording lengthwise, as if you are placing a hot dog into a bun. Then, pin through the bias tape near the cord to hold it in place. After that, you can pin and sew the piping onto the edges of your pillow like you would with any other trim. Choose a piping color that will help to make your pillow's fabric pop, such as purple piping for a green pillow, or gold piping for a black pillow.
Measuring and Cutting Your Trim
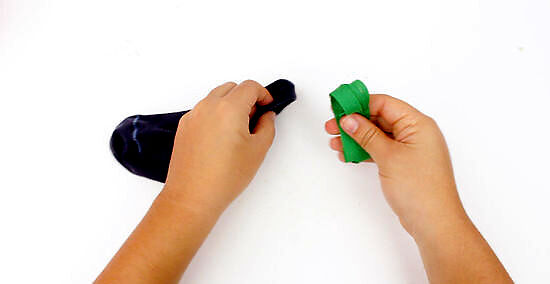
Pre-treat the trim. Trim can shrink just the same as any fabric. The dyes in trim can also run when you wash them. To prevent this, wash and dry your trim before cutting or sewing it. Place the trim in a mesh lingerie bag or inside of a sock with the cuff tied in a knot. This will help to protect the trim from damage when you wash it. Wash the trim on a warm, delicate cycle and dry it on a low heat setting.

Use a measuring tape to find the length of your pillow’s border. Measure all the way around the edges of your pillow to find the area you will need to cover with the trim. Write down this measurement and add 2 inches (5.1 cm) to the length. For example, if the outer edge of your pillow is 24 inches (61 cm), then add 2 inches (5.1 cm) for a total of 26 inches (66 cm).

Cut the trim to the required length using a sharp pair of scissors. Cut the trim in 1 long strip that will wrap all the way around the pillow’s edges. If the trim has any fringe, avoid cutting through it because this might damage part of the trim. For example, if your trim has tassels, do not cut through 1 of the tassels. Cut the area just beside it.
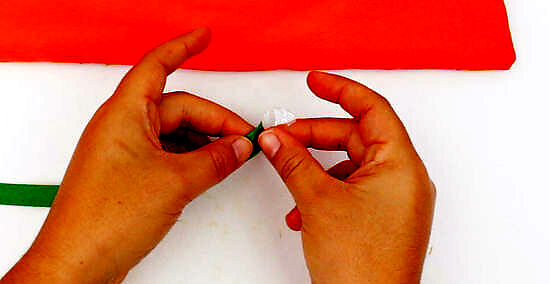
Tape the ends to prevent them from unraveling. After you cut the trim to the desired length, you may want to place a piece of tape over the ends of the trim to prevent them from unraveling. This is a common problem with many types of upholstery trims. You may also place the tape first. Apply a piece of tape around the area you need to cut for your trim and cut through the tape.
Sewing the Trim into Place
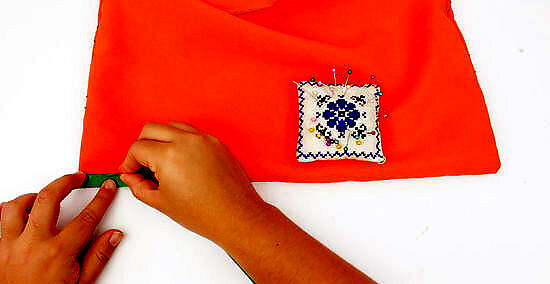
Pin the trim to the edges of the pillow. Identify where you want the trim to go on your pillow, and pin it into place. Place 1 pin every 2 to 3 inches (5.1 to 7.6 cm). Insert the pins parallel to the trim so that they will be easy to remove when you sew the trim. For trims with a raw edge, such as cording, pin the trim onto your pillow so that the raw edges line up with the edges of the pillow fabric.
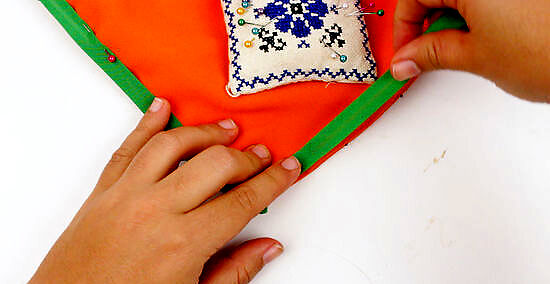
Gather the trim at the corners of the pillow. Place the trim along the edges of the pillow going all the way around the edges. When you reach a corner, gather the trim and bend it at a right angle to wrap it around the edge. Pin the fabric at the corner to secure it until you are ready to sew. You can also cut a notch in the fabric at corners to help make it easier to sew. Cut a small triangle of fabric out of the trim at the corners of your pillow. The wide end of the triangle should be on the raw edge of the trim.
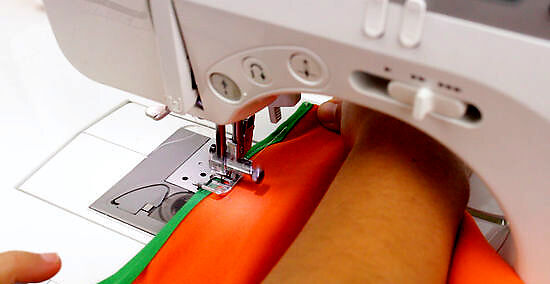
Sew along the edges of the trim to secure it on 1 side. Use the straight stitch setting on your sewing machine to sew the trim into place. Make sure that your sewing machine is threaded with a thread color that will match the trim, such as black thread if you are using a black trim. Position your stitches about 0.25 to 0.5 inches (0.64 to 1.27 cm) from the edge of the trim. If desired, you may use a basting stitch to temporarily secure the trim onto the pillow and then go over the basting stitch with a straight stitch if you are happy with the way it looks. A basting stitch is easy to remove, so you can easily pull it out if you want to adjust the placement of the trim or try a different trim altogether.

Repeat the same stitch on the opposite side if needed. Some trims will only require stitches on 1 side to stay put, such as rick rack, braided trims, and fringe. However, other trims will require stitches on both sides of the pillow’s edges to stay put, such as ribbon, cording, and bias tape. If your trim requires stitches on both sides, wrap the trim around to the other side of the fabric and sew along the edges of the trim on that side just as you sewed the first side. For trims with a raw edge, fold the raw edge under before you wrap the trim around the other side of the pillow’s edge. This will hide the raw edge when you sew it.
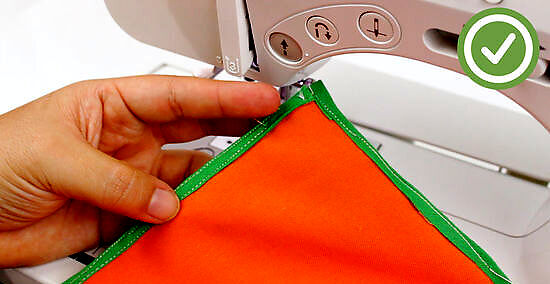
Overlap the ends of the trim. You should have 2 inches (5.1 cm) of extra trim. When you get to the end of your trim strip, fold the end under by about 0.5 inches (1.3 cm) to hide the raw edge of the strip. Then, sew across the overlapping section of the trim. If you have too much excess trim, cut 1 inch (2.5 cm) or so off to reduce the amount of trim that you need to overlap.


Comments
0 comment