views
Using Tissue Paper or Plastic to Wrap Glasses
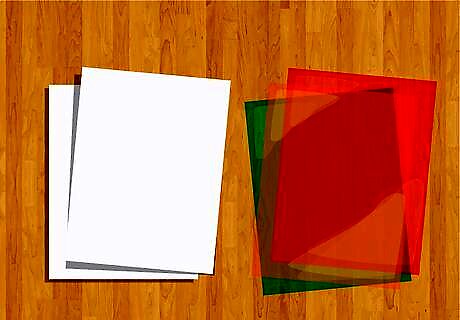
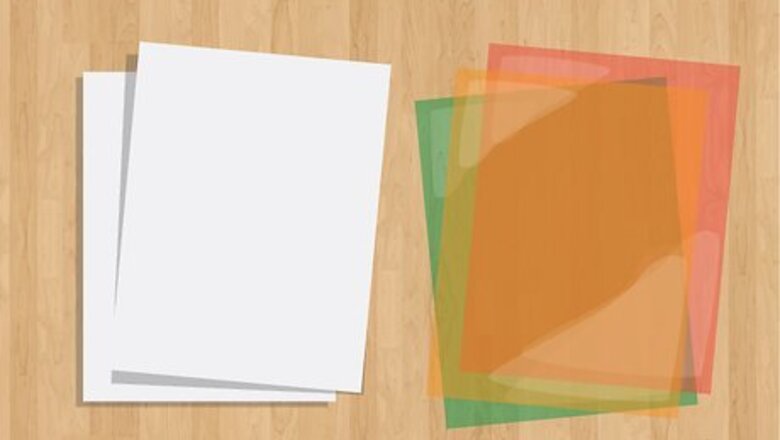
Place 2-3 sheets of tissue paper or cellophane flat on a table. If you want the wine glass to be visible through its wrapping, use 2 sheets of clear cellophane. Otherwise, pick tissue paper in the colors you want—like yellow, pink, or blue—and set them on top of one another on a flat surface. Pick out enough cellophane or tissue paper to wrap each wine glass separately.
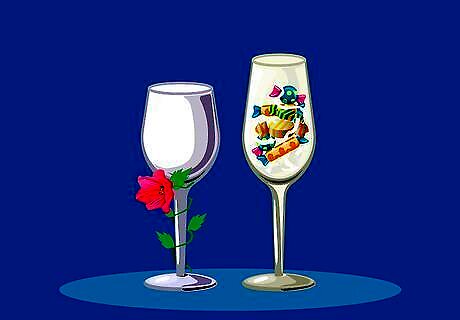
Add any embellishments or fillings to the wine glass, if desired. Wrap fake flowers around the stem of the wine glass or fill it with things like candy or small makeup items. Add things to the wine glass before you start wrapping it so it looks decorated, if you’d like. Fill the wine glass with different colored candies to add some flair, or fill it with strands of colored tissue paper if you’re using clear cellophane to wrap it.
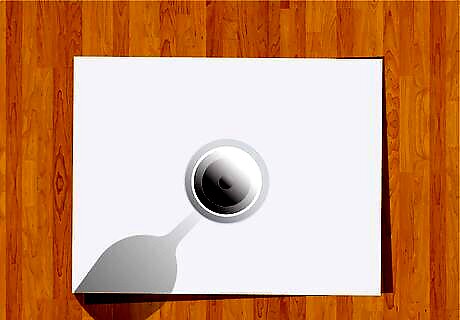
Set the wine glass down in the center of the paper or cellophane. Center it on the tissue paper or clear cellophane as evenly as possible so that you’ll have enough on each side to tie the glass up. If you’re using a stemless glass, you’ll have plenty of paper or cellophane.
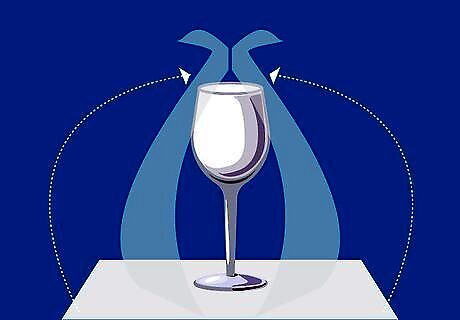
Pull the 4 corners of the paper up to hold them in a bunch at the top. While holding the glass steady in the center, bring up each corner of the paper or cellophane so that you’re holding them above the glass. This bunch above the rim of the glass is where you’ll secure it.
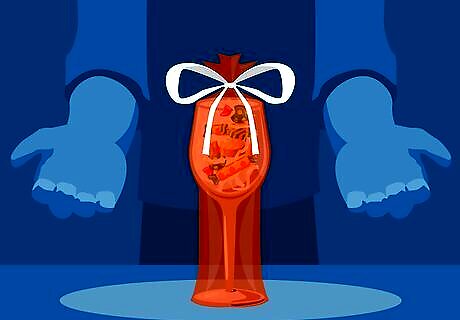
Use a ribbon to tie the bunch of paper together above the glass's rim. Pick out a ribbon in a color that matches your tissue paper, choosing a thickness of ribbon that will tie easily. Cut a strand of the ribbon that’s at least 1 ft (0.30 m) long and tie it in a bow around the four corners of paper or cellophane to hold them together nicely. Tie the bow somewhat tightly so it doesn’t come undone. Repeat this same process with other wine glasses you’re wrapping.
Placing Glasses in a Gift Bag
Lay down 2 sheets of plain packing paper on a flat surface. Use paper that's used when people move to pack breakable items, which can be found at any hardware or home improvement store. Spread out 2 sheets of the paper on a table and stack them on top of one another evenly. You can also use bubble wrap as an alternative to packing paper.
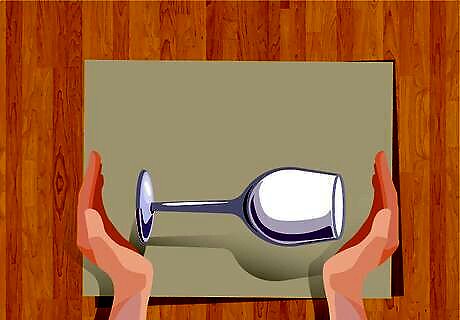
Set the wine glass down on its side on the paper. The best place to set down the wine glass is near the center or close to an edge. Setting it down in the center ensures there’s paper on all sides that you can wrap it with, while setting it down near an edge will make rolling it up super easy.
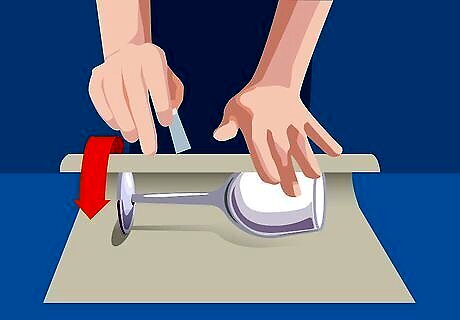
Roll the glass in the paper and secure it with tape. Hold one side or edge of the packing paper to the wine glass and begin rolling it in the opposite direction. Keep holding the paper to the glass until you’re able to roll it without the paper coming undone. Use a piece of tape to secure the paper in place once you’re finished. Make sure the entire wine glass is covered with the paper.
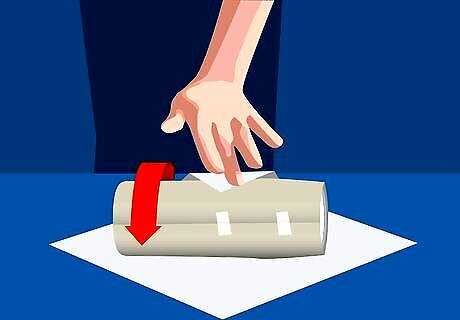
Add another layer of paper for extra protection. Set the wine glass down on another layer of paper, rolling it in a different direction this time so you cover the glass completely. This will help you cover up any spots that you might have missed or that are super fragile. Secure the second layer with a piece of tape to keep it in place. If your wine glass has a stem, it’s a good idea to add a second layer of paper to help protect it.
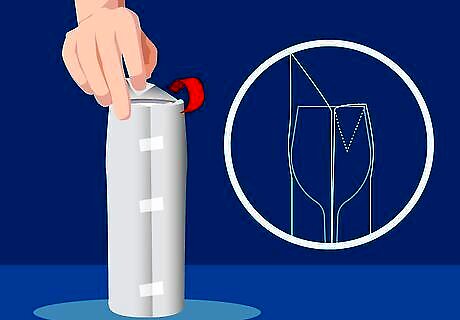
Fold the excess paper into the wine glass for padding. Press down the paper at the bottom of the wine glass so it's flat. Stuff the top of the paper into the wine glass gently to give the glass extra protection and finish off the wrapping. This makes the packaging look neater and more secure.
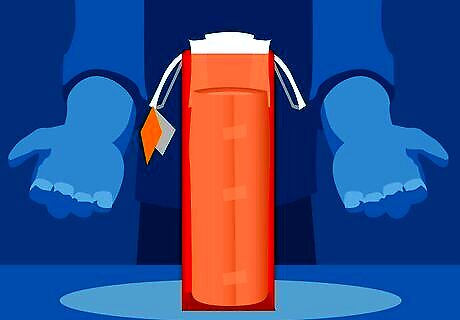
Place the wrapped wine glass in a gift bag. Pick out a gift bag that’s large enough to hold the wine glass and set the glass down in the bag. Place the wrapped glass in the bag vertically with the bottom of the wine glass resting on the bottom of the bag. Add a couple pieces of tissue paper to the bag for a decorative look and to hide the wrapped wine glass from view. Add a name tag or card to the bag too.
Putting the Wine Glass in a Box

Purchase a box specifically for wine glasses or reuse a box you have. Many big box stores have wine glass boxes that you can purchase to easily wrap your gift quickly. If you have a box at home that you can reuse and that will fit the wine glass (or glasses), this works great too.

Fill the box with shredded paper or some other sort of filling. Cut up pieces of tissue paper, fill the box with packing peanuts, or use an alternative soft filling that you can lay down in the box so the wine glasses don’t break. Fill the box with the filling, making sure the entire bottom is covered and the box is roughly two-thirds of the way full. Purchase gift packing material at your local dollar store or big box store.

Place the wine glass in the box carefully with lots of packing material. Set the glass down in the box, using the packing material to surround it so it’s cushioned on every side. Once the wine glass is in the box, fill the top of the glass with additional packing material so it’s super padded. If your box is holding more than one glass, make sure there’s enough packing material surrounding each glass so they don’t bump into one another. Add more gift packing material to the box if you’re worried about the glass moving around.
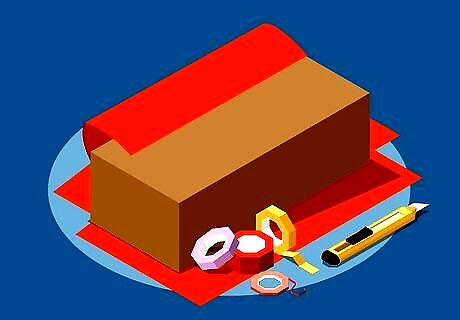
Wrap the box using wrapping paper and tape if it’s not decorated. Cut a piece of wrapping paper large enough to fit around the entire box. Set the box down in the center of the wrapping paper and bring the paper up over the box's sides. Press and fold the edges of the paper against the box so they're flat and use the tape to keep the paper in place. Boxes that you purchase from the store will likely already look pretty and ready to be delivered as a gift, so there’s no need to wrap them.

Add a bow or other embellishments if you’d like. Stick an adhesive bow to the gift for a touch of flair, or tie a ribbon around the present for a classy look. You can even create your own curly bows using curling ribbon and scissors, running the sharp edge of the scissors along the length of the ribbon to create curls. Attach a name tag or card to the present, too.


Comments
0 comment