views
The Ice Method
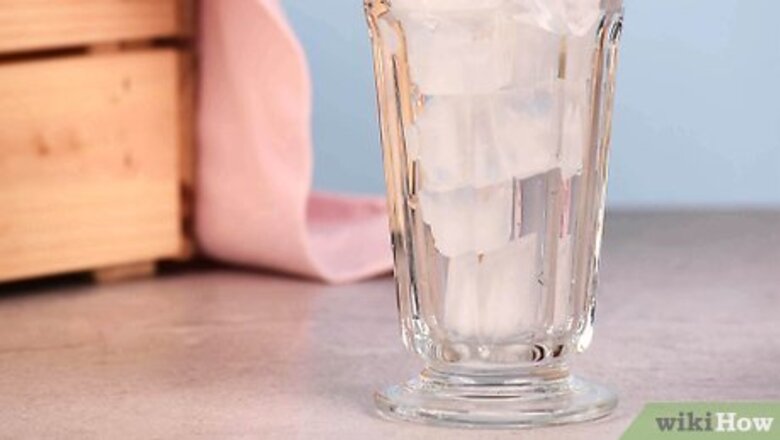
Fill a tall glass with ice. Use a tall glass so you have at least a few inches to dip the thermometer in and get an accurate measurement. Take the glass and fill it right up to the brim with ice. Don’t skimp on the ice. You’ll need to chill the water down to its freezing point, and 1 or 2 cubes won’t be enough. Some guides recommend using crushed ice, while others say cubes are better. Either should work, as long as you fill the glass completely.
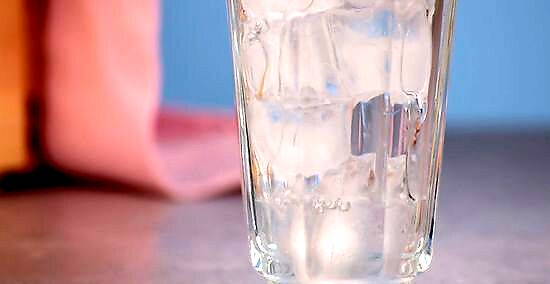
Pour cold water into the glass. Just like with the ice, fill the glass right up to the brim. Make sure the water is cold so it doesn’t melt the ice before you can do the test. If the water in your faucet doesn’t come out cold, then you can chill the water in your refrigerator first to cool it down.
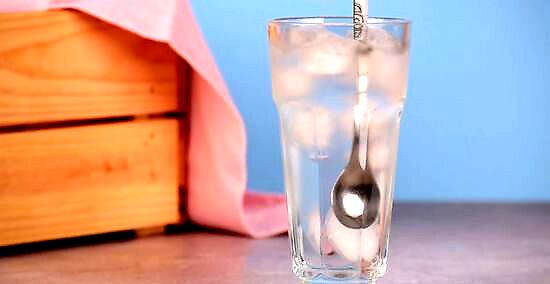
Stir the ice and water for 15 seconds. Use a spoon or stick and stir the glass well for about 15 seconds. This speeds the cooling for an accurate measurement.
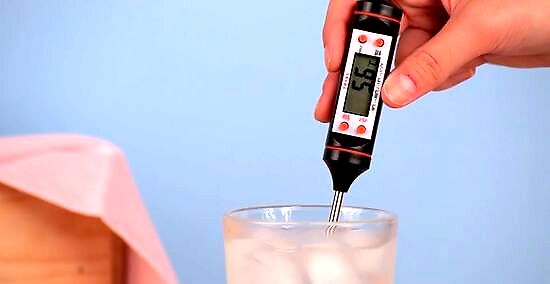
Insert the thermometer into the glass without touching the sides. Hold the thermometer from the top and slide it at least 2 in (5.1 cm) into the water. Make sure you don’t touch the sides of the glass or you could throw the measurement off. If you do touch the side of the glass, you can just restart the test. For a manual thermometer, just move it back to the center of the glass and let it adjust. For an electronic one, take it out of the water and hit reset, then put it back into the water.
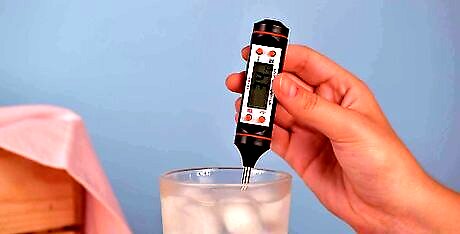
Hold the thermometer inside the glass for 30 seconds. Keep still and hold the thermometer in place without touching the glass. In most cases, 30 seconds is plenty of time to get an accurate reading. Electronic thermometers usually beep when they’re done, so you don’t have to count. If you’re using a dial thermometer, it might take 1-2 minutes for an accurate reading. Be patient and continue holding it in place.
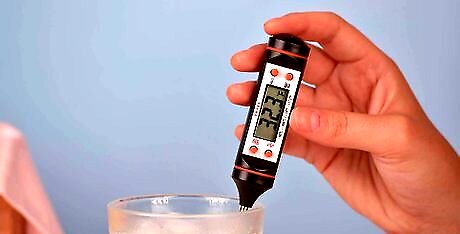
Confirm that the thermometer reads 32 °F (0 °C). If your thermometer is calibrated and working properly, then it should read 32 °F (0 °C) after about 30 seconds in the water. If not, then your thermometer may need replacement or recalibration. If the thermometer isn’t reading 32 °F (0 °C), you may not have let the water cool off enough. Let it stand for 3 minutes so the ice cools it down. Follow the product directions to recalibrate the thermometer.
The Boiling Water Method
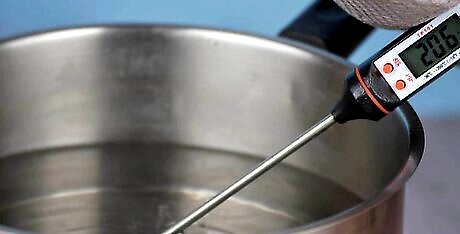
Look up the boiling point at your elevation. The boiling method is a little trickier than the ice method because the boiling point of water is different at higher elevations. At sea level, the boiling point is 212 °F (100 °C), but the boiling point falls by about 1 °F (−17 °C) for every 550 ft (170 m) of elevation. Look online to find the boiling point of water at your elevation so you measure correctly. You could also use that system to estimate the boiling point at your elevation. If you’re about 1,000 ft (300 m) above sea level, then the boiling point is a little less than 2 °F (−17 °C) lower, or 210 °F (99 °C). You can do this if you don’t have to be very precise.
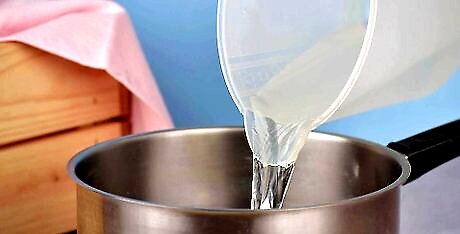
Fill a deep pot with water. Make sure the pot has enough space to insert the thermometer at least 2 in (5.1 cm) deep, because you’ll need that much space for an accurate reading. Fill the pot up to the top, but leave some room so it doesn’t overflow while the water is boiling. The initial water temperature doesn’t matter because you’ll be boiling it anyway.
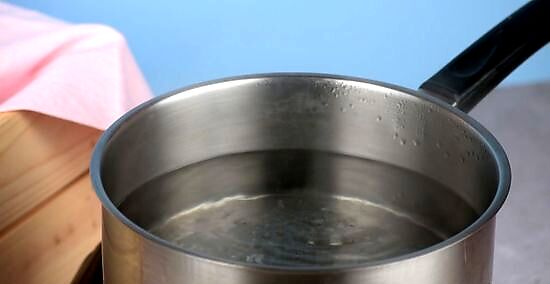
Bring the water to a rolling boil. Put the pot over a high heat setting and heat the water up. Continue heating until the water reaches a high, rolling boil. Don’t remove it or turn off the heat so it continues boiling during the test. A rolling boil is different from a simmer. The water should be bubbling rapidly.
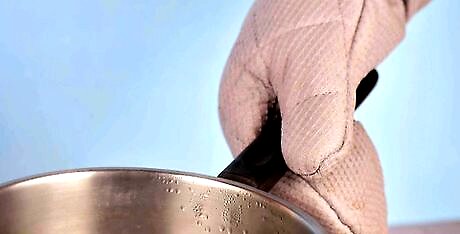
Put gloves on. You’ll have to hold your hand close to boiling water, and you could get burned if any splashes up. Wear a heavy pair of work or cooking gloves to protect your hand during the test.
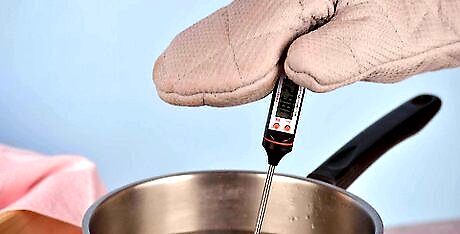
Insert the thermometer and hold it in the water for 30 seconds. Hold the thermometer from the top and carefully dip it into the boiling water. Insert it at least 2 in (5.1 cm) in and don’t touch the sides of the pot. Then hold it in place for 30 seconds to take a reading. Remember to keep the flame on while you’re taking the reading. You can turn it down a bit if the pot is going to overflow, but keep the heat on.
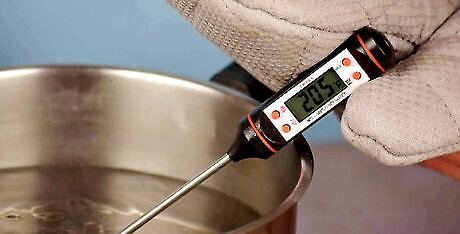
Confirm that the thermometer reads the boiling point at your elevation. If you’re at sea level, then an accurate thermometer should read 212 °F (100 °C) when you take this measurement. If you’re at a different elevation, then confirm that the reading lines up with the correct boiling point. If your thermometer doesn’t read the correct boiling point, then it needs calibration or replacement.


Comments
0 comment