views
Gathering Supplies
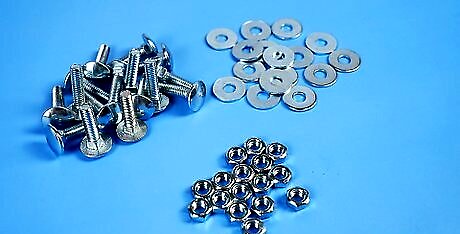
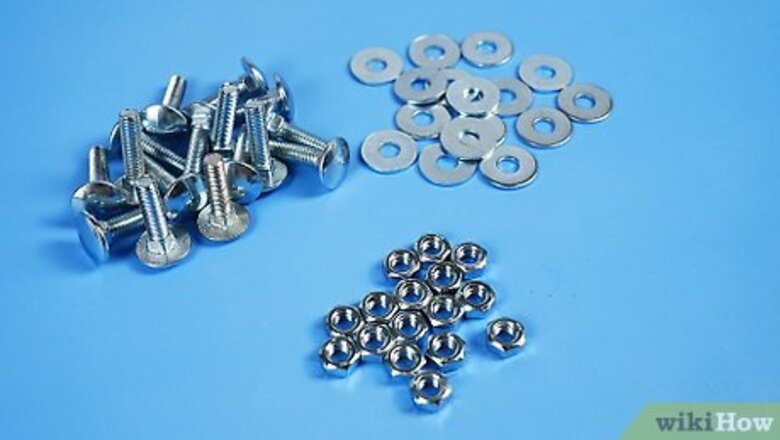
Purchase the supplies to build your pawns. In chess, the pawns represent your infantry. Pawns are the weakest piece on the board, valued at only one point per piece. There are 16 pawns for every full chess set, 8 for white and 8 for black, and are arranged across the second row from either side of the board. To make these you'll need: 16 1" long carriage bolts (threaded) 16 hex nuts 16 flat washers All parts should be ¼" diameter
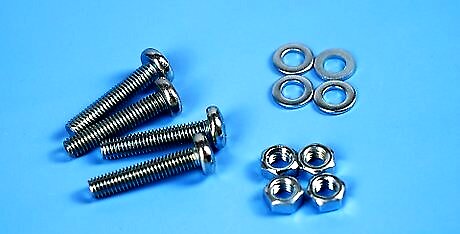
Obtain the parts for your rooks. There are four rooks, sometimes called castles, in every chess set, two per color. Rooks are valued at five points apiece, and each rook begins with one in each of the four corners of the chess board. To construct your rooks, you’ll need the following materials: 4 1½" machine bolts 4 castle nuts 4 flat washers The threading for these bolts should only extend halfway up the bolt. Some stores may refer to these bolts as “hex-head cap screws.”
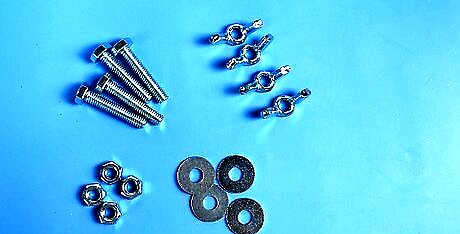
Collect the components for your knights. There are four knights on a chess board, two per color, and they occupy the position directly next to each rook on the same row as the rooks. These pieces are valued at three points in chess.To make your knights you’ll need: 4 1½" long machine bolts (threaded) 4 hex nuts 4 wing nuts 4 flat washers
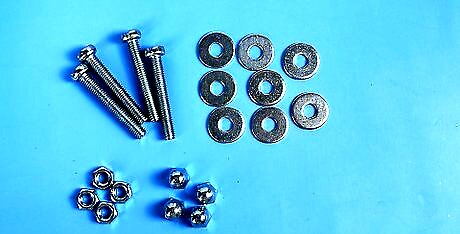
Buy the parts for your bishops. There are four bishops on a chess board, two per color, and their beginning position is beside the knights on the same row as the knights. Bishops are valued at three points, giving them a tied value with knights. To make your bishops you’ll need the following materials: 4 2" long machine bolts (threaded) 4 hex nuts 4 cap nuts 8 flat washers A cap nut is a hex nut, except the head of the nut is rounded. Sometimes it is called an acorn nut.
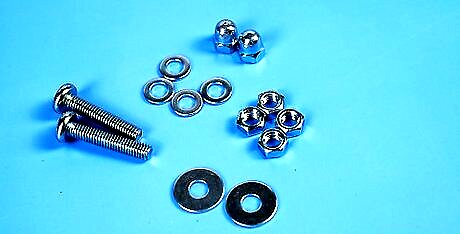
Gather the supplies for your queens. The queen is the most powerful piece on the board, rated at nine points. Each color only has one queen apiece. The queen always begins the game on her own color square next to the bishop, white queens a white square and vice versa for black.To make your queens, you’ll need: 2 2½" long machine bolts (threaded) 2 cap nuts 4 hex nuts 4 flat washers 2 fender washers A fender washer is an oversized flat washer.
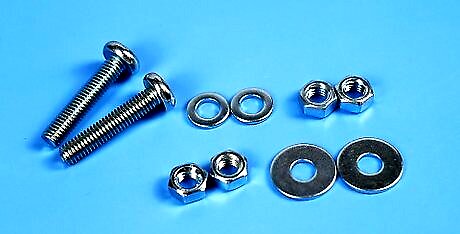
Assemble the parts for your kings. The king is the most important piece in a chess set, so it isn't assigned a value. In order to end a chess game, you'll have to trap your opponent's king in threat. The king begins the game between the bishop and queen. Each chess set has one king per color. To make yours, you’ll need: 2 2½" long machine bolts (threaded) 2 castle nuts 2 hex nuts 2 fender washers 2 flat washers
Assembling the Pieces
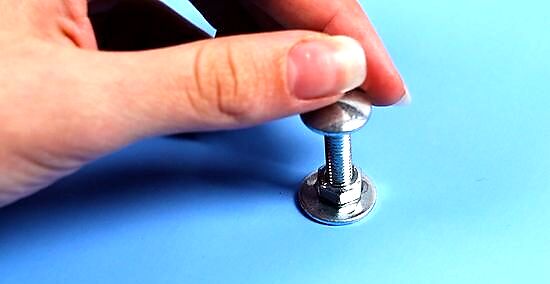
Put together your pawns. Take your hex nuts and screw them onto your bolts so the nuts are even with the end of the bolts. Then, use some glue to attach a washer to each bolt head to give each pawn a base. Chess pawns are usually the smallest pieces on the board, with a wide base, a slim middle, and a round head.
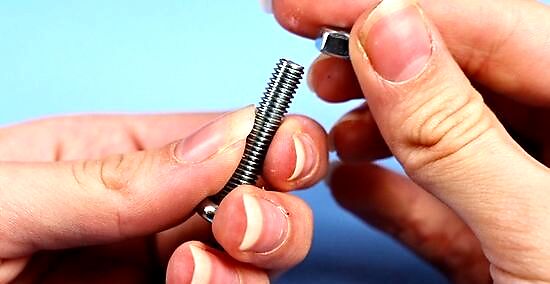
Construct your rooks. Thread your castle nuts onto your 1½" machine bolts so that the bolts extend a ¼" beyond the nuts. Then, one at a time, use your glue to attach the bolt heads to your washers to create the rooks' base. You may have to hold the bolt head and washer together for a few minutes while the glue sets, otherwise the parts may come loose. Rooks are sturdy pieces in a normal chess set, with a wide base and a shape that resembles a tower or castle turret.
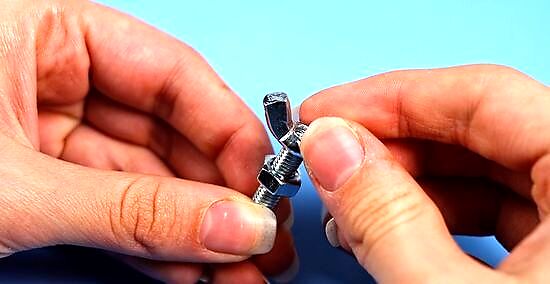
Assemble your knights. Take your hex nuts and thread them onto your 1½" machine bolts so the nuts are at the halfway point of the threading. Now you can screw your wing nuts onto the bolts until each nut is even with the end of the bolt. Then: Dab a little glue to the threading just below the wing nut, and then screw your hex nut back toward the end of the bolt until it is even with the wing nut. Then, glue your washers to the head of the bolt to make the base. Knights traditionally look like a horse's head and neck with a wide base.
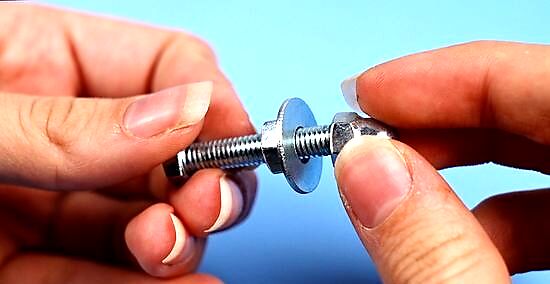
Make your bishops. Thread your hex nuts onto the 2" machine bolts so the nuts are ¾ of the way to the head of the bolt. Slip your washer onto the bolt so it rests against the bolt and twist your cap nut onto the bolt's end. Dab glue along the bottom of the cap nuts and then slide the washers up the bolt to glue it against the cap nuts. Then: Apply glue to the threading below the washers and screw your hex nuts so they're even against the washer. Complete the piece by gluing washers to the bolt head for the base. When gluing, you may need to allow some time for the glue to set. Typical chess sets have bishops with a wide base, a slim center, and oblong head with a slash through it. Your bishop will end up looking similar to your pawn, but a little bigger and with a few more parts.
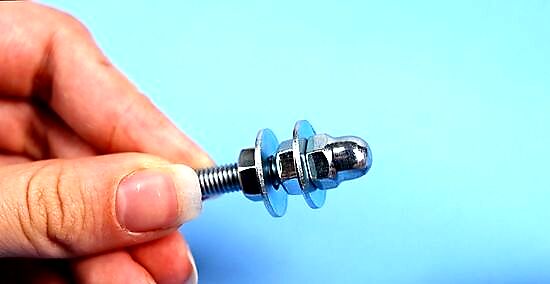
Erect your queens. Twist one hex nut onto each of your 2½" bolts until the nuts are as close to the bolt head as you can manage. Apply glue to the top of the nuts and slip a washer onto each bolt to glue the washer to the nut. Screw a second hex nut ¼" above the first on each bolt and glue a second washer to this nut. Then: Attach a cap nut to each bolt end, glue the threading below the cap nuts, and twist the closest hex nut/washer so it's flat against the cap nut. Apply glue to the threading below the glued hex nut/washer, then screw the free hex nut/washer so it's flat against the first. Finally, glue the fender washer to the bolt head to complete the base. In store bought chess sets, the queen is one of the tallest pieces. She has a wide base, a long, slim center, and a crown on top.
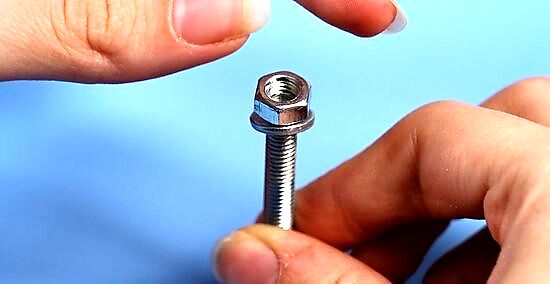
Build your kings. Thread a hex nuts onto your 2½" bolts until they are as close to the head as possible. Put glue onto the nuts and slide washers onto the bolt to glue the washers to the nuts. Then: Use some more glue to attach one washer to each castle nut, but be careful to keep the threading unobstructed so you can attach the nut. Screw on one castle nut/washer onto each bolt so the end of the bolt is even with the nut. Then glue a fender washer to each bolt head to finish the base. The king is usually similar to the queen in height, but with a thicker middle and a larger crown.
Completing the Chess Set
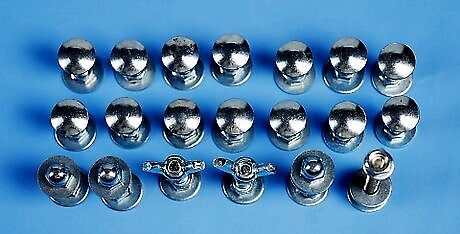
Separate the pieces. Allow all of the chess pieces to dry overnight. This will give the glue a chance to completely harden. When the glue is dry, separate the pieces into two opposing sides. Each side should contain one king, one queen, two bishops, two knights, two rooks, and eight pawns. Once the pieces are divided, check each individual piece for tightness. If a piece seems loose, you can add some more glue to secure it.
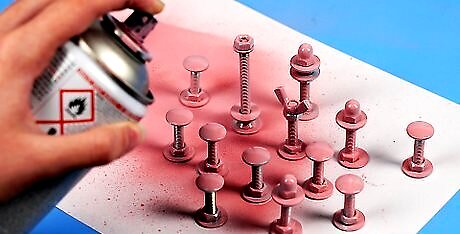
Paint your chess pieces. When the glue touch ups have dried, use a clean, soft cloth to wipe away any oil or dirt that may have accumulated while working on your chess pieces. Then paint half the pieces black and half white. You may find it easiest to leave your white pieces unpainted, painting only your black pieces. Spray paint works well for painting your chess set. For best results, you may want to choose a spray paint intended for metal. If you want to make a chess set that is less traditional, choose two different contrasting colors.
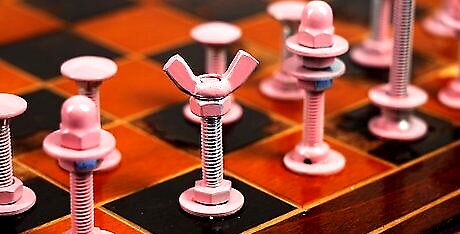
Set up the chess board. After the pieces have had a chance to dry, take out a chessboard and set them up. On the first and last row, arrange your pieces so the corners contain rooks. Moving inwards on the same row as the rooks: Next to the rooks will be the knights. Next to the knights go the bishops. Next to the bishops are your king and queen, with the queen on the same color square as her color (white queen, white square; black queen, black square). Your pawns from a single row in front of your rooks, knights, bishops, king, and queen. White's leftmost rook (from white's perspective), should be a black square. On labeled boards, this will be square A1.


Comments
0 comment