views
Coffee Extract
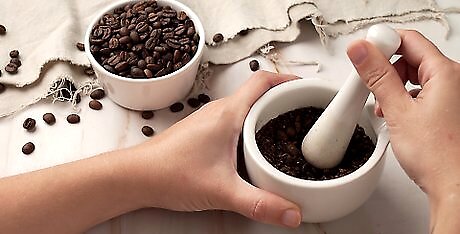
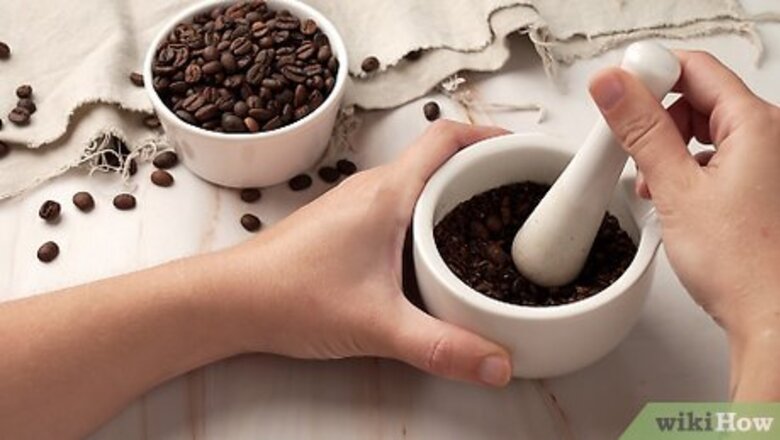
Crack or lightly crush coffee beans to release their flavor. You can crack the coffee beans open with a mortar and pestle, pulse them in a food processor a few times, or put them in a zip-close bag and run a rolling pin over them. You don’t need to grind the beans—just break them open so they can release their flavor when brewed. If you want to employ a coffee grinder, use the coarsest grind setting. This will make it easier to strain out the grounds later. Choose any type of medium or dark roast coffee you prefer, regular or decaf. Use 1/4 c (21 g) of whole beans if you want a milder coffee extract, or 1/2 c (43 g) if you’re looking for a bolder extract.
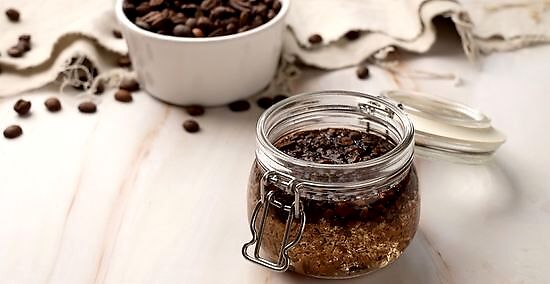
Combine the coffee beans with vodka in a mason jar. Add the cracked coffee beans into a clean 12 oz (360 ml) or larger mason jar. Pour 1 c (240 ml) of vodka over the beans, then put the lid on the jar and screw on the ring. Shake or swirl the jar around several times to mix the beans and alcohol together.
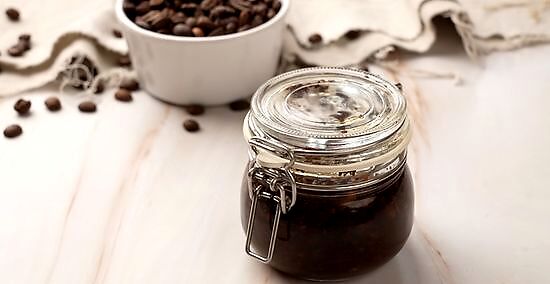
Brew the mixture for a week or more, shaking it every 1-3 days. Set the jar in a cool, dry place, such as in a cabinet. Every day, or at least every 2-3 days, give the jar a good shake or swirl to help release every last bit of flavor. Unlike traditional brewing in a hot liquid, cold-brewing uses cold or (in this case) room temperature liquid to extract the flavors. The process takes longer but creates a unique flavor profile. How long should you let the mixture brew? Some experts say 1-2 weeks, or else it will start to get bitter. Others say it takes a month to brew the full flavor, and still others recommend 3-4 months. Your best bet might be to try it in a recipe after 1-2 weeks and see if it suits your flavor preferences—if not, keep letting it brew.
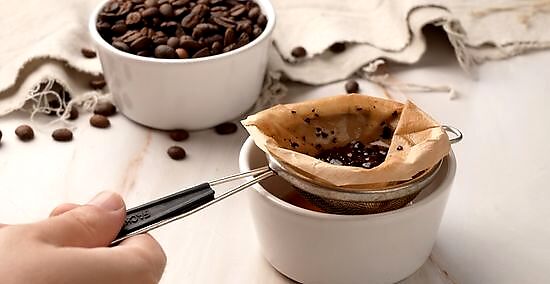
Strain the mixture through lined mesh when it’s done brewing. Set a fine mesh strainer over a bowl and line the inside of the strainer with cheesecloth or a coffee filter. Grab your brewing jar from its storage spot, open the lid, and slowly pour the extract onto the filter or cloth. Let all the liquid trickle down through the liner and into the bowl—this may take several minutes. To make the next step easier, use a bowl with a pouring spout. A scrap from an old (clean) t-shirt works as a strainer liner in a pinch!

Use a funnel to bottle the strained extract. If you're pouring the extract into a glass bottle (such as an empty, clean vanilla extract bottle), use a kitchen funnel to reduce spillage. While a small glass jar is ideal for storage, you can instead rinse out the mason jar you used for brewing and fill it if you wish. Whatever you choose, just be sure to use glass and to keep the lid sealed tightly. Stored with an airtight lid and in a cool, dry place, your coffee extract should keep for at least a year, thanks to the preserving effect of the alcohol.
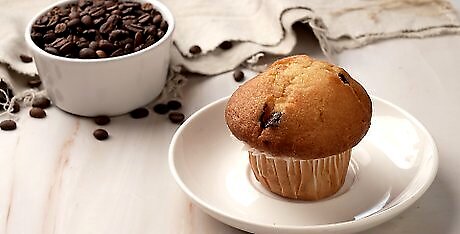
Use the extract in drinks, baked goods, and other recipes. Coffee extract can be added to cakes, cookies, and other baked goods in place of or in addition to other extract flavorings like vanilla. You can also use it when making ice cream or dessert sauces, in drinks ranging from cocktails to milkshakes, and to give iced coffee drinks a more potent flavor. Keep in mind that, especially in drinks, the extract has a potent coffee flavor and a noticeable alcohol kick—so a little goes a long way!
Coffee Concentrate
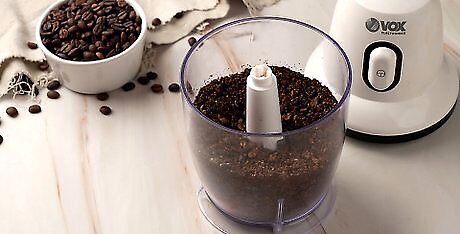
Grind 1 lb (450 g) of coffee beans on a coarse setting. Depending on the size and style of your coffee grinder, you may have to do the task in multiple batches. The resulting coffee grinds should be about the same size as grains of sea salt. It’s okay to use a 1 lb (450 g) bag of pre-ground coffee instead (especially if it’s coarsely ground), but grinding the beans yourself creates a richer, more fresh flavor for your concentrate. No grinder? No worries! You can grind without a grinder using tools ranging from a food processor to a hammer.
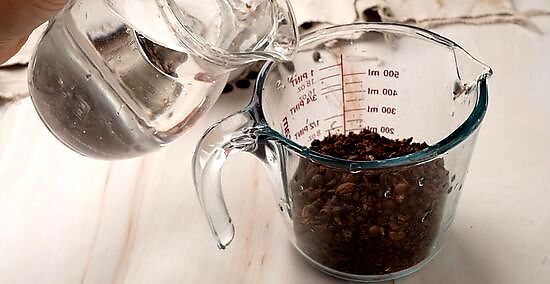
Combine the ground coffee and water in a pitcher or bowl. Transfer the freshly-ground coffee to a glass pitcher or a large glass or ceramic bowl. Pour 10 c (2.4 L) of cold water over the coffee, then stir the mixture well to completely saturate the grounds.
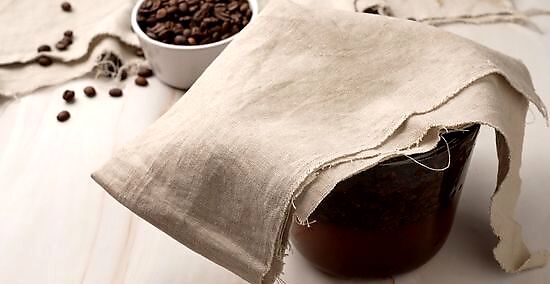
Cover the mixture and let it cold-brew for 12-18 hours. Put cheesecloth or a clean tea towel over the container to keep out dust, bugs, and other unwanted stuff. Set the pitcher aside on the counter and let the concentrate brew at room temperature for at least 12 hours. Because this mixture is brewed with cold rather than hot water, the extraction process takes much longer.
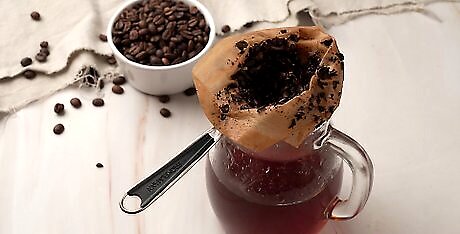
Strain the brewed coffee through a lined strainer. Place a coffee filter, cheesecloth, or a scrap of an old (but clean) t-shirt in a fine mesh strainer. Position the strainer over a large bowl and slowly pour the brew into the strainer. Set the concentrate aside and let it drain until all the liquid has trickled through the strainer—this might take 30 minutes or more, especially with a coffee filter. Stirring the brew will help push it through the strainer more quickly, but you’ll end up with a final product that’s more cloudy and gritty.

Bottle the concentrate and stash it in the fridge. Transfer the strained brew to an airtight jar or container, such as a mason jar. Secure the lid tightly. Unused portions can be stored in the refrigerator for up to 2 weeks. The concentrate may in fact be usable for up to 3 weeks, but will become more bitter and less vibrant in flavor over time.

Mix the concentrate with hot or cold water to make coffee. To make hot coffee, mix equal amounts—such as 1/4 c (60 ml) each—of the concentrate and boiling water. Use the same 1:1 ratio with cold water or milk to make iced coffee. If you like stronger coffee, use a bit more concentrate and a bit less water or milk. Do the opposite if you prefer weaker coffee. Using concentrate to make hot coffee might not give you quite the same flavor and freshness as brewing fresh hot coffee, but it’s a great option for a fast and tasty cup of joe! It’s best to use liquid sweetener in iced coffee, because granulated sugar may not dissolve in the cold coffee.
Coffee Syrup
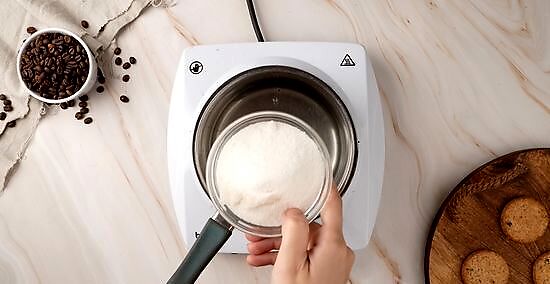
Cook the water and sugar on the stovetop. Pour 1 c (240 ml) of water into a small saucepan, then stir in 1 c (200 g) of granulated sugar. Bring the mixture to a boil over medium heat, stirring often, then reduce the heat to low and let it simmer for 5-10 minutes until the sugar dissolves completely. The recipe outlined here makes thick, sweet syrup. For a thinner, less sweet syrup, swap out the water and sugar measurements above and the coffee measurements in later steps—instead, use 3 c (720 ml) of water, 1 c (200 g) of sugar, and 1 c (80 g) of ground coffee.
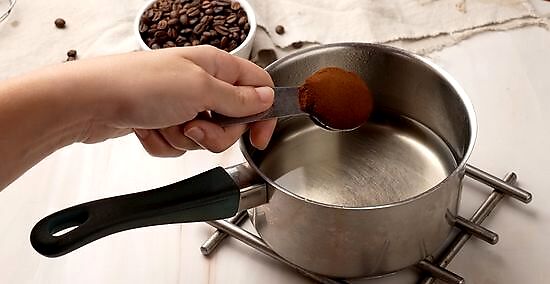
Take the mixture off the heat and stir in the ground coffee. Pour 3 tbsp (20 g) of ground coffee—fresh-ground from whole beans is ideal, but pre-ground is okay here—into the saucepan once you’ve moved it off the heat. Stir it thoroughly so the grounds are completely saturated with the water and sugar mixture. Alternatively, add the ground coffee to a glass bowl or jar, pour the mixture over top of it, and give it a stir. To make vanilla coffee syrup, stir 1-2 tsp (5-10 ml) of vanilla extract into the syrup as well. This also works with almond extract or any other flavor you prefer.
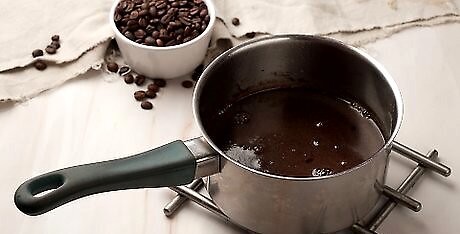
Allow the mixture to brew and cool to room temperature. Give the mixture at least 30 minutes to both cool down and develop its coffee flavor. Wait 60 minutes if you want a slightly stronger brew. Put a lid on the mixture while it cools if you're worried about bugs or other unwanted stuff getting into it. Or, leave it uncovered to allow for more evaporation and thickening of the syrup.
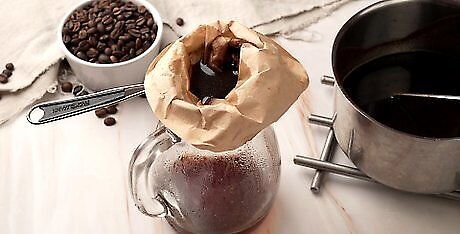
Strain the syrup through a fine-mesh sieve. Line the fine-mesh strainer with cheesecloth if you want to remove more of the fine grounds, but realize that the syrup will take a fairly long time to strain this way. In either case, strain the syrup into a clean bowl—ideally one with a pouring spout. Don’t strain the mixture with a coffee filter—the syrup will either take a really long time to pass through it or be unable to pass through it at all.

Bottle the syrup and refrigerate it for storage. Use a funnel to transfer the syrup to a glass bottle or a glass jar with an airtight lid. Keep the syrup in the fridge and use it within about 2 weeks for the best results.

Add sweetness and flavor to drinks and desserts with the syrup. Try adding 1-3 tsp (5-15 ml) of the syrup to milkshakes, eggnog, cola, bland coffee, or any other beverage that could use a sweetened coffee boost. Swap it out for some of the plain sugar in baked goods like cakes and brownies. Or pour it over your pancakes or ice cream—yum! The best method of storing coffee is to keep it at room temperature, but it depends on how fine the particles are. Keeping it in the fridge is harmful because of the moisture. However, if things are vacuum sealed and there is no chance of water contaminating or getting into the coffee grounds, then keeping them in the fridge can help to prolong their shelf life.


Comments
0 comment