
views
Getting Licensed to Sell Food

Look up the laws in your state about selling homemade food. Go to your state's department of health website to see if you need to get a permit to sell your goods. Most states allow you to sell low-maintenance foods like jams, jellies, baked goods, and other things that don't require refrigeration without a permit. Even if you don’t need a permit, you’ll still need to label your goods with all of the required information (weight or volume, your business or personal or business name, your address, ingredients, and the words "this item is home produced"). If you don’t want to put your home address on the label, use a P.O. box instead. If you're selling pickles, refrigerated items, or anything pressure canned, most states will require you to get a permit (and some states ban these homemade items outright). Most states will only allow you to sell things like breads, jellies, baked items, and foods that aren’t dairy or meat. Even so, it's always better to inform yourself and look up official information.
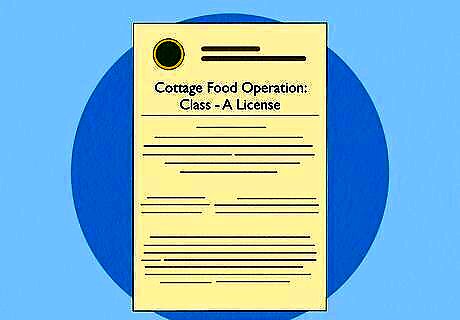
Apply for a cottage food operation (CFO) license, if necessary. Get in touch with your state’s department of public health office to request an application for a cottage food operation (CFO) license. The application you need depends on what you’re selling and how you plan to sell your goods. Get a “Class-A” CFO license to sell directly to consumers via your home, your website, farmers’ markets, or other venues where you directly interact with customers. Get a “Class-B” CFO license if you also plan to sell your goods at restaurants, retail stores, and other vendors.

Have your kitchen approved by your local health department, if necessary. If your state requires a license or if you want to sell your food at stores or restaurants, contact your local county or city’s health department to have someone come out and inspect your kitchen. They’ll check to make sure it meets the following zoning and food safety requirements: Potable water will be used for cooking, washing utensils, and washing hands. There are no rodents or insects in the food preparation and storage areas. There are no pets or children under the age of 12 in the kitchen area. There are sanitary food preparation and storage facilities. Domestic activities like family meal prep, laundry, dishwashing, and entertaining guests are not performed in the same kitchen. Anyone with a contagious illness isn’t working in the kitchen.
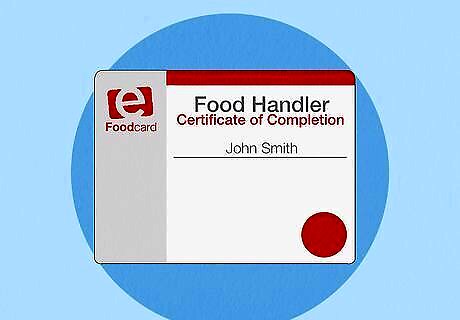
Acquire a food handlers card, if necessary. Take a food handler’s course and test from a certified organization either online or in person. The course covers food safety, proper hygiene, preparing food, properly storing food, safe cooking temperatures, and various foodborne illnesses. You have to score a 70 or above on the exam to get your card. Online courses typically take about 2 hours to complete and costs around $10. The card expires 2 years from the date that you completed the course and passed the test. You typically don’t need a food handler’s card to sell small batches of food at community events. However, some farmers’ markets may have different rules for their sellers.
Get a business license if you want to go wholesale. In some states, you’ll need a business license to obtain a permit to sell food. Most states don’t require you to form a business if you’re only selling food at local community events like bake sales, farmers’ markets, and charity events. But if you want to sell directly from a website or if you want your product sold in restaurants and stores, you’ll need to get a business license. Look up your state’s business permit office online to apply.
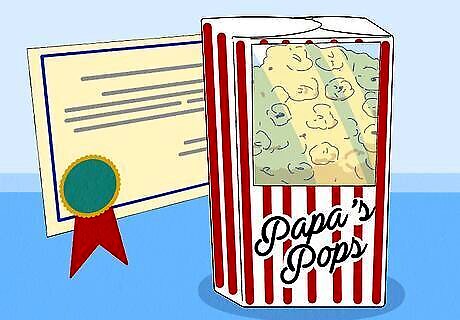
Apply for an “assumed name certificate” (or DBA) if necessary. If you plan to sell to vendors, you’ll need to file for a sole proprietorship. Come up with a catchy or clever name for your small business that relates to your goods in some way. For example, “Papa’s Pops” would be a great name if you’re selling bags of homemade popcorn. You can also form an LLC to sell your homemade goods as an official small business. It’s not required in most states but it does have some advantages like securing limited personal liability and—in some states—tax benefits.
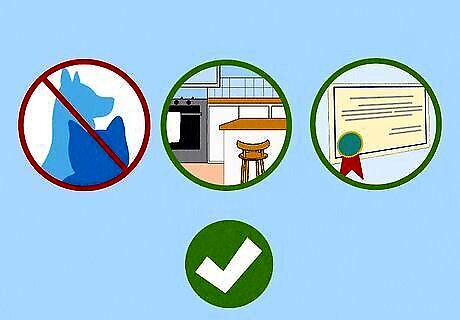
Follow Cottage Food Laws in your state. Cottage Food Laws apply to individuals who want to sell baked goods, canned goods (like jams, jellies, and pickles), dry mixes (like granola, popcorn, and nuts), and candies they made themselves. Most states have the following Cottage Food Laws in common: You must have proper storage for all food and ingredients (cold or dry). No pets in the kitchen. You have to get zoning clearance and all necessary permits from your local government. You must have a kitchen inspection at least once a year (performed by the health department).
Selling in the Community
Set up a stand at bake sales and farmers’ markets. Look up community events in your area to find various places where you can sell your goods. Contact the organizer and let them know that you’d like to set up a table. They’ll probably ask you what you’re selling, what times you need to be there, and whether or not you need to bring your own table (among other supplies). Note that some states have a maximum dollar amount of sales you can make at farmers’ markets, bake sales, and charity events. On average, most states will allow $10,000 to $20,000 in sales per year, but that number can range from $5,000 to $50,000 depending on where you live.

Contact local charities to see if you can sell your goods at their events. Look up local charities in your area to see if they have any events coming up where you can sell your goods. Contact the organizer and let them know what you’d like to sell and if there’s anything you need to do or bring to the event. Note that if you’re selling at a charity event, it’s typically a faux pas to take 100% of the profit for yourself. Work with the charity and let potential customers know you’re donating a portion or all of the proceeds to the charity.
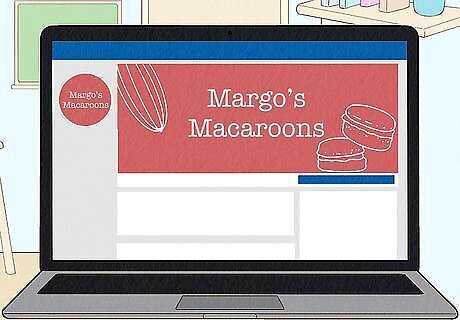
Market your goods on social media to connect with potential customers. Set up a business page on Facebook and invite your friends and family to “like” the page. You can also use other platforms like Instagram and Twitter to announce when and where you’ll be selling your food. Be sure to post clear, professional-looking photos of your yummy goods! You may want to come up with a catchy name for your page like “Margo’s Macaroons” or “Marg-a-roons” to catch people’s eye. Never underestimate the importance of social media! The internet is how a lot of small businesses get notoriety and start growing exponentially.
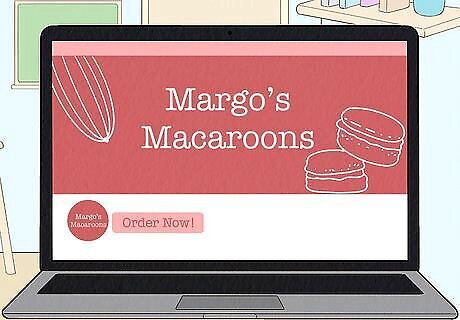
Create a website to let people know where you’ll be selling your foods. Use a free online website builder to create a website for your goods. Note that you can’t sell the food directly from the site if you don’t have a license. Instead, give details about the foods you sell and tell potential customers where and when you’ll be selling your goods. Start a food blog where you share your recipes and food related stories and tips regularly. Include lots of photos to entice potential customers. List the ingredients of each product on the website or offer your contact information so customers can ask you directly. You may want to set up a separate email address for your business so your personal emails aren’t mixed up with customer or professional inquiries. Feel free to share some information about yourself and, if you like, how you make your goods on your website’s “About Me” page.
Selling with a License
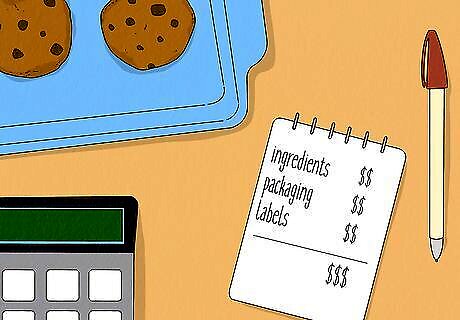
Price your items according to your total expenses. Add up how much it takes to make a single product (including ingredients, labeling, and packaging) to find a price that gives you a profit for each unit you sell. If you’re selling wholesale, consider your competitors' prices as well. For instance, if it takes $2.00 to make a single cookie, setting the price at $3.00 is going to give you a profit of $1.00 per cookie sold. Be realistic and put yourself in your customers’ shoes—would you be willing to pay a certain amount for the product?
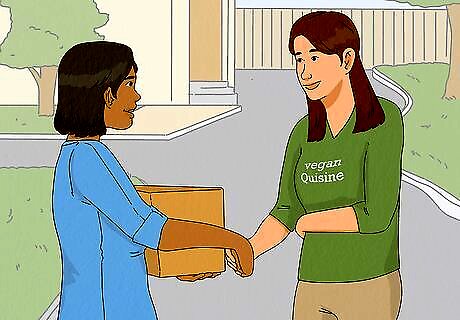
Pitch your goods to local retailers. Approach independent grocers and specialty shops in your area. You can also approach family-owned restaurants and other non-corporate vendors about selling your items in their stores. Know that the vendor will take a cut of whatever items are sold, so negotiate with the vendor beforehand and factor the cut amount into the cost of the product. Target retailers that already attract your intended buyers. For instance, your vegan brownies are more likely to sell at a small vegetarian and vegan grocery store than they are at a small butcher shop or regular bakery.
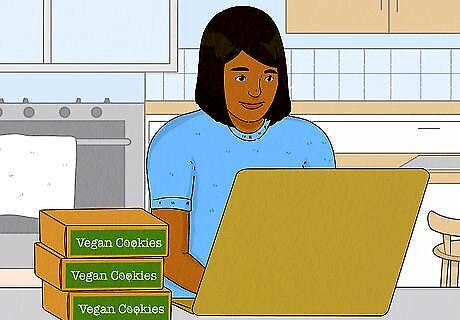
Sell your food online to expand your small business. If you created an LLC or DBA and have all of your permits in order, make a website for your business so you can sell goods online. Note that almost all Cottage Food Laws prohibit selling homemade foods across state lines. You’ll also need to work with a shipping company or get your own shipping boxes that protect the product. This can be pricey, so shop around before signing on with a delivery company.
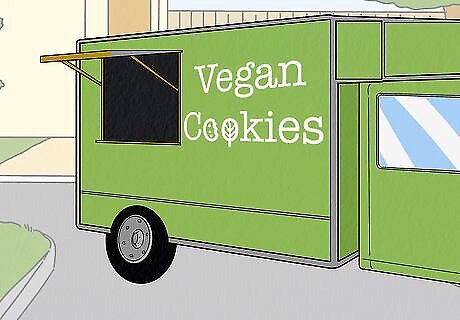
Start a food truck operation or delivery service. If you want to mobilize your business, look into renting or buying a food truck, cart, or delivery truck. Set up a website so local customers can place orders to have your goods delivered or use social media to fill them in on your food truck’s location. Be sure to check the laws in your state about food trucks and delivery services because there will likely be other zoning and safety permits you’ll need to get. Note that you’ll need to get your food truck inspected and certified just like a regular kitchen. Just like a regular car, you’ll also need to get your food truck insured. Food trucks and delivery services typically require extra help, so you may want to find a friend or family member to be your business partner. Don’t forget to include the cost of gas in your total expenses!
Packaging Your Homemade Food
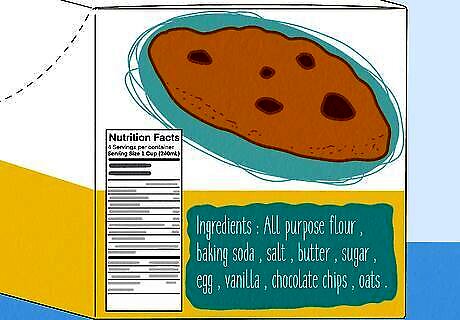
List all of the ingredients on the packaging. Customers need to know exactly what is in your products in case they have allergies or dietary restrictions. List the ingredients in descending order (i.e., the largest quantity ingredients go first) and highlight any common allergens in bold. For instance, you might write: “Allergens: Wheat and peanuts” in bold font in or next to the ingredients list. Depending on your location and what you’re selling, you may not need to have detailed packaging if you’re selling your food just once or twice at local community events. However, it helps to keep an ingredients list handy in case potential customers have questions.
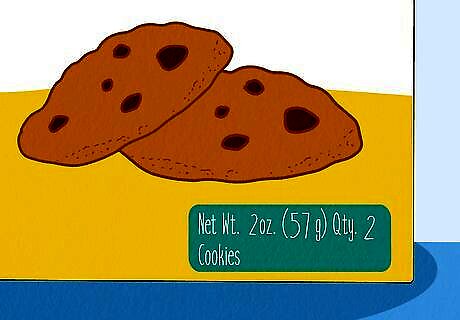
State the weight and net quantity on the package. Cottage Food Laws require you to state the net quantity and weight of the item on the package and the information is helpful to customers. Liquid products should be in fluid ounces and milliliters and solid goods should be in ounces and grams. If there is more than 1 of the product in a single package, state how many. For example, your package might read: “Net Wt. 2 oz. (57 g) Qty. 2 Cookies”. Get a small kitchen scale, measuring cups, and measuring spoons to calculate the weight of your products. If you're working with liquids, try to be consistent with how much liquid goes into each container. This isn’t required if you’re selling at local community events, but some customers will probably appreciate it!
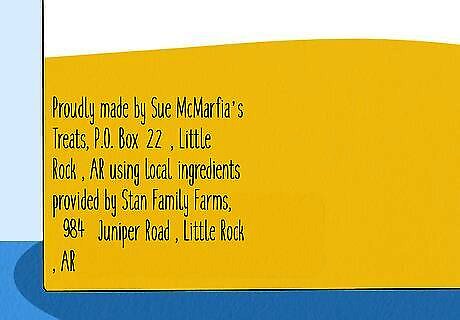
Provide your name (or your company’s name) and location on the package. The FDA requires you to state your name (or your company’s name, if applicable) and where the product was made. If you’re using a supplier and selling wholesale, you’ll need to state the supplier’s name and location on the package as well. In most states, this is required if you’re selling wholesale, but some states may require it if you are selling without a business license at local community events. For example: “Made by Papa’s Pops at 43 Sugarland Drive, Hot Springs, Arkansas” or “Proudly made by Sue McMarfa’s Treats, P.O. Box 22, Little Rock, AR using local ingredients provided by Stan Family Farms, 984 Juniper Road, Little Rock, AR.”
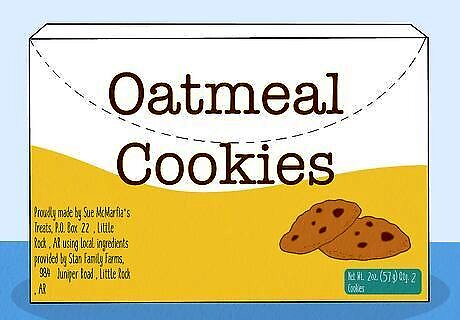
Design your packaging to stand out from the competition. If you’re selling wholesale, design your packaging to be unique and reflect your product in some way. If you don’t want to design your own logo and packaging, consider hiring a graphic design artist to do it for you. You can also make your logo from a template provided by an online custom packaging service. For example, if you’re selling organic, gluten-free, vegan cookies, you might choose compostable packaging to fit with the theme of not harming animals and the environment.


Comments
0 comment